
Manual - Co-Lab Suite
Manual
FCC Statement
This equipment has been tested and found to comply with the limits for a Class B digital device, pursuant to part 15 of the FCC Rules. These limits are designed to provide reasonable protection against harmful interference in a residential installation. This equipment generates, uses and can radiate radio frequency energy and, if not installed and used in accordance with the instructions, may cause harmful interference to radio communications. However, there is no guarantee that interference will not occur in a particular installation. If this equipment does cause harmful interference to radio or television reception, which can be determined by turning the equipment off and on, the user is encouraged to try to correct the interference by one or more of the following measures:
Reorient or relocate the receiving antenna.
Increase the separation between the equipment and receiver.
Connect the equipment into an outlet on a circuit different from that to which the receiver is connected.
Consult the dealer or an experienced radio/TV technician for help.
FCC Warning
This device complies with Part 15 of the FCC Rules. Operation is subject to the following two conditions: (1) this device may not cause harmful interference, and (2) this device must accept any interference received, including interference that may cause undesired operation.
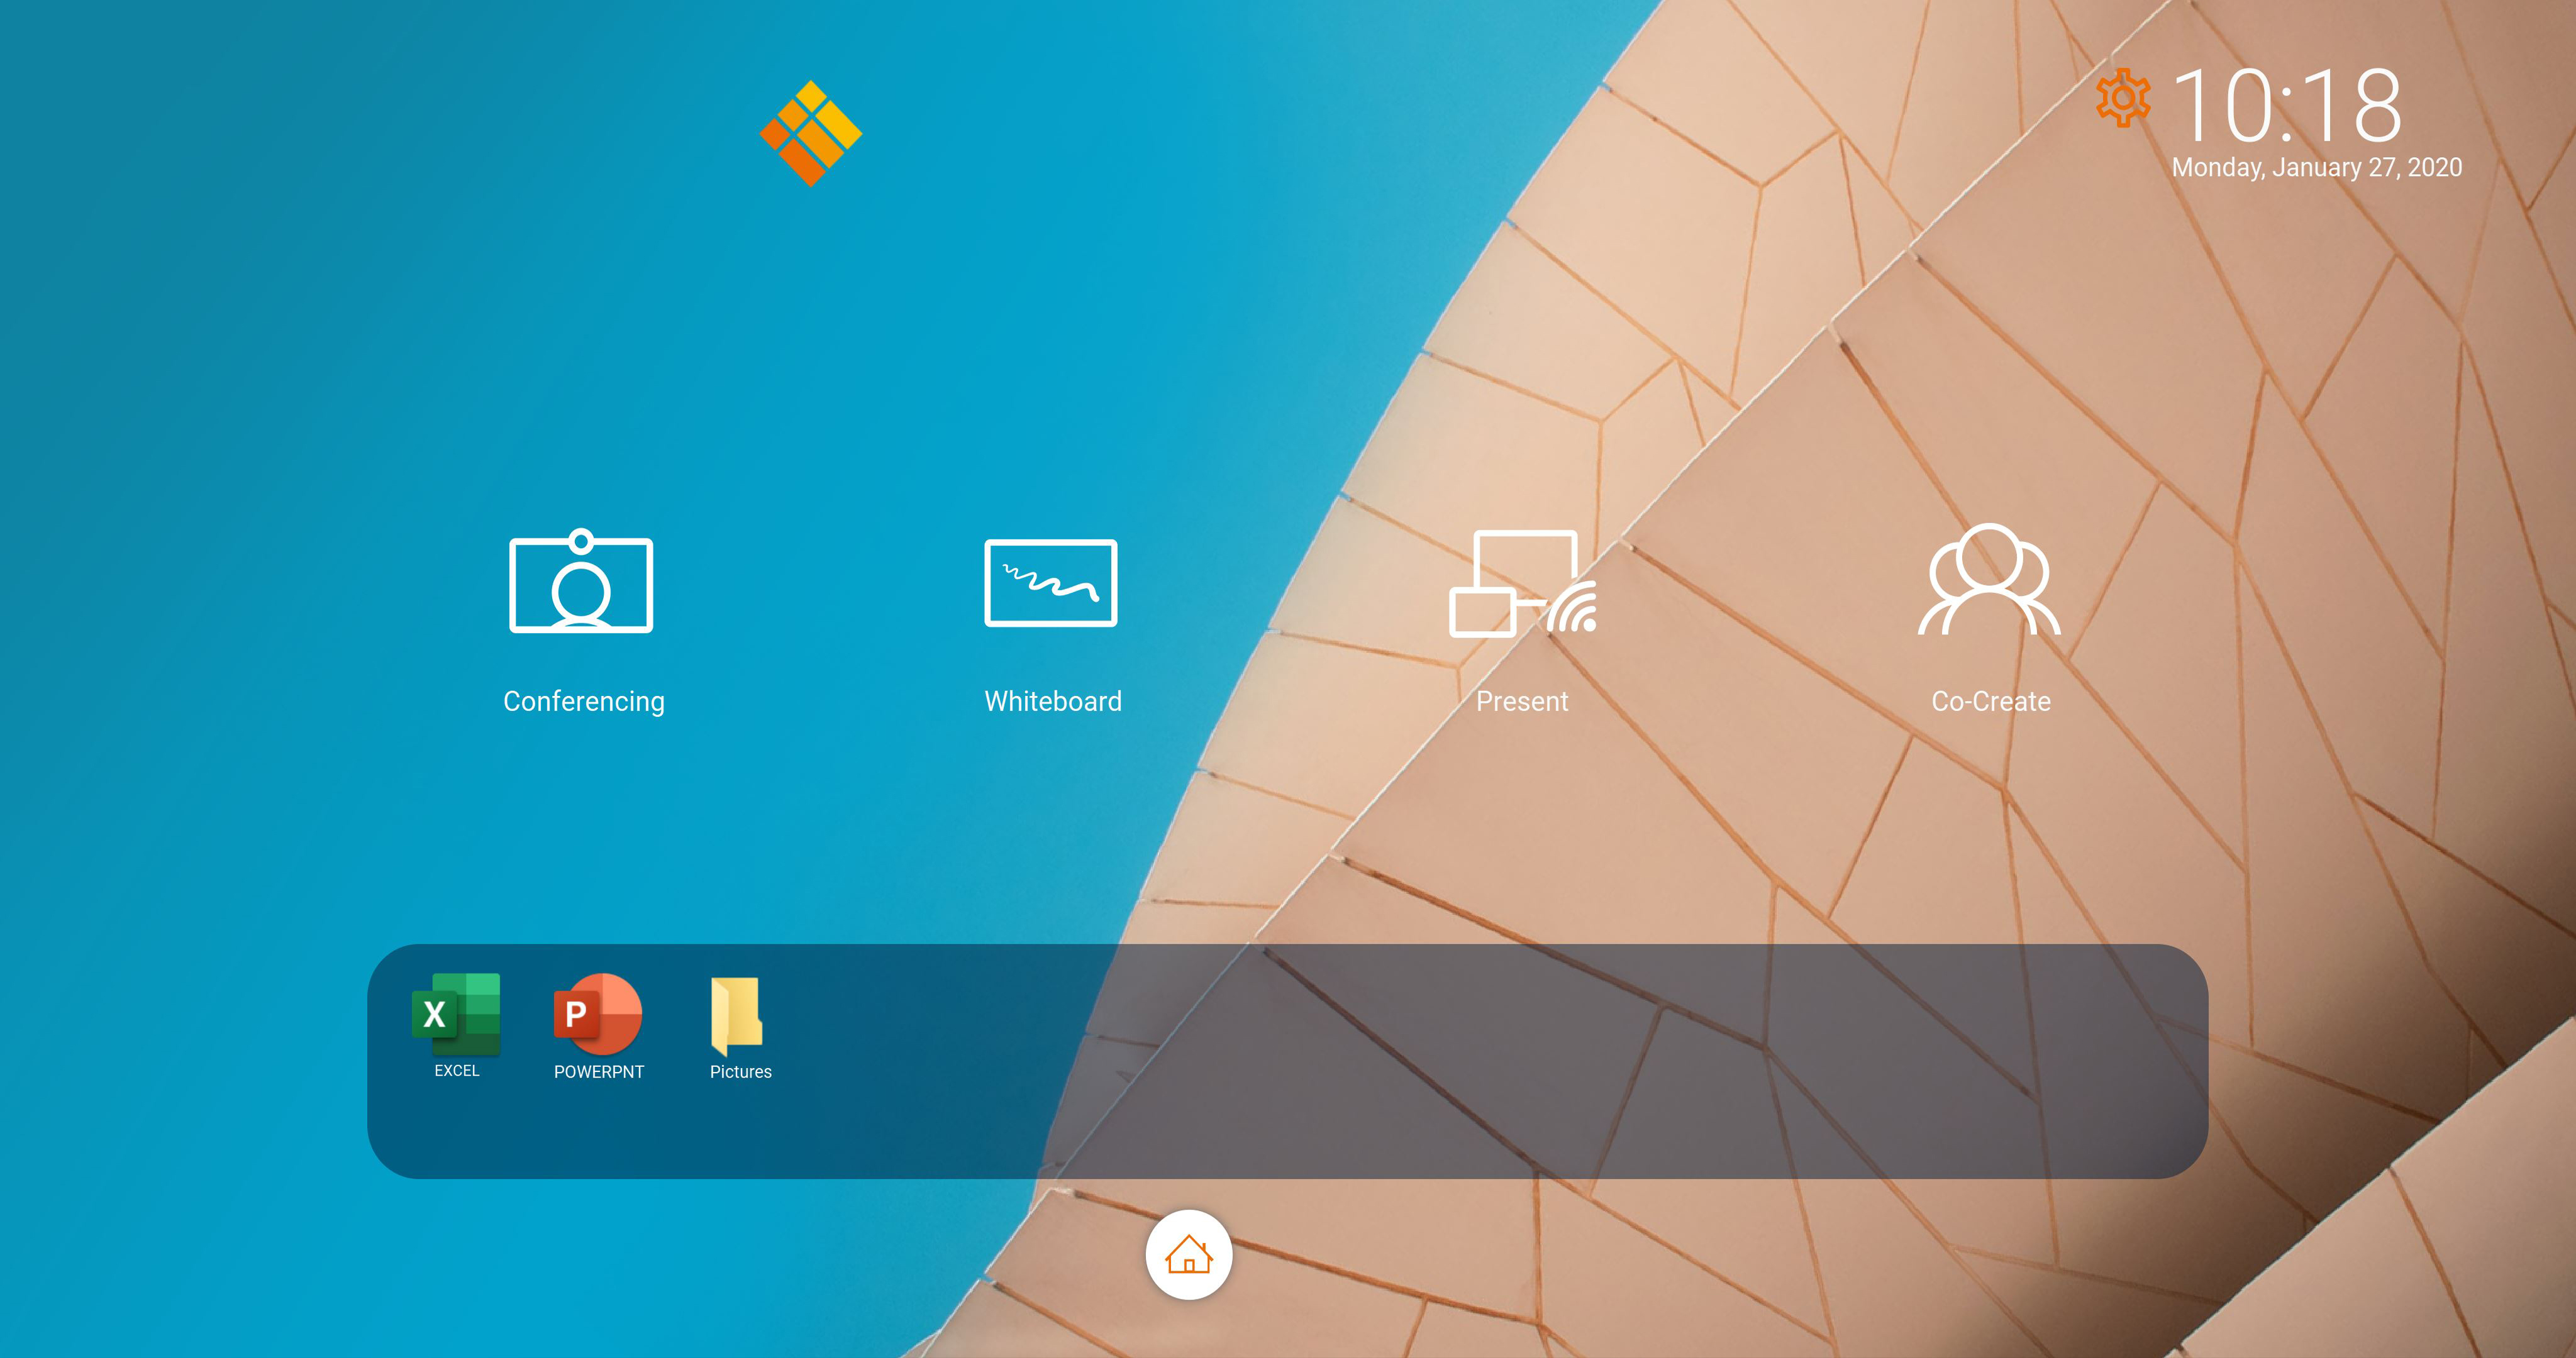
Main Screen
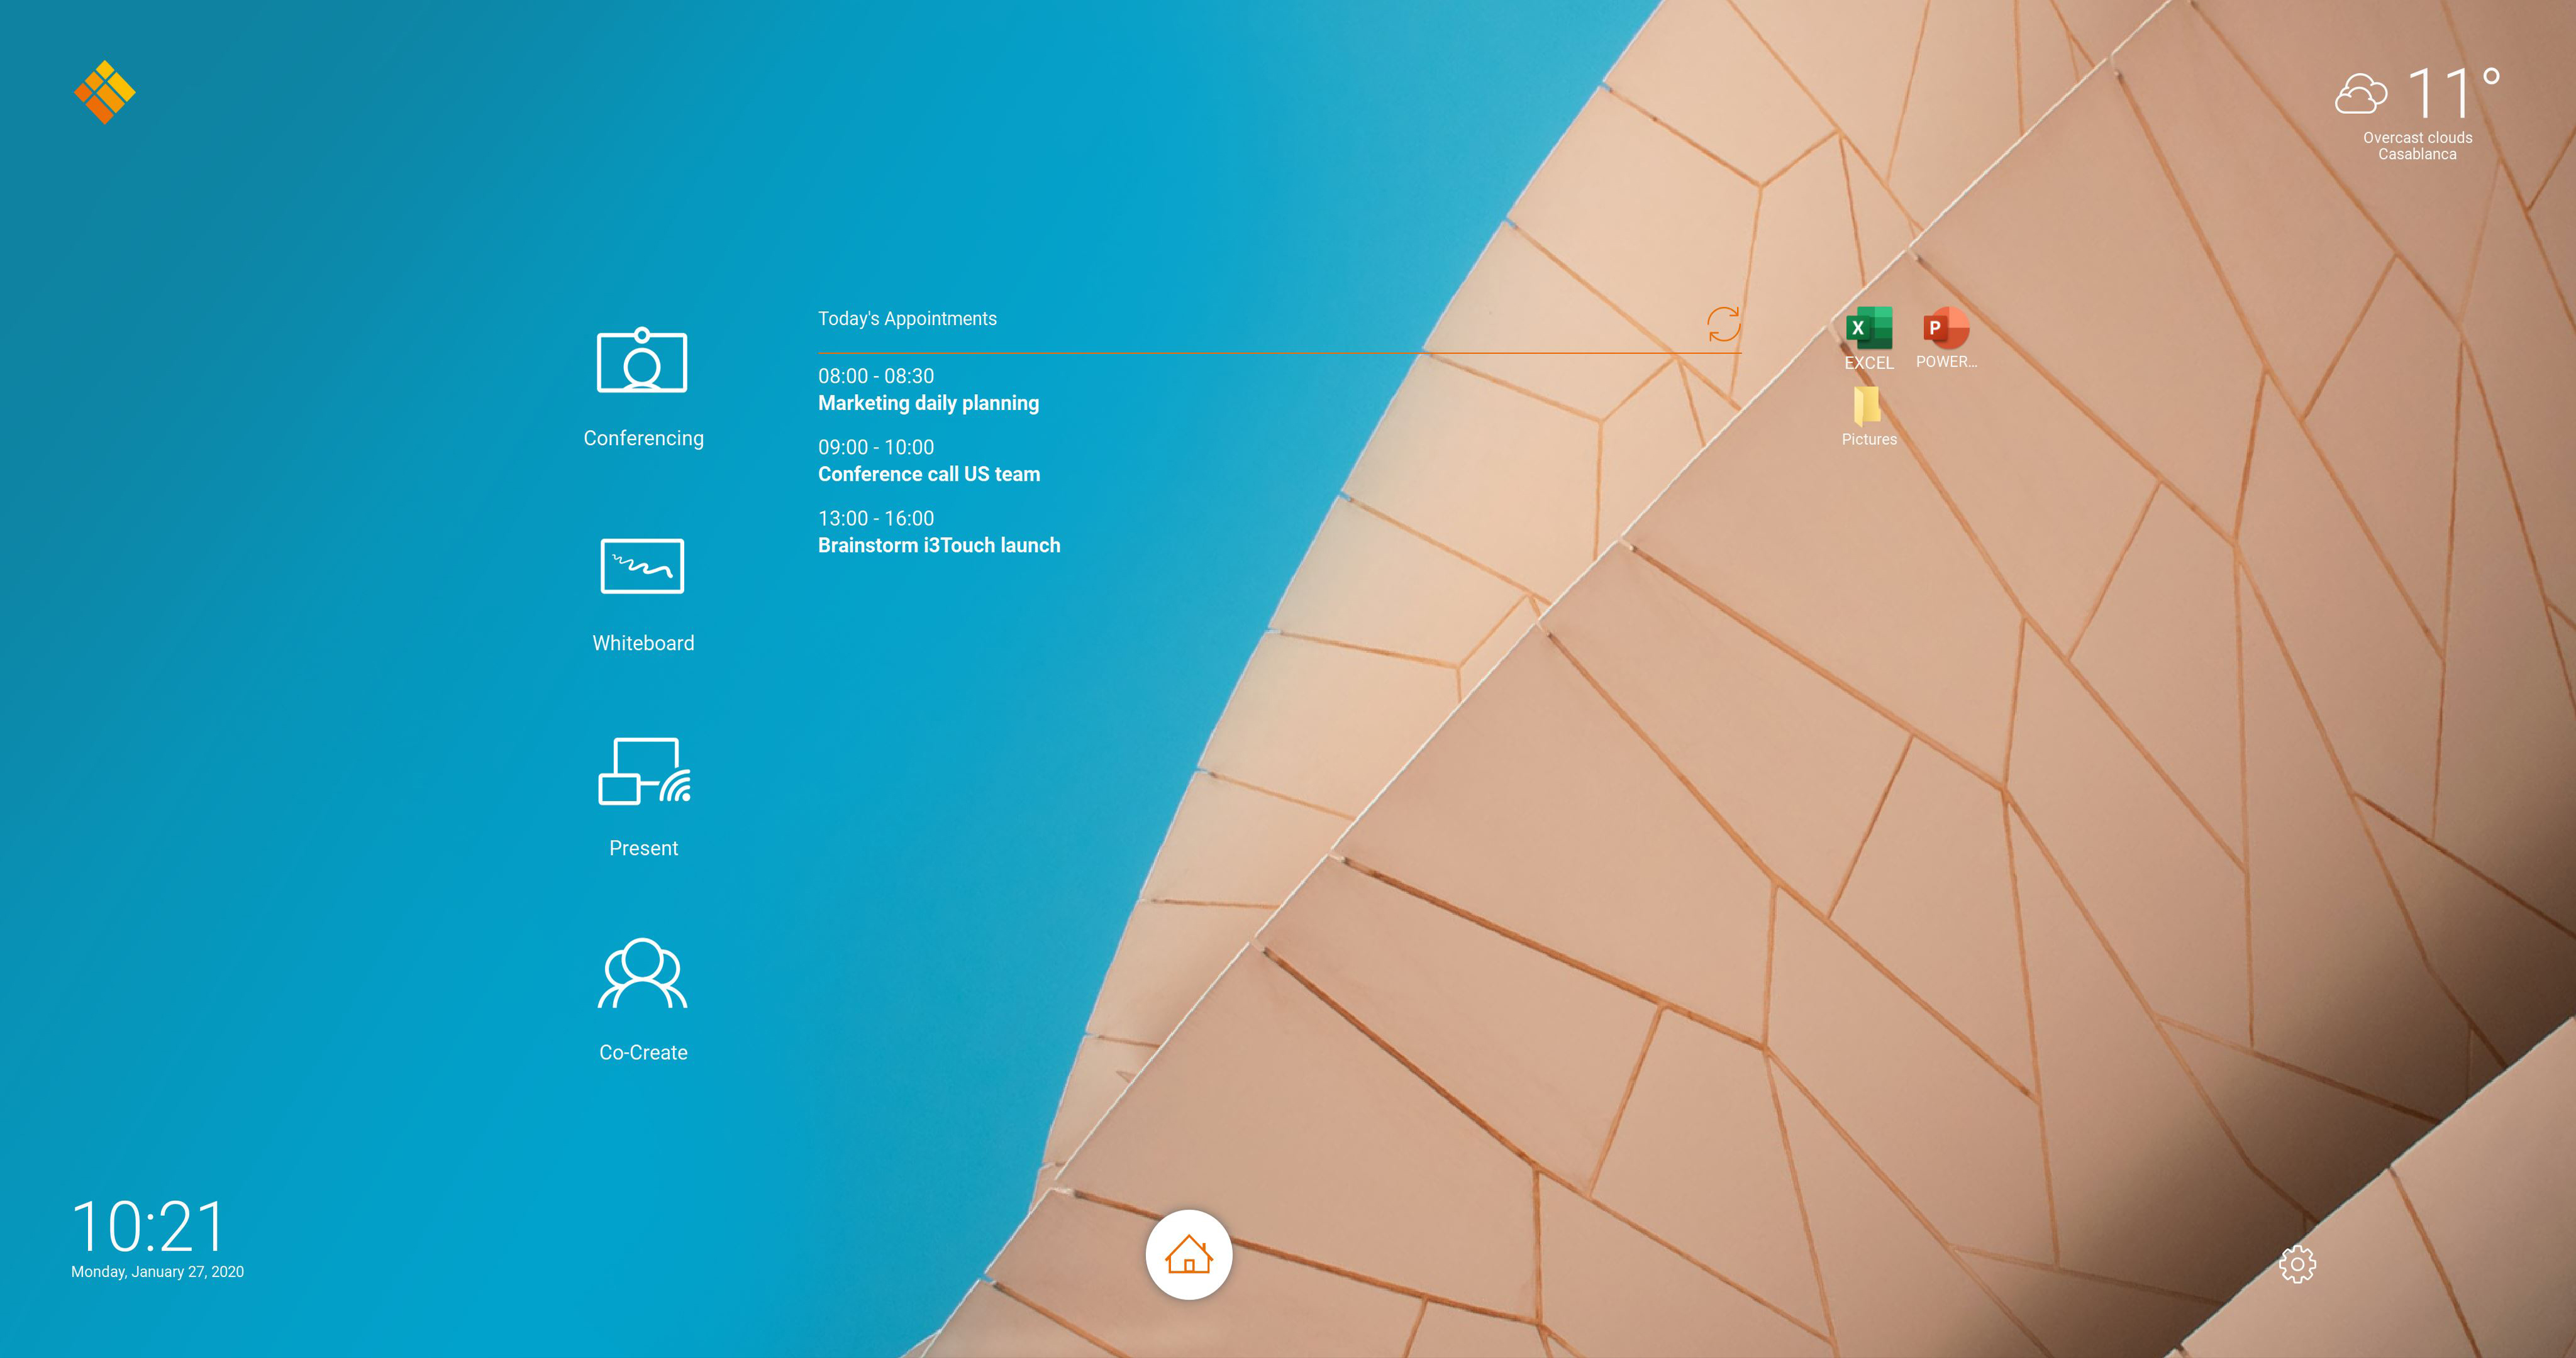
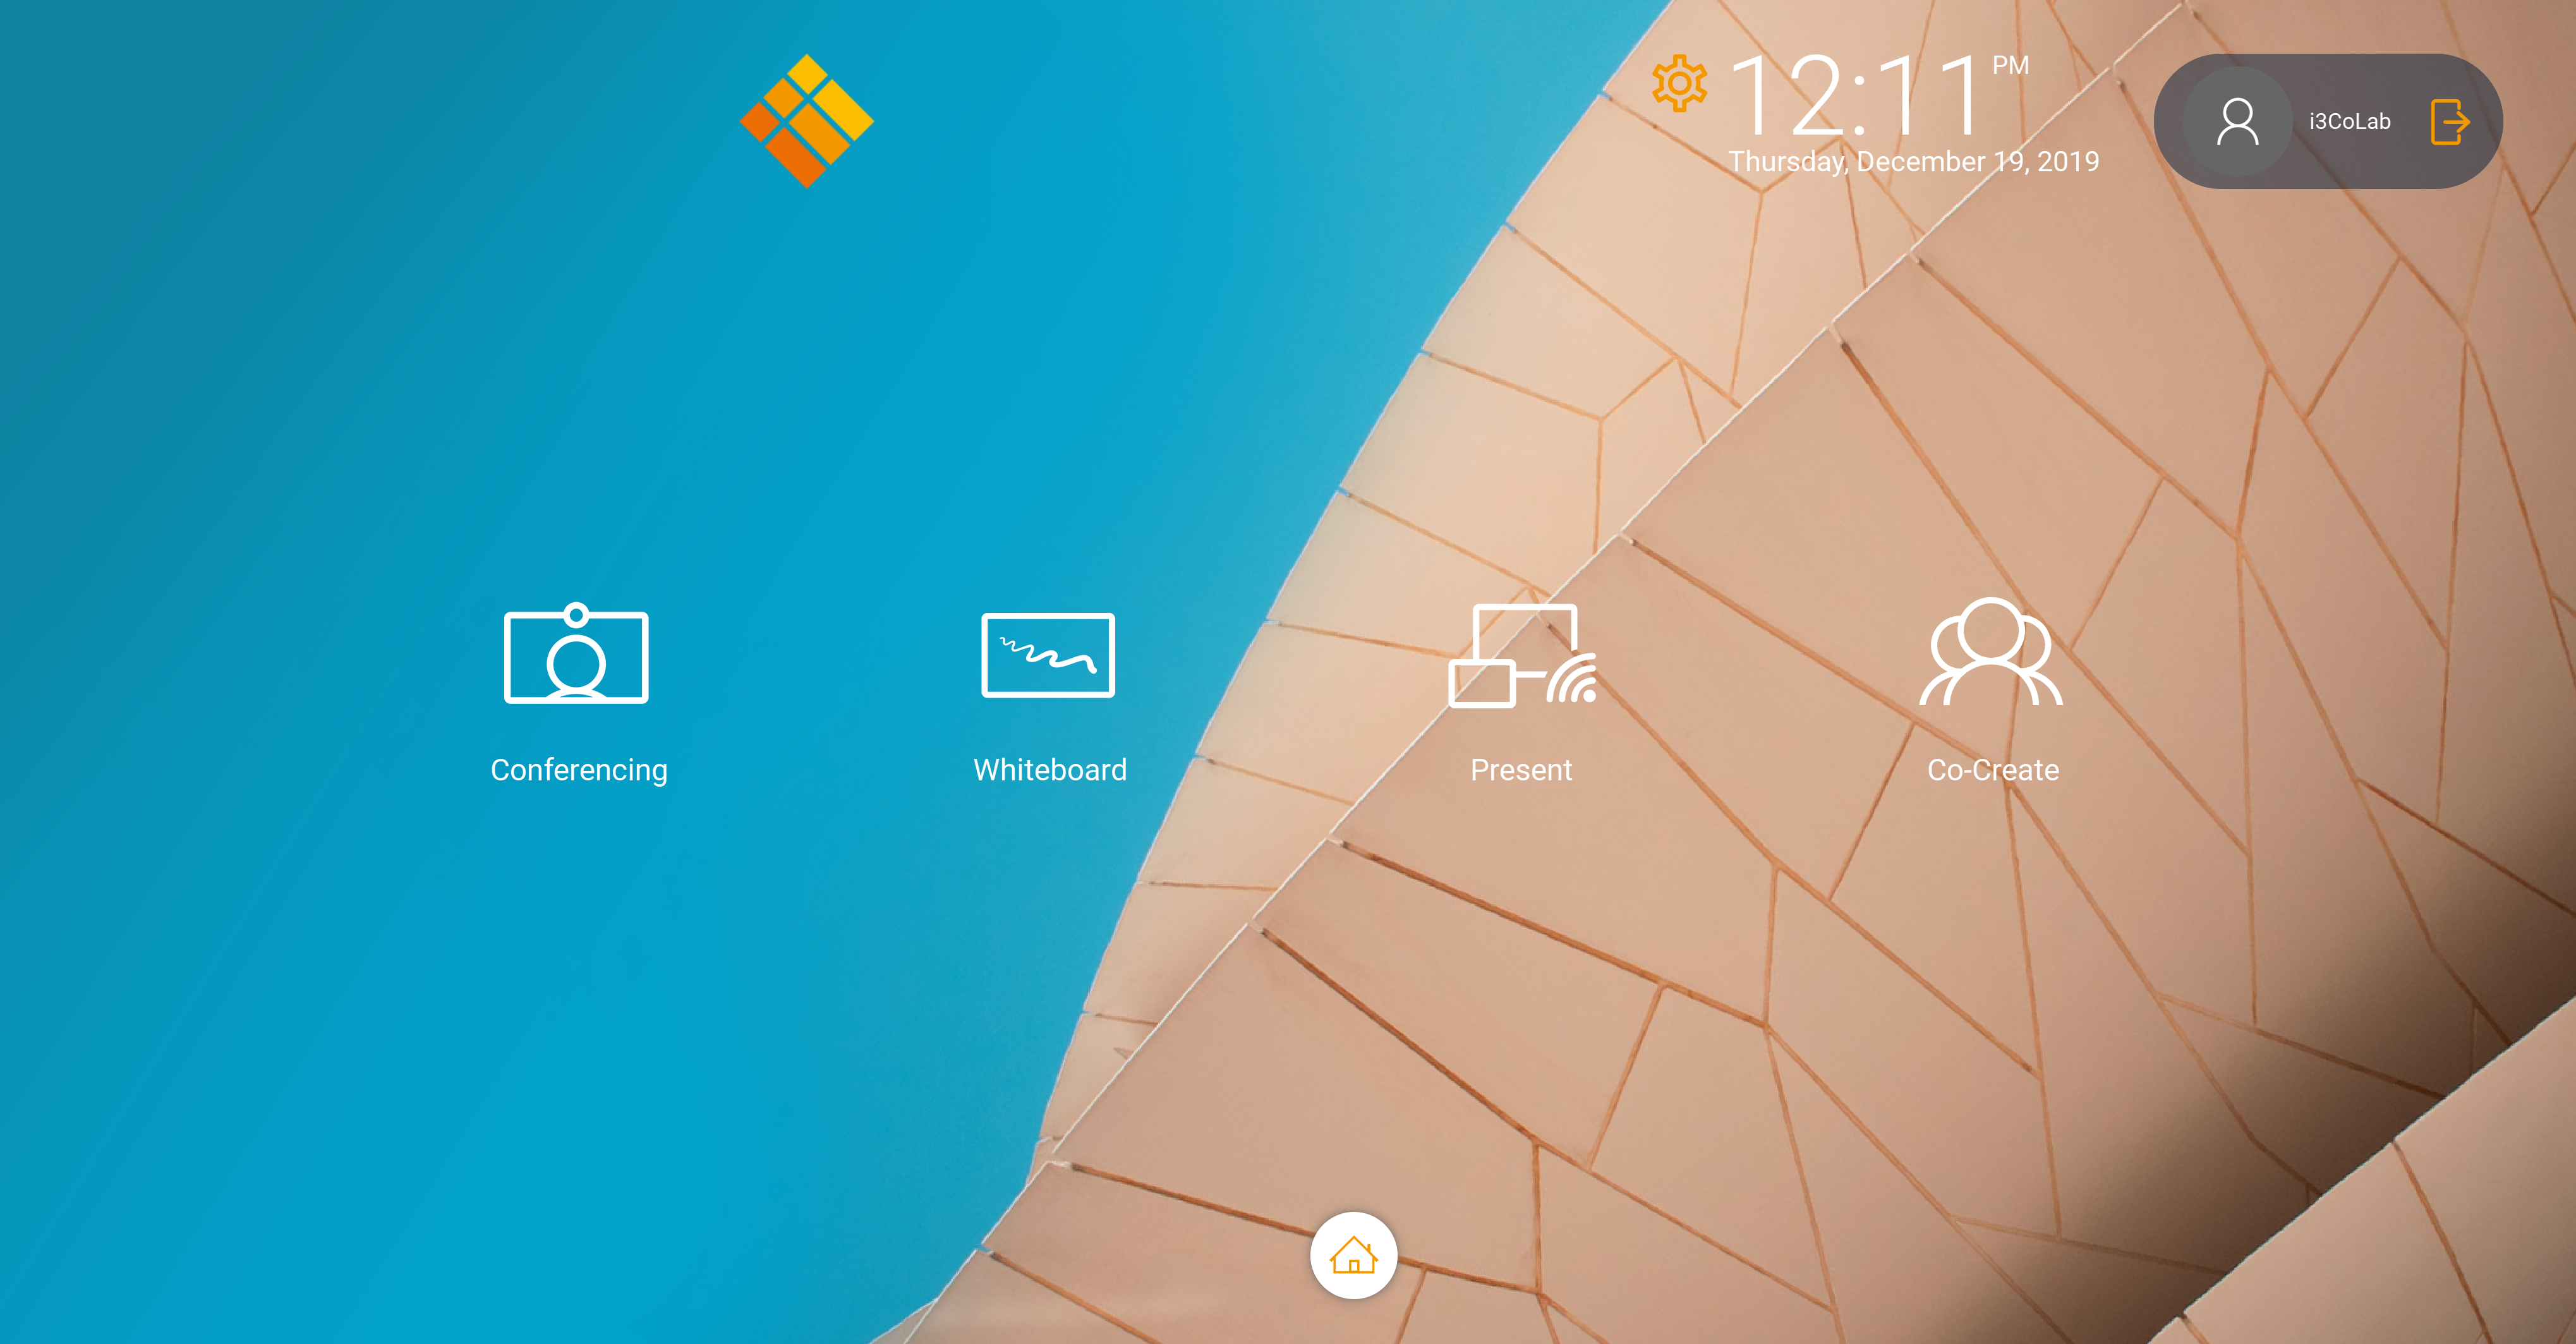
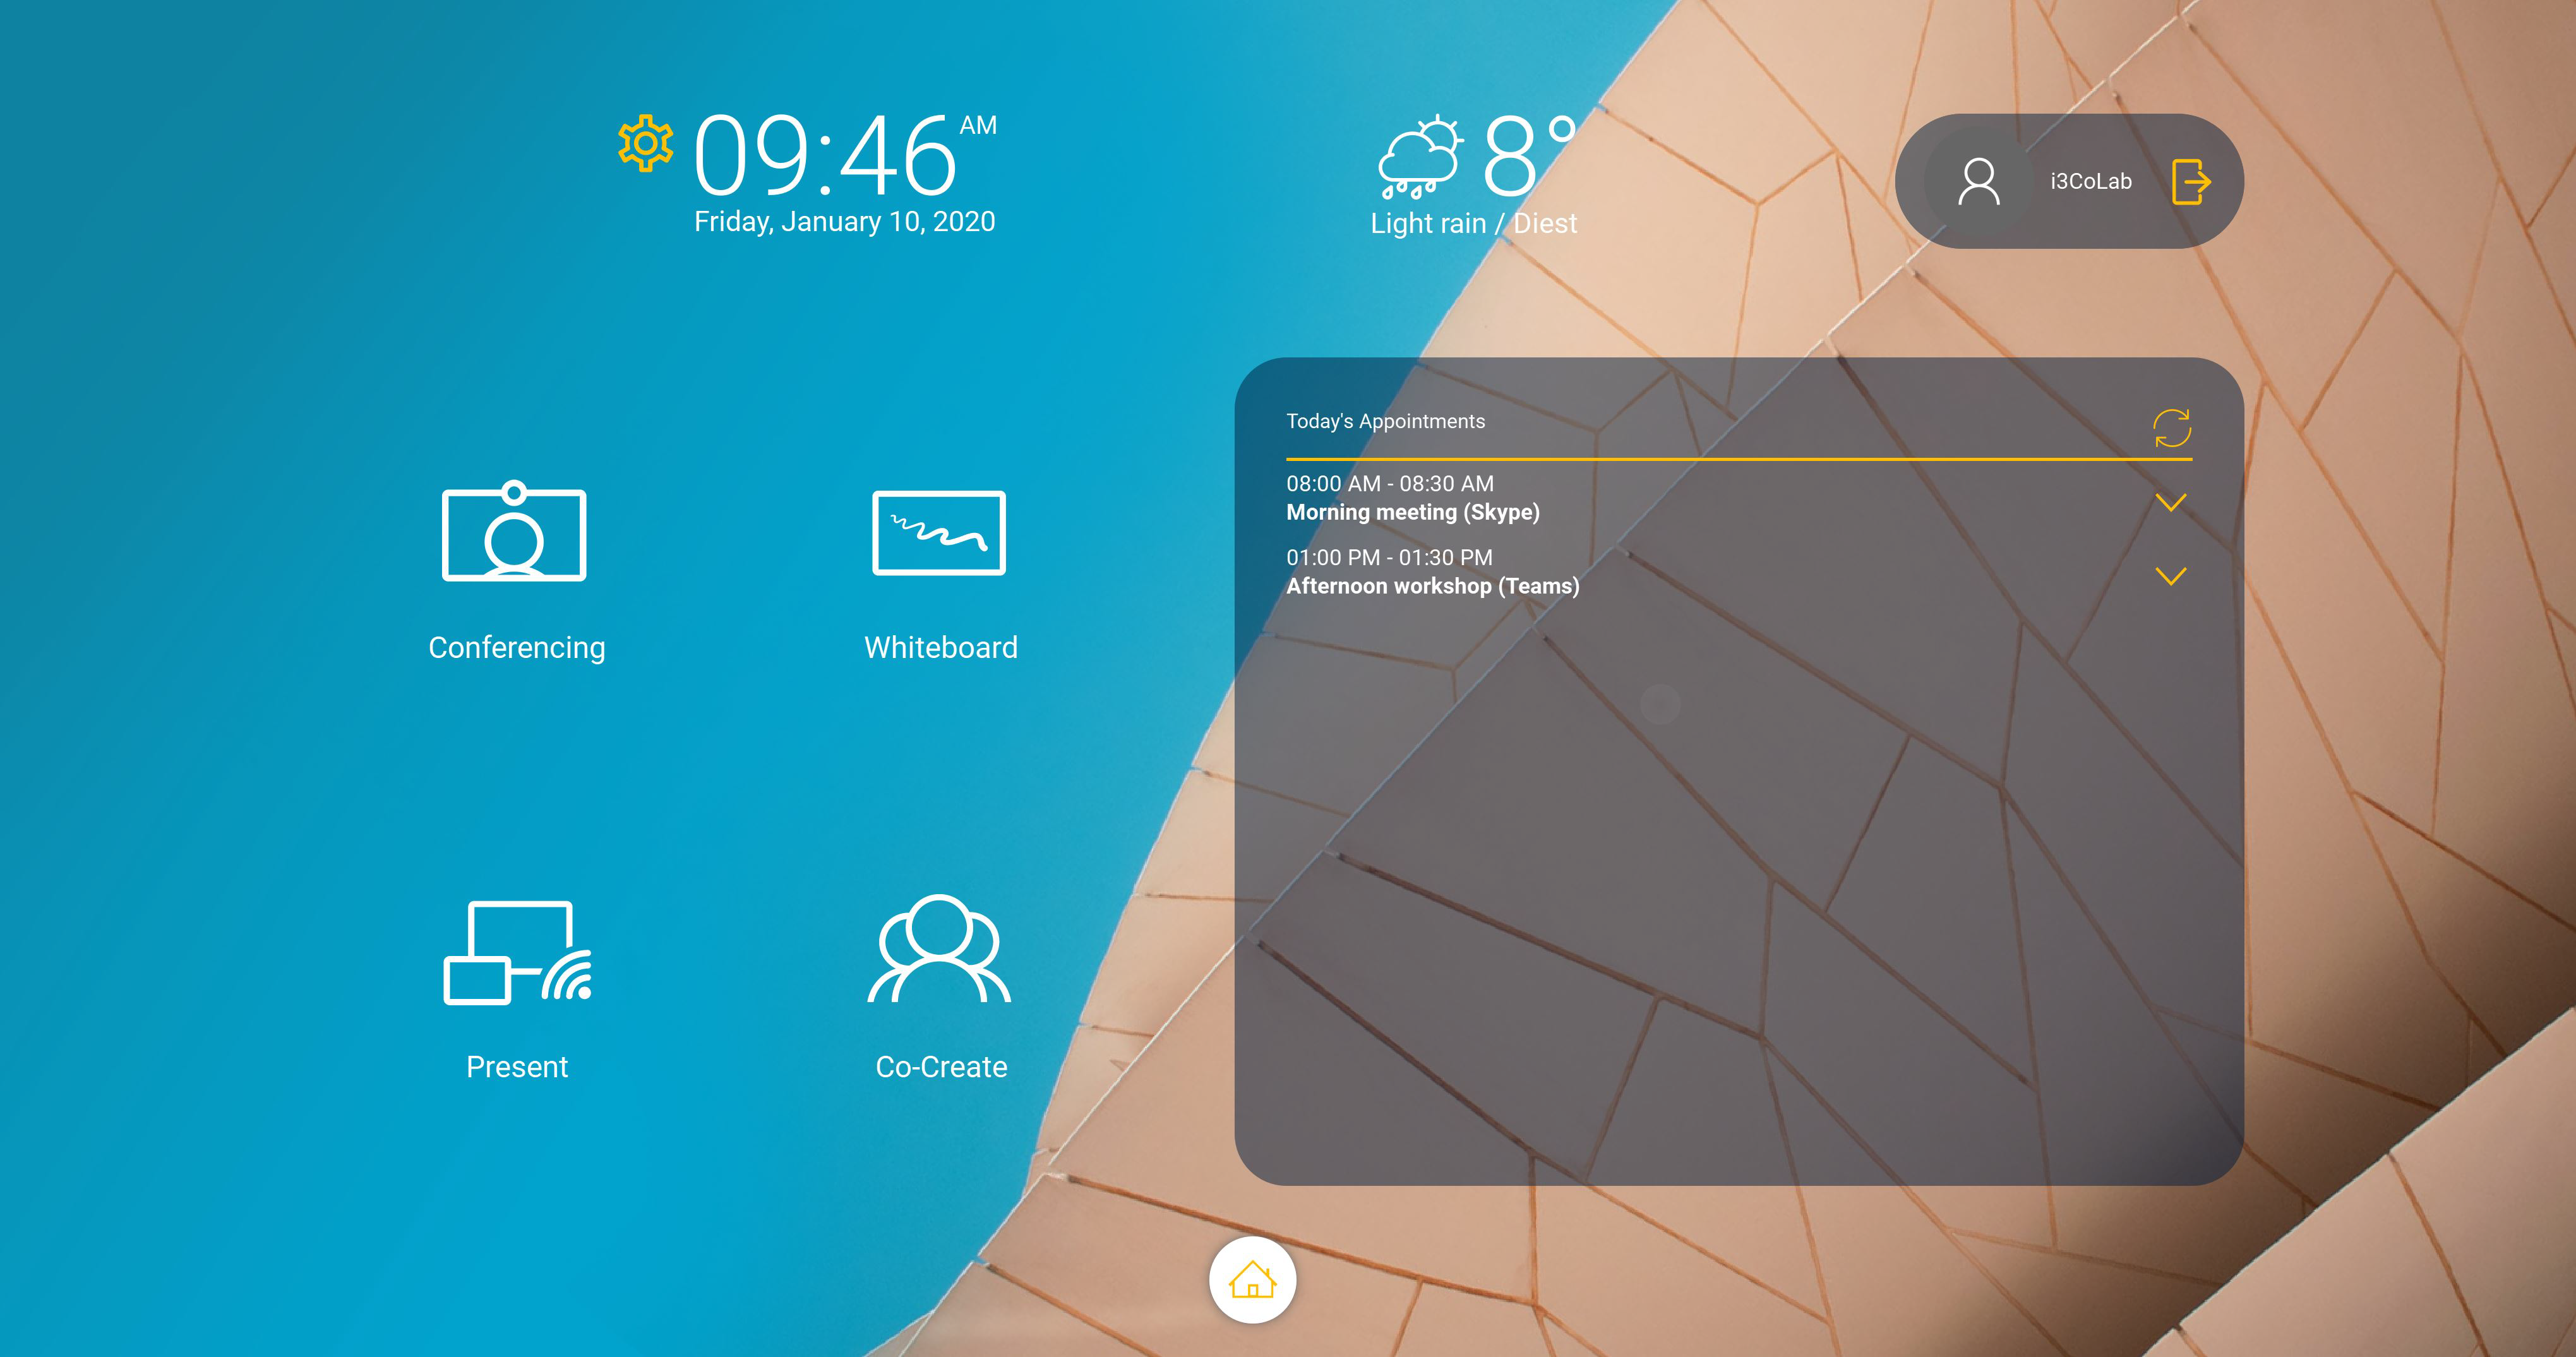
Depending on which preconfigured layout you choose, you can find several items on the main screen, that will be explained in this manual:
The 4 main buttons referring to:
Conferencing
Whiteboard
Present
Co-Create
Windows Logout / Lock
Bookmarks
Floating Home Button
Calendar
Clock
Weather
When launching Co-Lab, you will arrive at a main screen, containing 4 buttons:
Conferencing
Whiteboard
Present
Co-Create
Let’s dive into the specifics of the conferencing app in this section.
Conferencing
The conferencing button allows you to instantly start your favourite conferencing application such as Zoom, which is pre-installed for video conferencing. You can also configure other applications like Skype, Skype for business, Microsoft Teams, Google Hangouts etc. Configure your conference application and start your meeting at the push of a button.
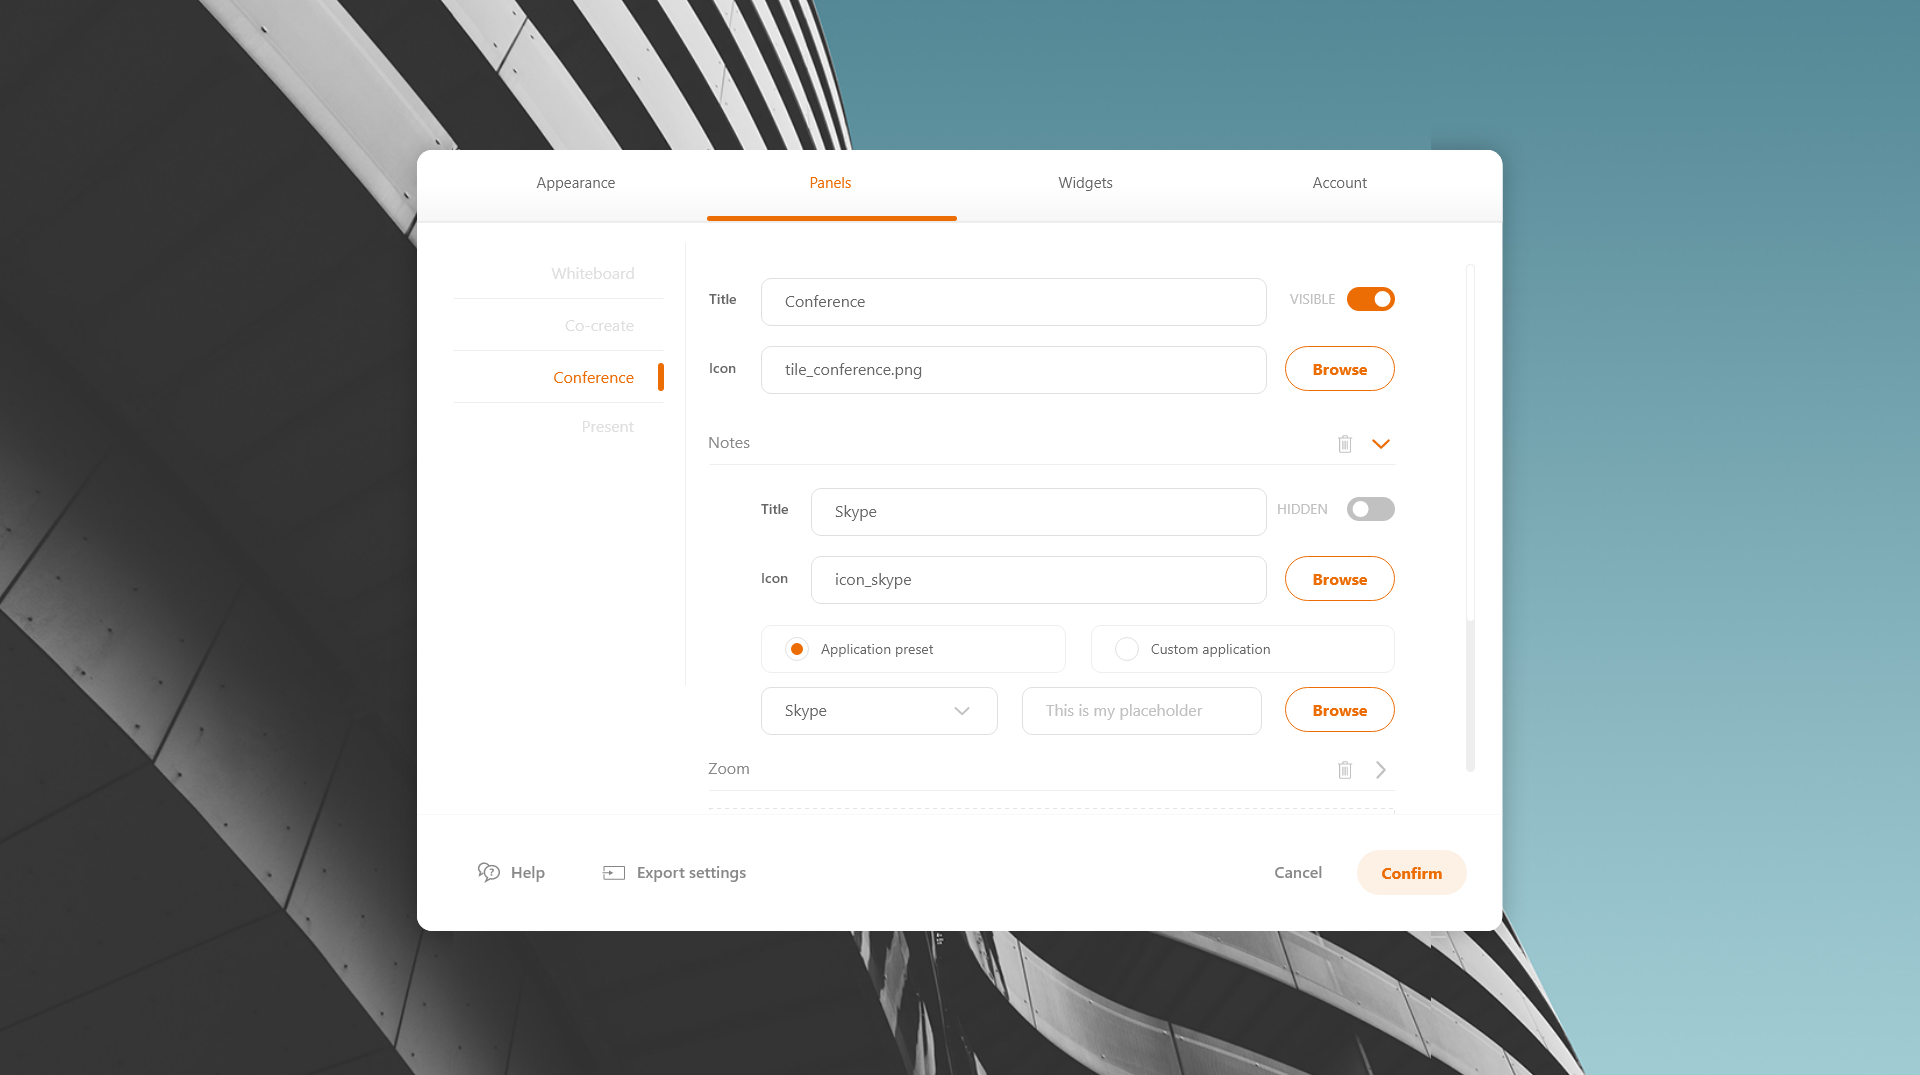
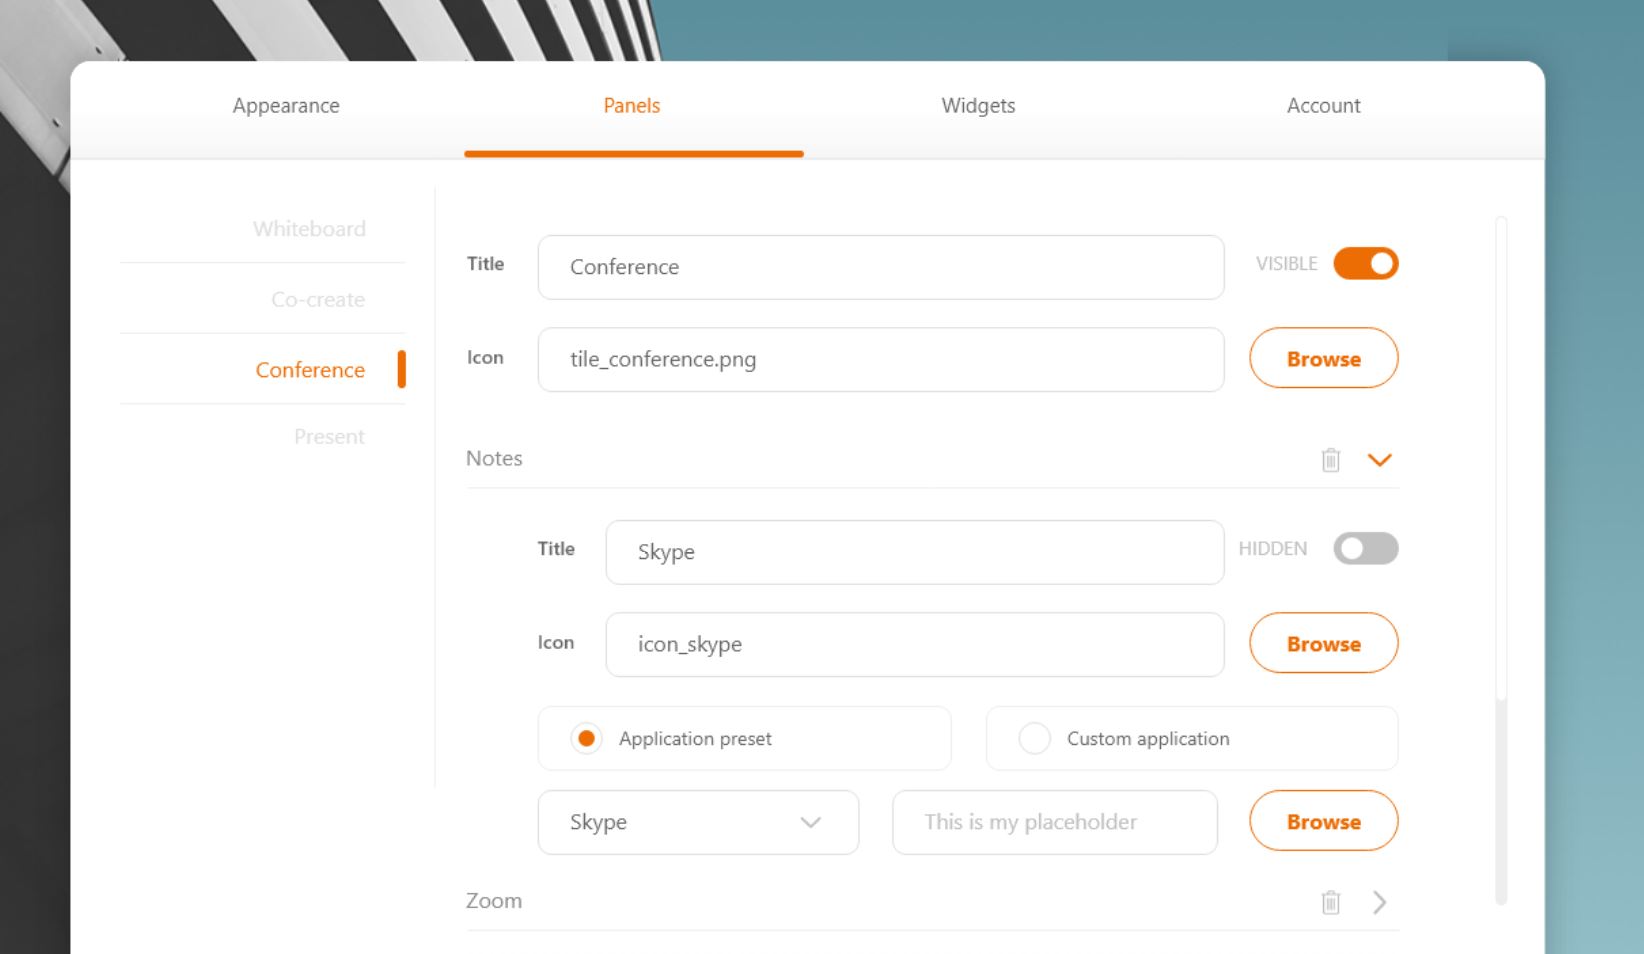
"Conferencing" button configurations
To enable users to start a conference when they click the button, open the launcher settings menu and follow the steps below:
Clik on the settings wheel on the home screen and navigate to the tab "panels".
Navigate in the left menu to the "conference" tab.
There you can choose to use the pre-installed Zoom application or add another tool.
If you would like to use an other conferencing applications, then select the option "custom application" - choose an app - and confirm your settings.
Now you can start your conference meeting with your chosen app at the click of a button.
NOTE: Windows 10 UWP apps cannot be found as an *.exe on the file system. If you want to link this kind of app (eg. Skype from Microsoft Store) you need to create a shortcut (*.lnk) file first and then link the shortcut.
Once you have completed the setup of the Conferencing button, you can access it from the dashboard. When no conferencing applications are configured and you click the conference button, the settings will open so you can set your conference button. In case Skype for Business is configured as Conferencing application, a "meet now" option will appear in your calender on the dashboard, if enabled in your settings and if the meeting is scheduled with Zoom or Skype for Business. When the "meet now" button will be clicked on in the dashboard, your Skype for Business window will open and your meeting will start directly. This "meet now" feature is only available with Skype for Business.
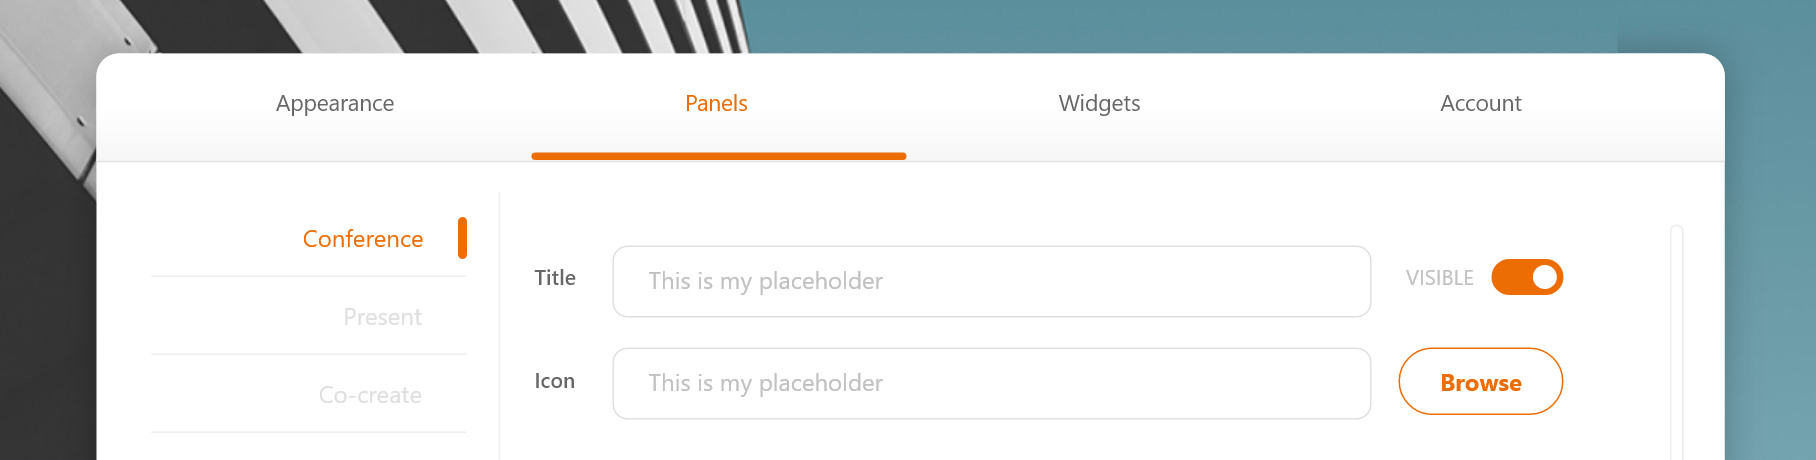
Conferencing application icon and label
Application’s title and icon will be displayed by the system on the home screen. Both can be edited in the settings menu by simply typing the desired name and browse the icon you would like to display on the home screen.
NOTE: Some conferencing applications (eg. Zoom) minimize to the system tray notification area when closed and might show unexpected behaviour when pressing the conference button afterwards (eg. new instance of the application is opened every time). For best results always choose the option ‘do not minimize to notification area’, if available in the zoom settings menu.
Dual monitor
If a second monitor is connected to the computer, the applications attached to the conferencing button will always open on the second monitor, while the launcher will remain open on the main monitor.
Whiteboard
The whiteboard button enables users to take notes on a blank canvas (whiteboard) in just one click.
When a user clicks the "Whiteboard" button, the application i3NOTES+ will open.
Whiteboard button configurations
The whiteboard button can be configured in the settings where either i3NOTES+. Also here you can select "custom application" if you would like to choose a customized whiteboard application instead of i3NOTES+.

It is possible to use an UWP application to replace the default whiteboard application. To be able to do so, a link to the UWP application should be created first. That link can then be used.
Following steps explain how to make a shortcut for an UWP app
(this might require elevated user permissions):
From the start button execute run
In the dialog enter "shell:AppsFolder", click OK
The application window will open. Right click the application and select "create shortcut"
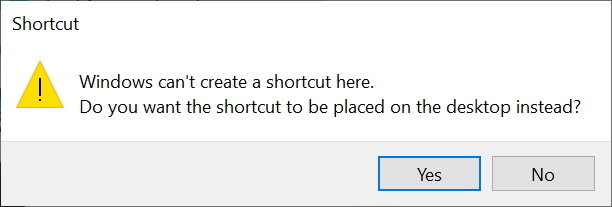
You will be prompted to place the link on the desktop, click yes to continue
There is a tutorial video available on our YouTube channel about how to use the Whiteboard:
Present
There is a tutorial video available on our YouTube channel about how to use the present feature:
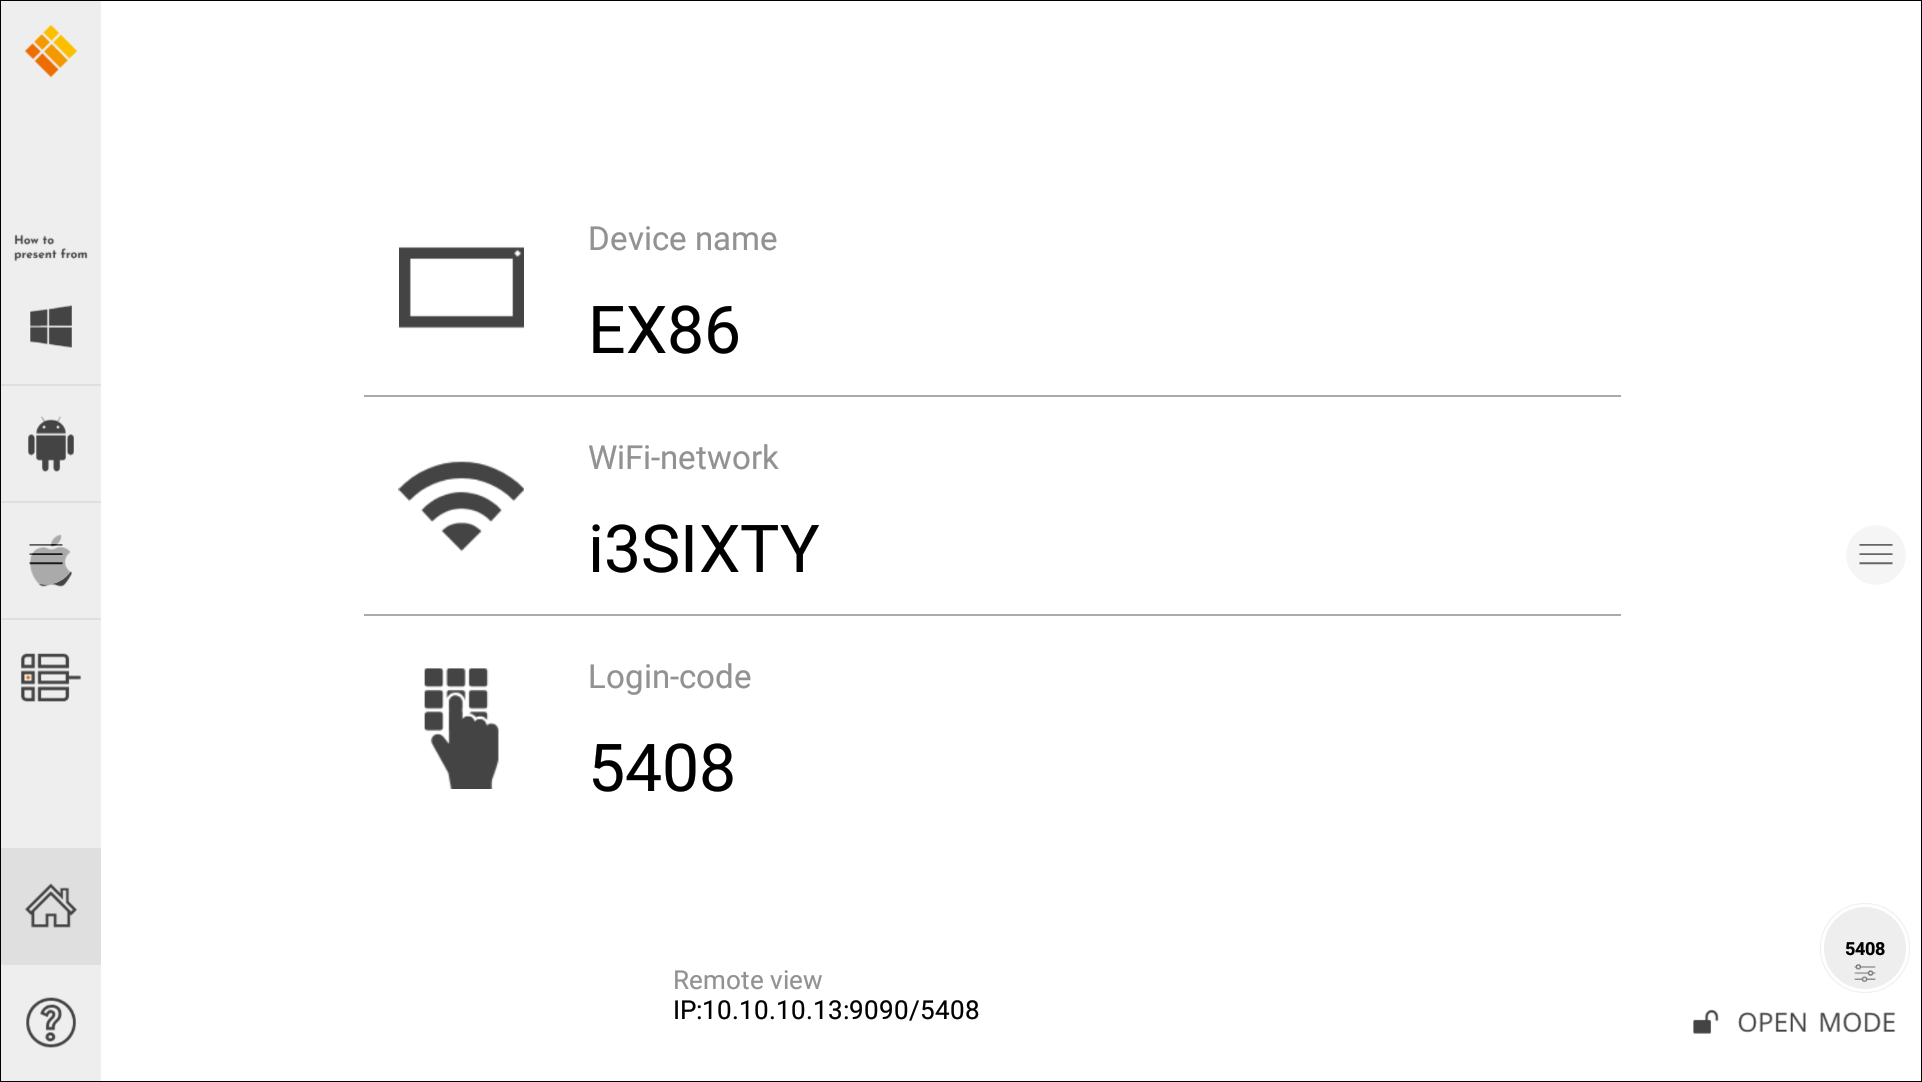
The Present button lets users share content wirelessly from their device.
Start sharing your screen at the push of a button by clicking on 'present'. The screen mirroring application "i3ALLSYNC" is pre-installed on the CO-LAB Suite OPS.
Please refer to our 'Present' product page to learn how to use the screen mirroring application.
https://www.i3-technologies.com/en/products/software/wireless-presenting-app/ or watch our how-to video’s on our Youtube channel: https://www.youtube.com/i3-technologies
“Present” button configurations
The Present button can be configured in the launcher settings as shown below:
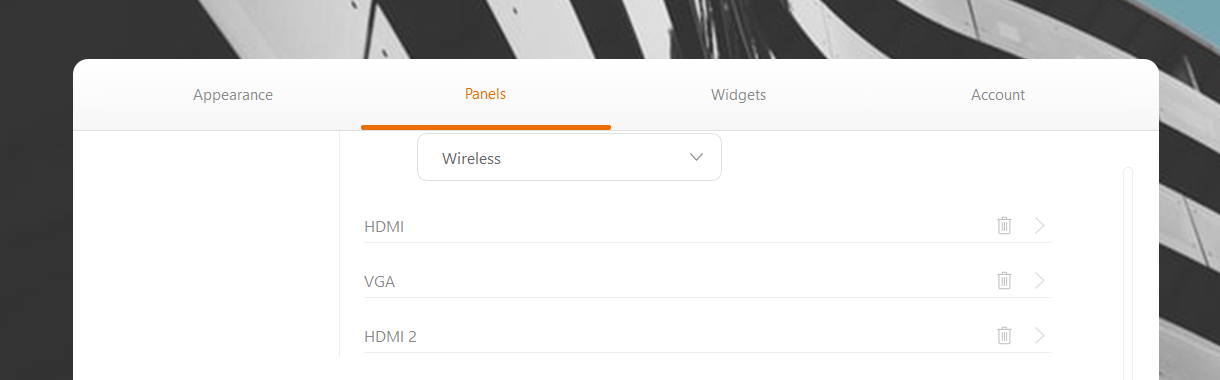
Wireless
Activate the present application by clicking the ‘present’ button on your launcher. Follow the on screen operation instructions and start screen sharing in 3 easy steps. If you would like to get some more information about our wireless presenting app, than please refer to the manual of i3ALLSYNC on it’s product page or watch our ‘how-to’ video on Youtube: https://www.i3-technologies.com/en/products/software/wireless-presenting-app/
HDMI
Of course you can also connect your laptop via HDMI cable (or HDMI with USB) - this enables duplicate screen.
Co-Create
Co-create allows users to instantly link with other interactive whiteboards and PCs for the ultimate real-time collaboration experience using the www.i3campfire.com application or any other application of choice.
For more information about this collaboration tool, please refer to our website:
https://www.i3-technologies.com/en/products/software/meeting-platform/
"Co-Create" button configurations
The Co-create button can be configured in the settings where either i3CAMPFIRE or custom application can be selected.

In case user selected i3CAMPFIRE option, when Co-Create button is clicked, the i3SingleSignOn application will open. Upon login, i3CAMPFIRE application will open in a browser.
i3CAMPFIRE is a cloud-based collaboration platform that can be accessed anytime, anywhere and on any device. Get you i3CAMPFIRE license and get started!
NOTE: It is not possible to pass extra command line parameters to an application from within the admin panel. This can be achieved by creating a Windows shortcut and adding the parameters in the Windows shortcut. This shortcut can then be used in Launcher.
Other Main Screen Features
Windows logout/lock
This feature displays the logged in Windows user’s details (name and image) on the home screen.
The design and position of this feature depends on the type of layout you are using.
Windows User Configuration
Open the settings to adjust Windows user display.
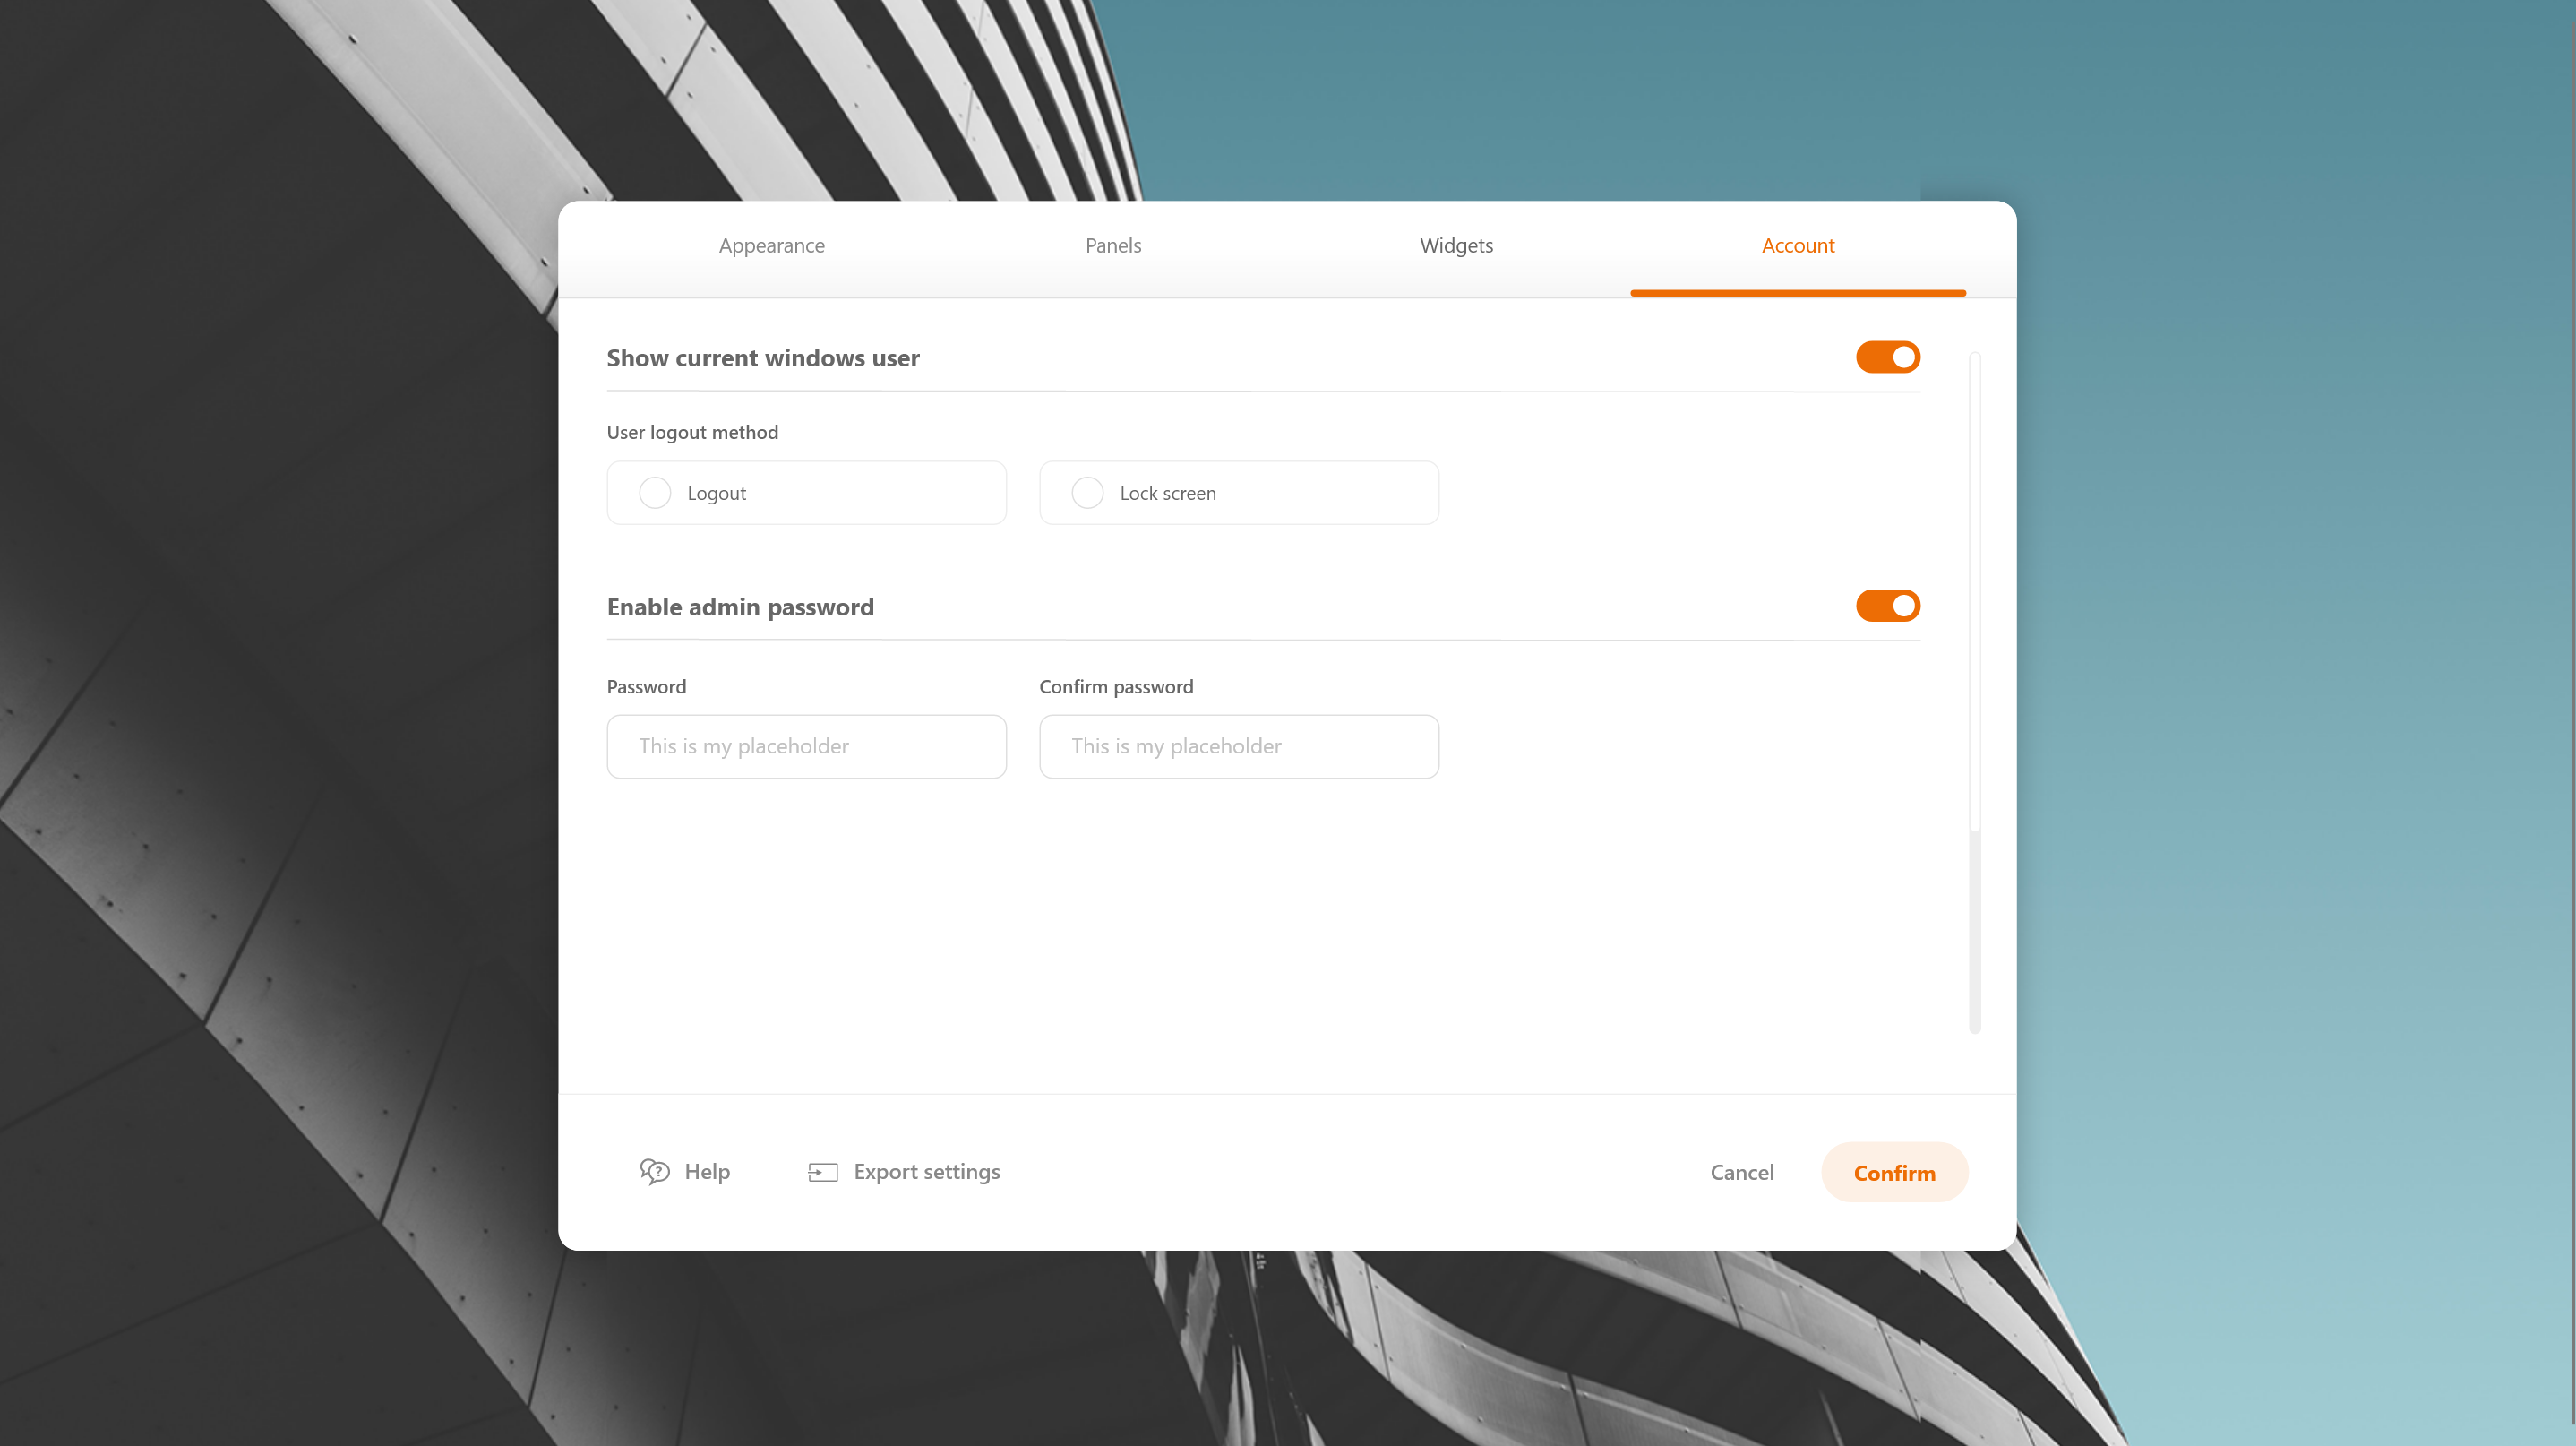
The exit button can be configured to either log out of the Windows account or lock the Windows desktop. This feature can also be toggled on/off from the dashboard.
Press ‘log out’ to log out of the Windows account.
Press ‘lock screen’ to lock the Windows desktop.
Slide the orange toggle to turn this feature on or off.
Bookmarks
Add an unlimited number of bookmarks for instant access. Bookmarks can be files, folders or web links and can be configured using the settings.
NOTE: Web links will be opened with your default browser.
Configure bookmarks on the dashboard
Click "+ Add Bookmark"
Choose bookmark type (file, folder or URL). Names can be edited.
Drag and drop the bookmarks to change the order.
Click save.

NOTE: Slide the orange toggle to turn on/off bookmarks from dashboard.
Floating Home Button
The CO-LAB Launcher contains a floating Home button which always floats on top to your applications. Pushing this button will always return you to the Launcher/home screen.
This floating home button can be dragged to any location on the screen to avoid that it conflicts with other content on the display.
Floating button settings
The setttings menu allows you to configure this floating button. The main characteristic of this button is that you can also lock it on the central bottom of the screen. This lock can be applied through the settting menu.

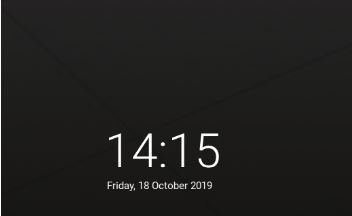
Clock
The launcher displays the current time and date in AM/PM or 24h format as set in your windows computer system settings (not the settings).
Clock
Before starting your meeting, set your timing! Because time is money.
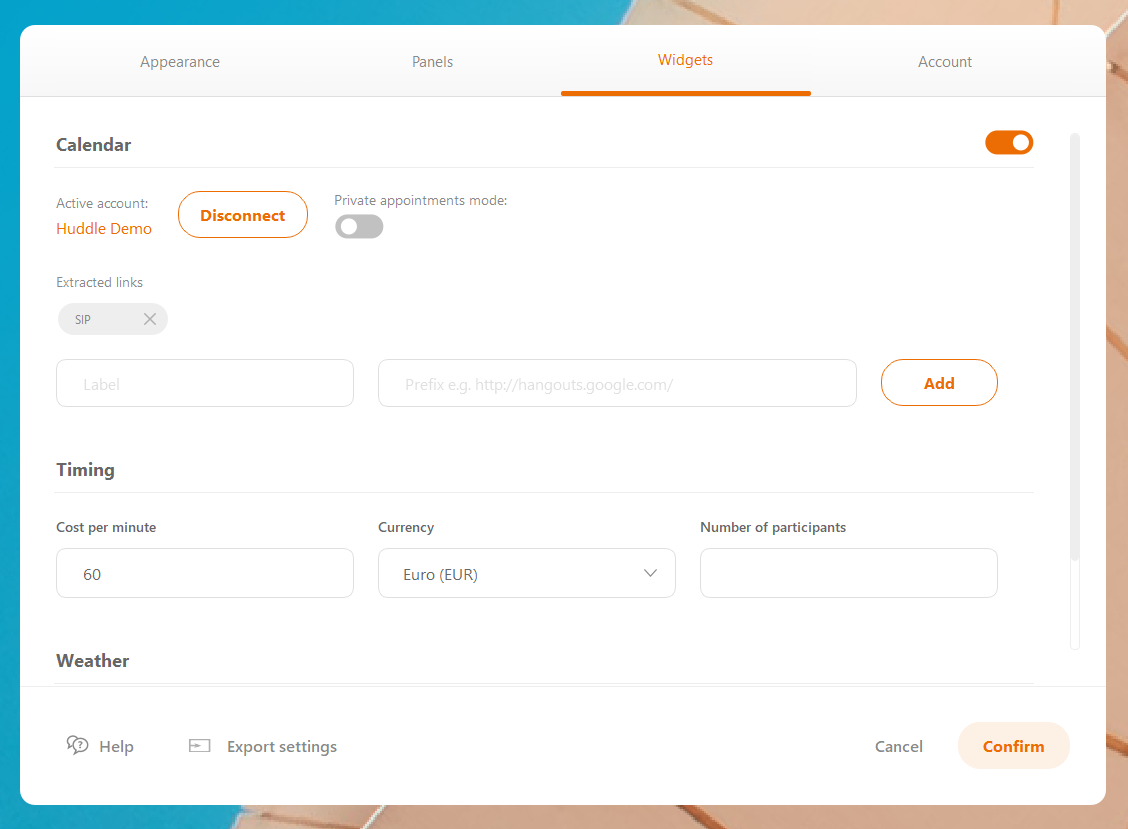
Meeting cost
Displays the cost of the current meeting. The User can enter the cost per minute, as well as, setting the currency (USD, EUR and others) and choosing the number of participants in the meeting. The latter can only be set when there is an active meeting. We call it an active meeting when an user has scheduled a meeting in his Office 365 calender, then you can set the meeting cost during the time span that the meeting is scheduled.
Weather
The city, for which the weather will be displayed, should be entered by the user via the settings.
Country code (e.g. "fr", "de", "us") is optional but it helps to avoid the issue with cities which have the same name in different countries.
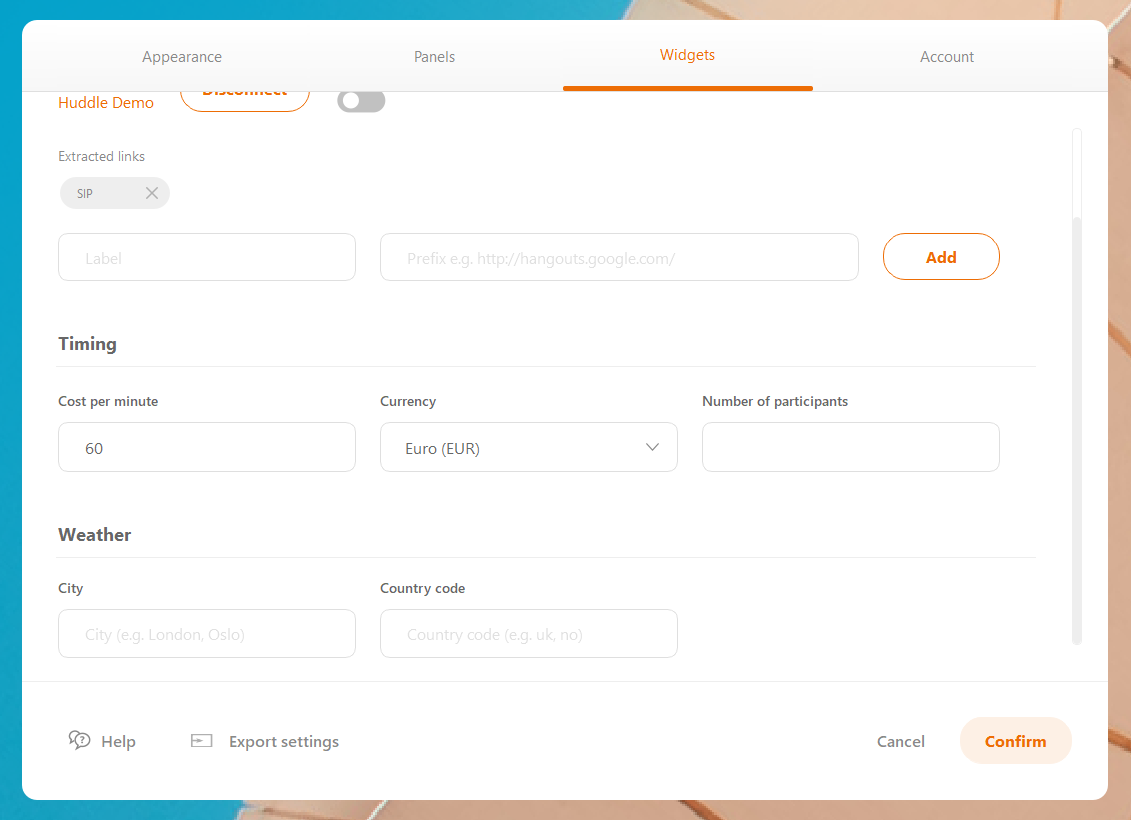
NOTE: Internet connection is required for the weather function to work.
Interface Language
The language of the application is determined based on the System language. Date for the clock is also taken from the System.
For now, only English and Dutch are supported.
Export Launcher settings to other devices or profiles
Once preferences have been set and the appearance of the launcher finalised, export the settings by pressing the ‘Export Settings’ button in the settings.
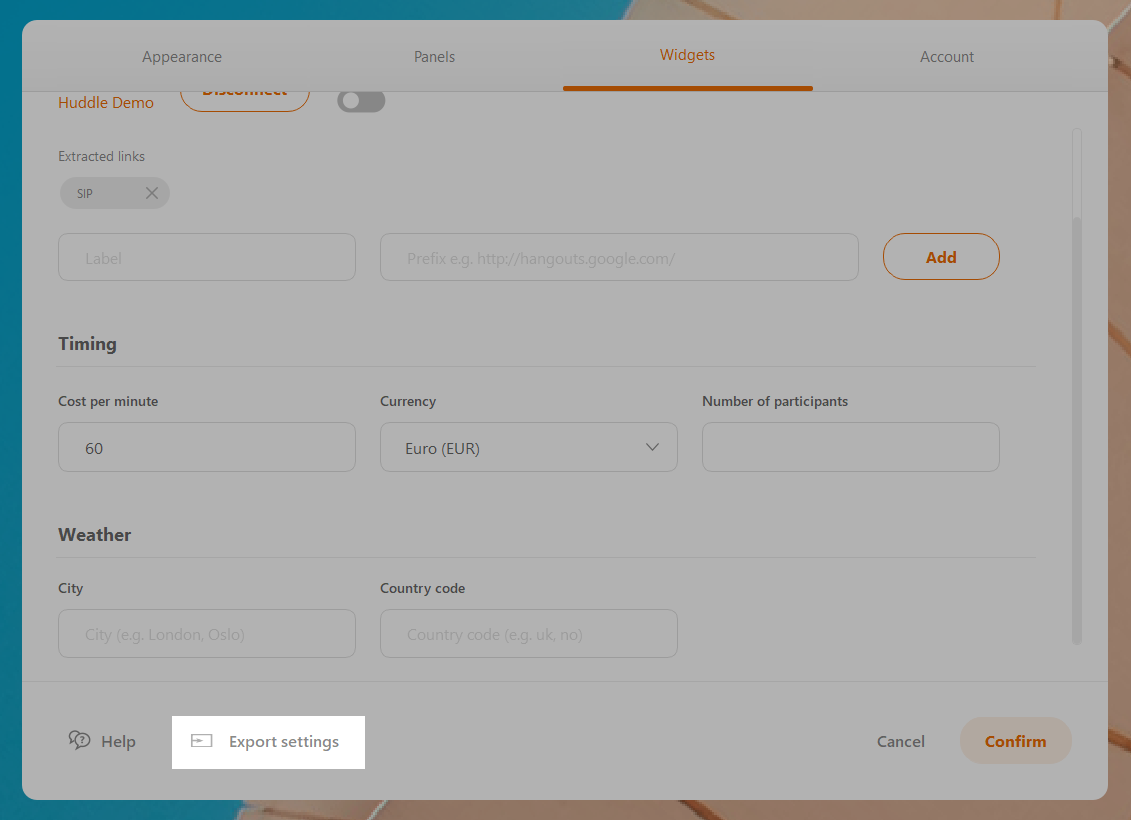
Exporting these settings, allows you to import your customised settings.
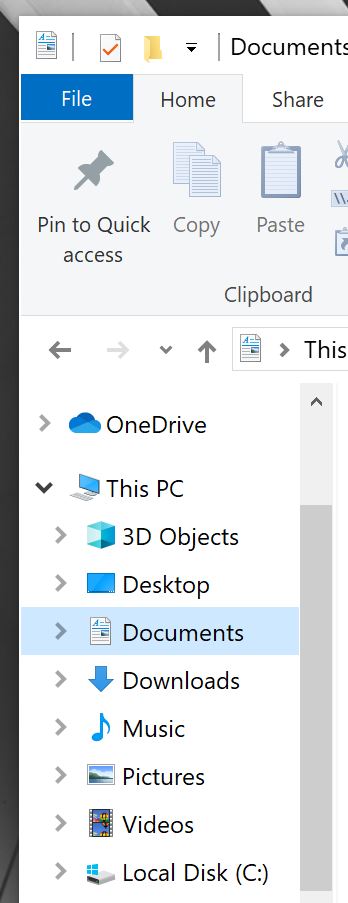
The export file is in the "Documents" folder on your local device.
Import the settings simply by double clicking on the file in the Launcher folder.
Customize Your Launcher
Password
If you don't want users to be able to change the look and feel of your launcher, then set an admin password when opening the settings.

After setting your password, a pop up window will appear when a user will open the settings.
In case you forgot your password, click the ‘reset password’ in the pop up window and type the default password (3333). A notification will be displayed explaining that your password was changed successfully. NOTE: The login password is now the default password. To change the password, just open your settings, go to 'account' and set your password again.
Pre-defined interface layouts
There are different types of dashboard layouts available: rich or simple, round or square and horizontal or vertical (dark/light). And if this is not enough, than you can also manage numerous other settings as wish.
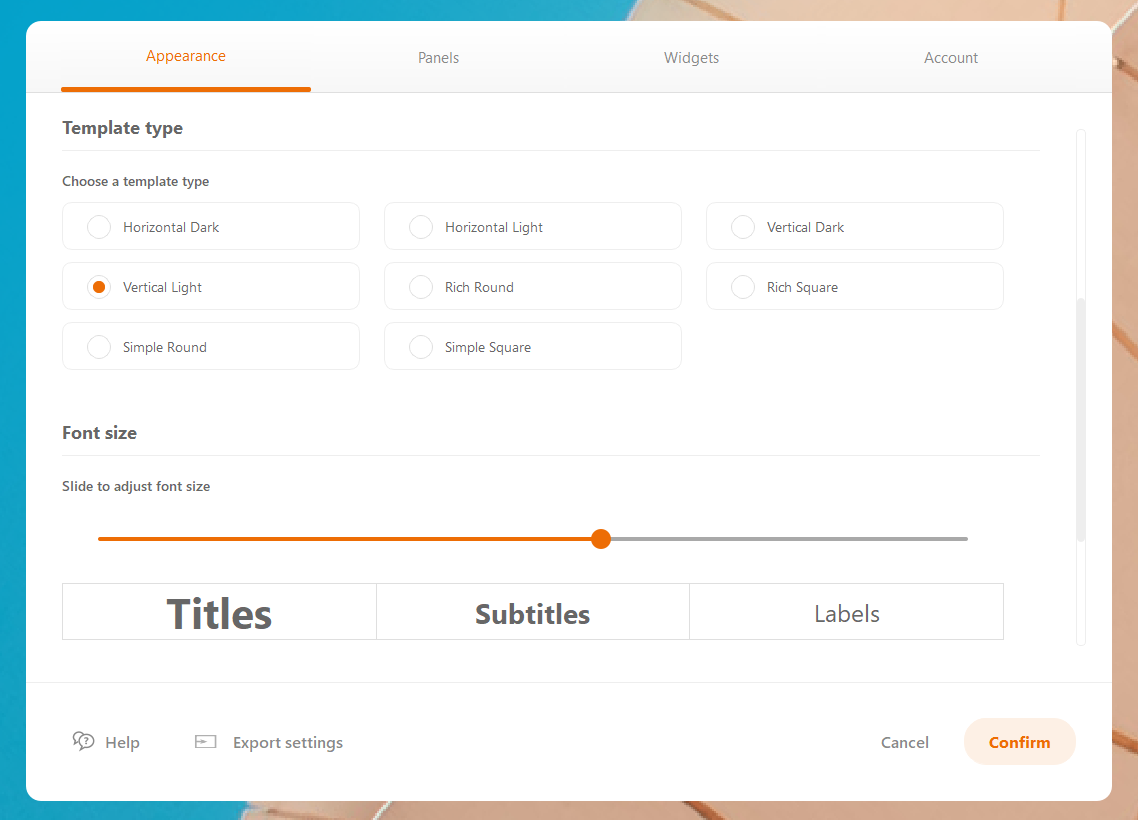
Vertical or horizontal dark/light
Choose to sort your buttons horizontal or vertical and choose if you would like to have dark or ligth buttons. When you choose for 'vertical', the buttons and columns will be sorted vertically. When choosing for the horizontal layout, then of course the buttons are sorted horizontally. The only choice you have left to make is choosing between dark (dark grey) and light (light grey) buttons.

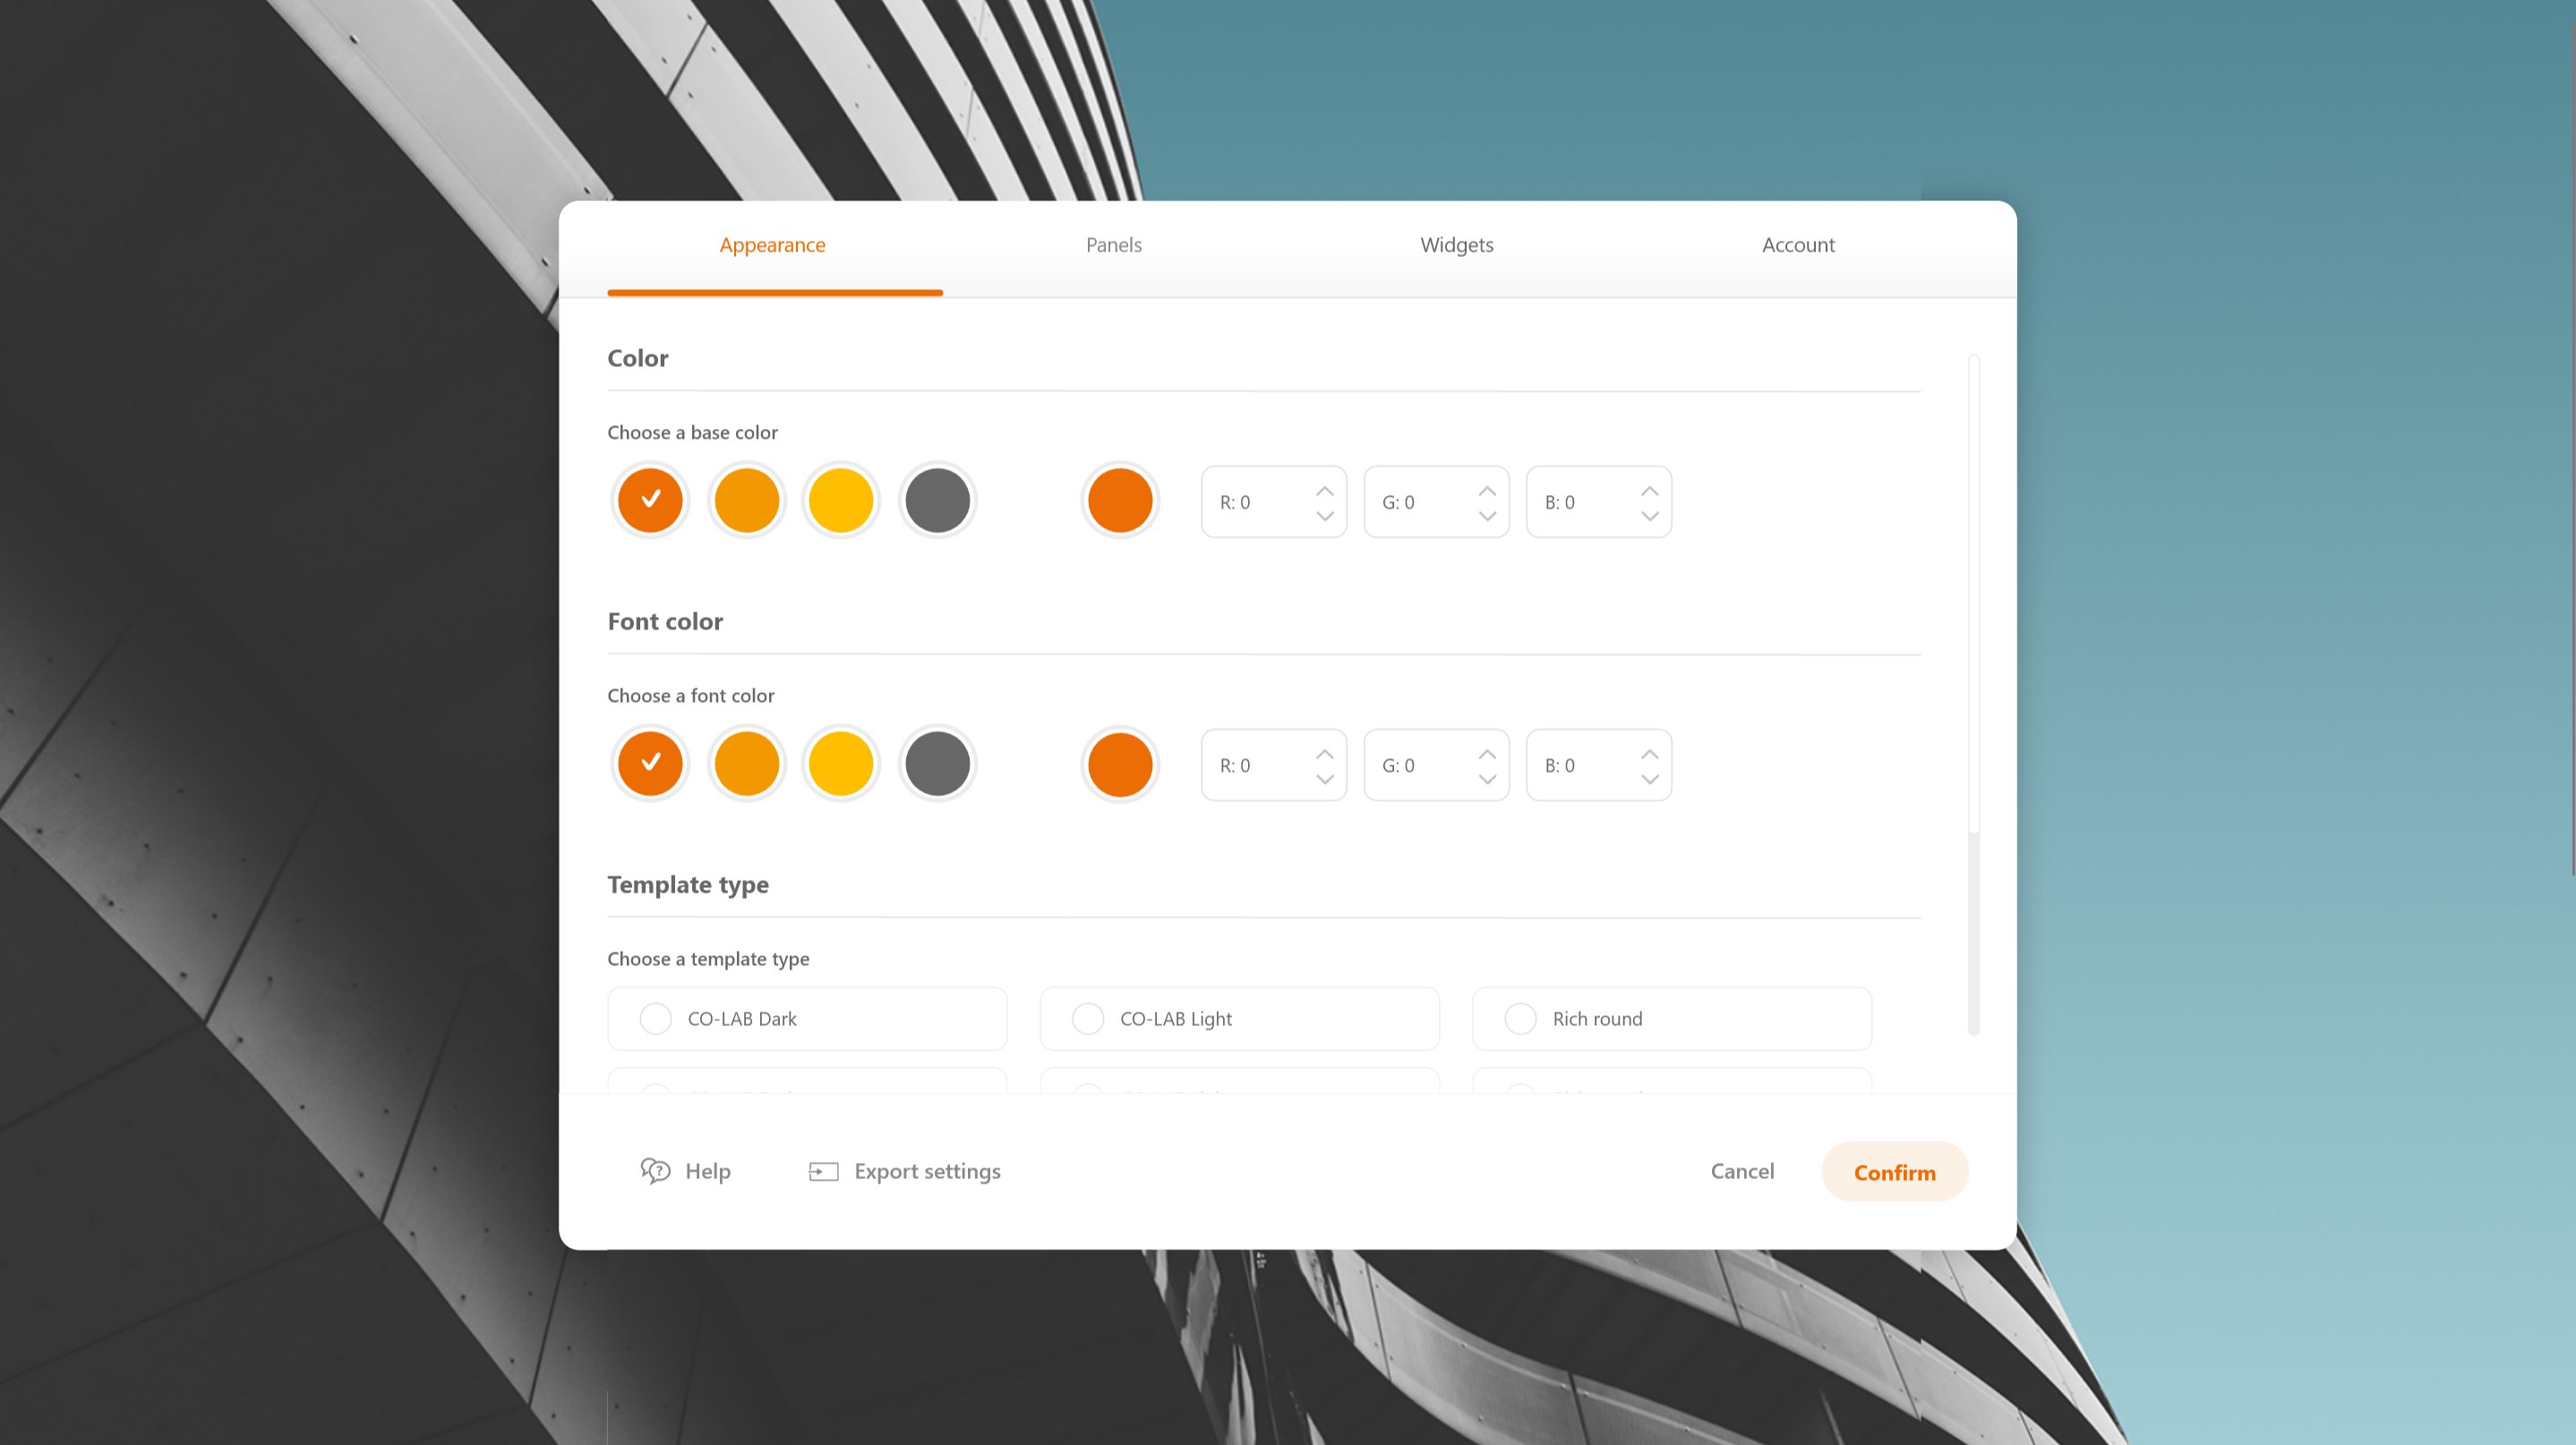
Rich or simple and round or square
Another type of a pre-configured templates is the choice between round and square buttons and the options to have the buttons rich or simple. Besides, you can also choose the colors of the buttons and much more. And if that's not enough, even choose the style of your titles, subtitles and labels. And set your background and logo as you prefer to.
All these options have been integrated to help you make your home screen as personalized as possible. And most important of all, set your home screen as you like at the push of a button. Enjoy!
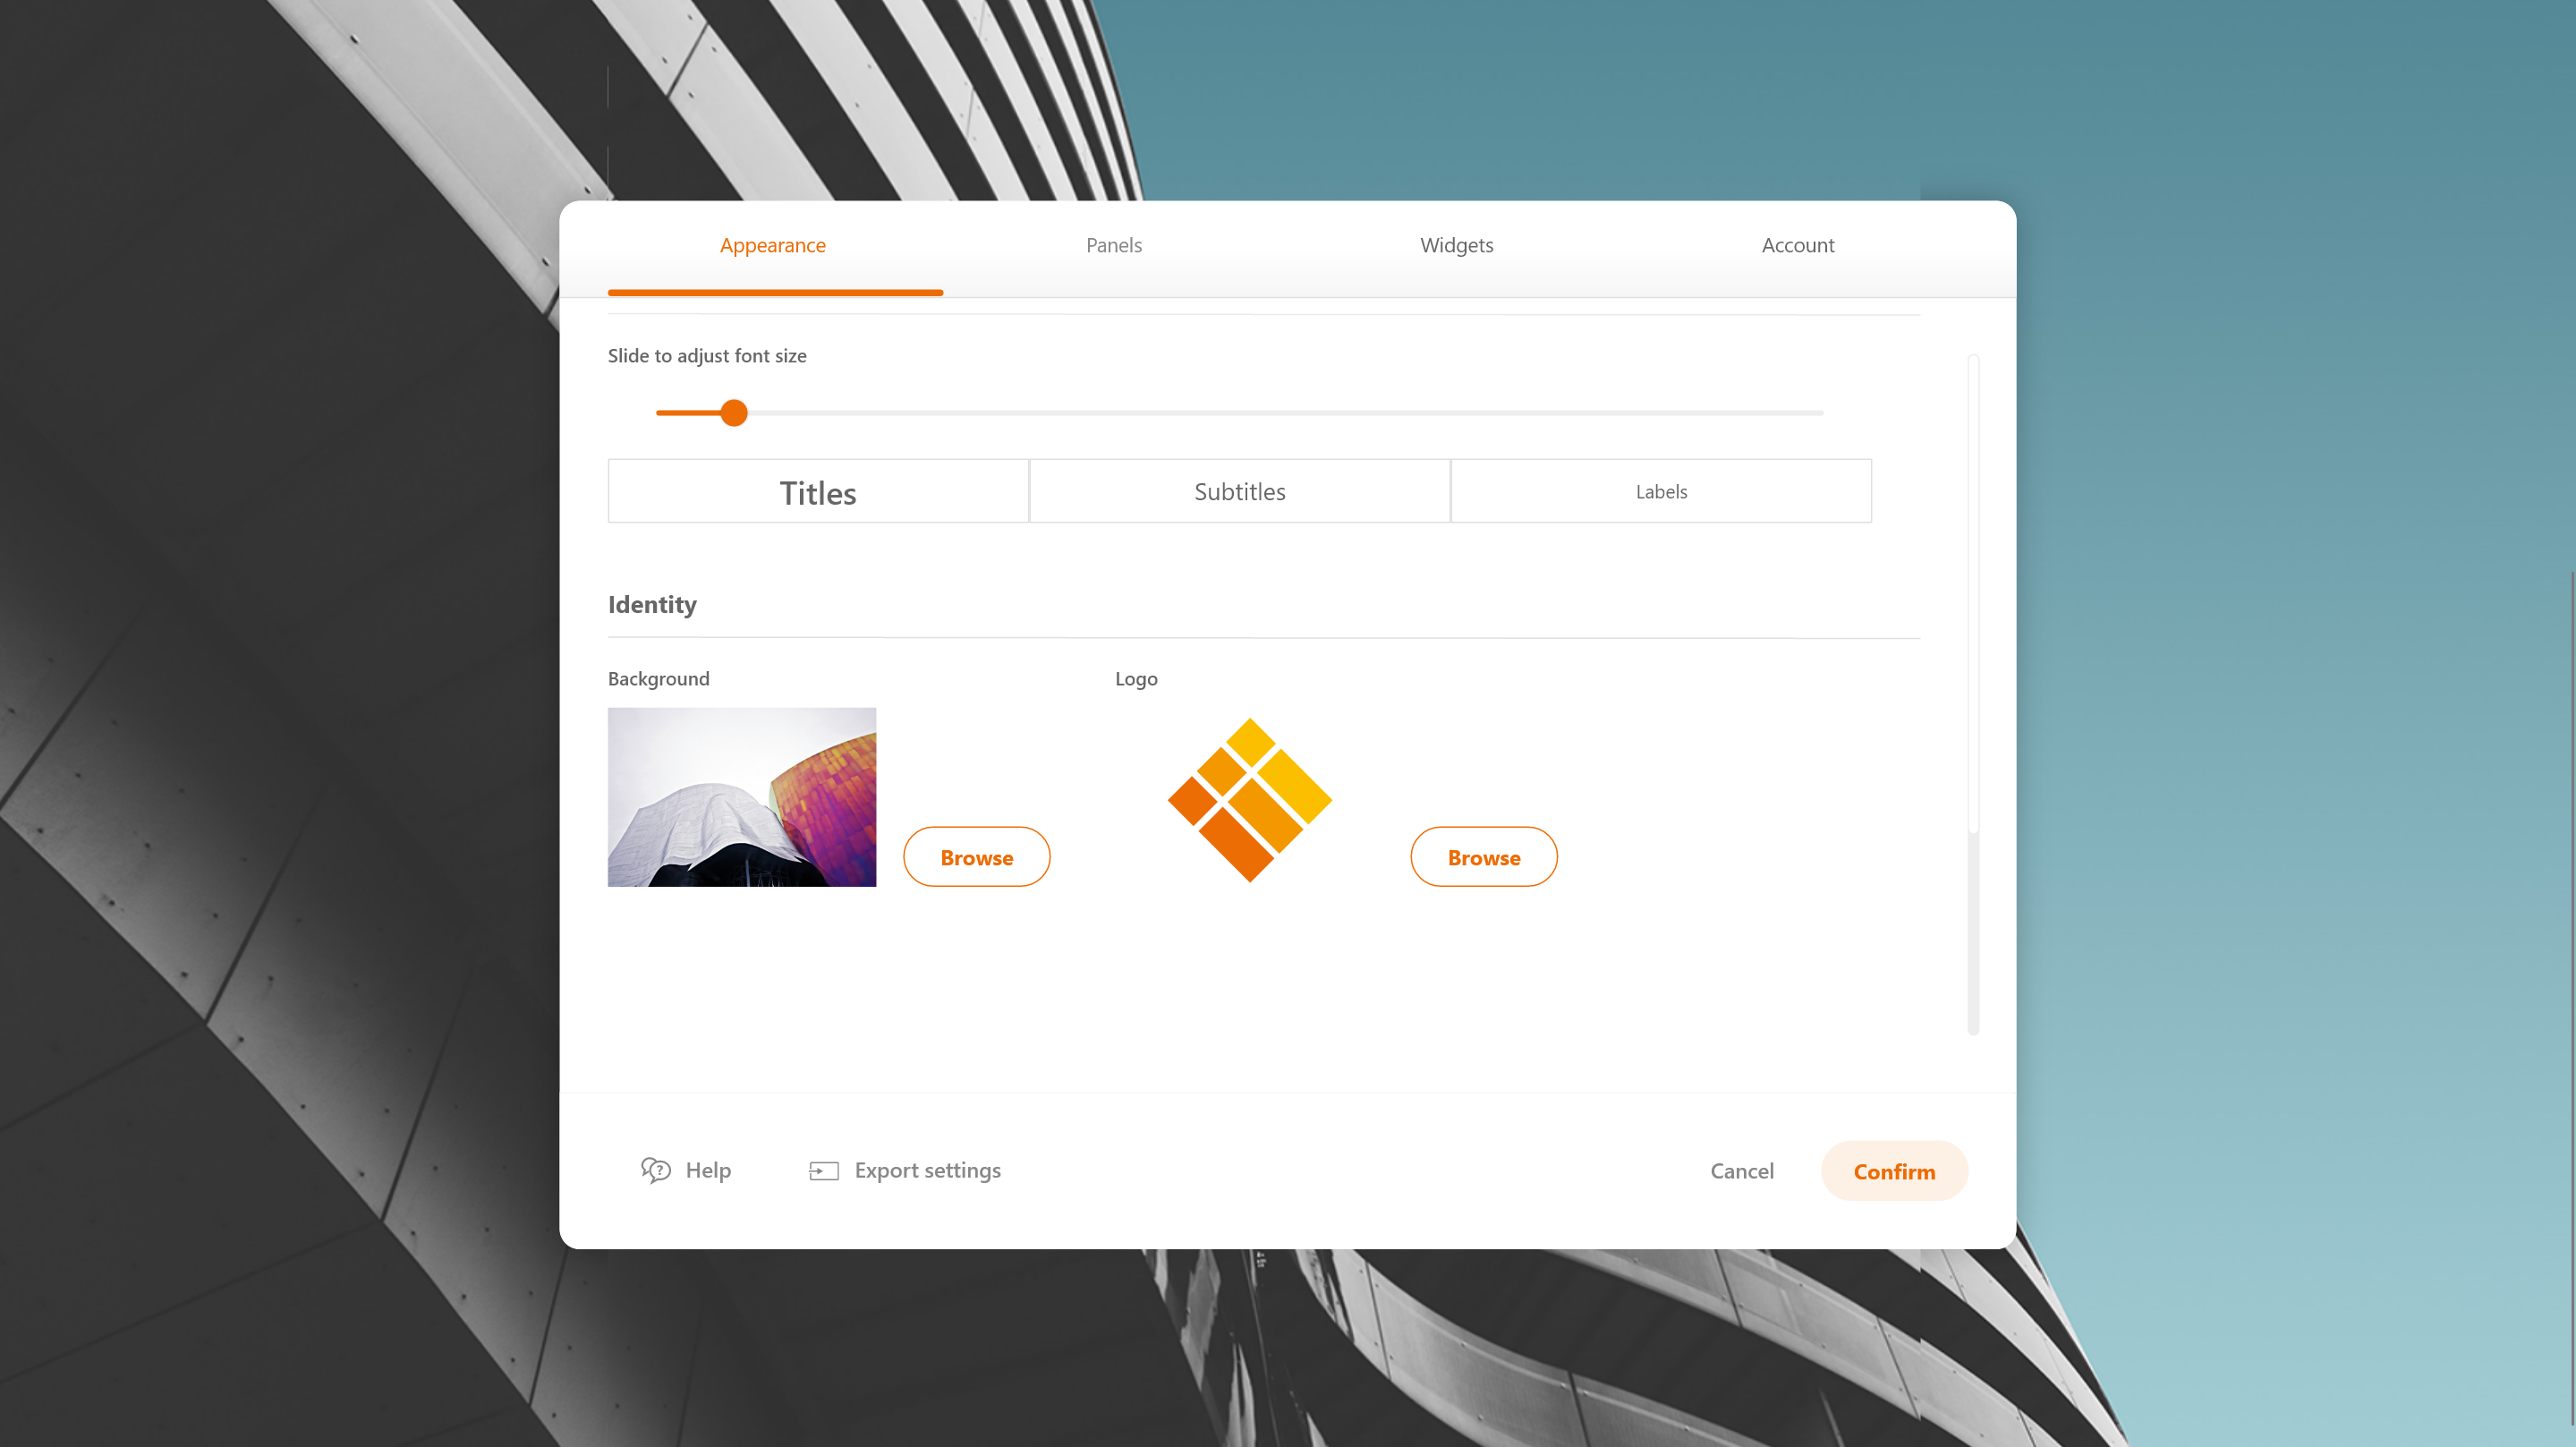
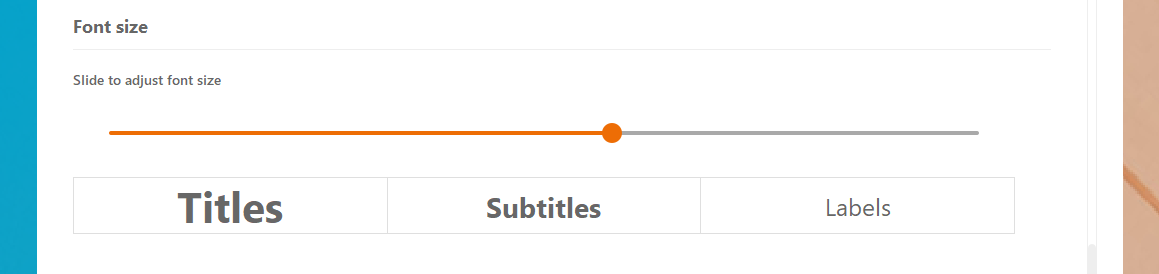
Font size
The font size is automatically adjusted based on your screen resolution, but it can also be adjusted manually in the settings. Just drag the slider to change the font size, as see the live preview of changes. Then click "confirm".
Background image/video
By default, a sample image is displayed on the Launcher dashboard. The image can be found inside the Launcher "Media" folder. Please do not change or delete "bkg_img_default.jpg" as it is part of the installation package.
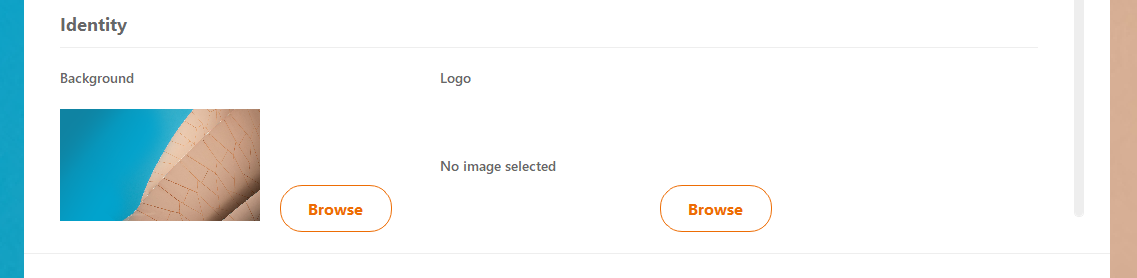
To change the background, go to the launcher settings "Identity" section and click "Browse" next to background. Select the image from your PC, appropriate to your screen resolution, and click "Save". The background image size should be in line with your screen resolution. Supported resolutions are described in "System requirements" section.
NOTE: Acceptable images formats: PNG/JPG/BMP
A video background can be used as well, however, a codec pack such as K-Lite (https://www.codecguide.com/download_kl.htm) is required on your machine.
Acceptable videos formats: MP4. The background video is scaled to the screen resolution (up or down) without keeping the original proportions. For the best results upload a video which is proportional in size to the screen resolution, so the video won’t de distorted by unsuitable scaling.
NOTE: running 4K video as a background may affect the CO-LAB Suite OPS performance.
Custom logo image
The logo can also be set in each layout.
By default, the "i3-Technologies" logo is displayed. To change the logo, go to the settings "Identity" section and click "Browse" next logo. Select the image from your PC, appropriate to your screen resolution, and click "Save".
For best results we recommend uploading a logo matching the resolutions below, which will result in your logo being displayed without any clipping or scaling.
UHD: 1728 x 216 px
FHD: 864 x 120 px
Acceptable image formats: PNG/SVG
Horizontal logos will look better because the logo occupies a rectangular area on the dashboard. You do not need to match the exact size; however, your logo will be scaled up or down with respect for its proportions.
Password
Password Configurations

To change the password for the settings, open the settings, navigate to the tab 'account' and go to the section 'enable admin password' to set your password.
Slide the orange toggle to turn the password lock on or off.
Reset password
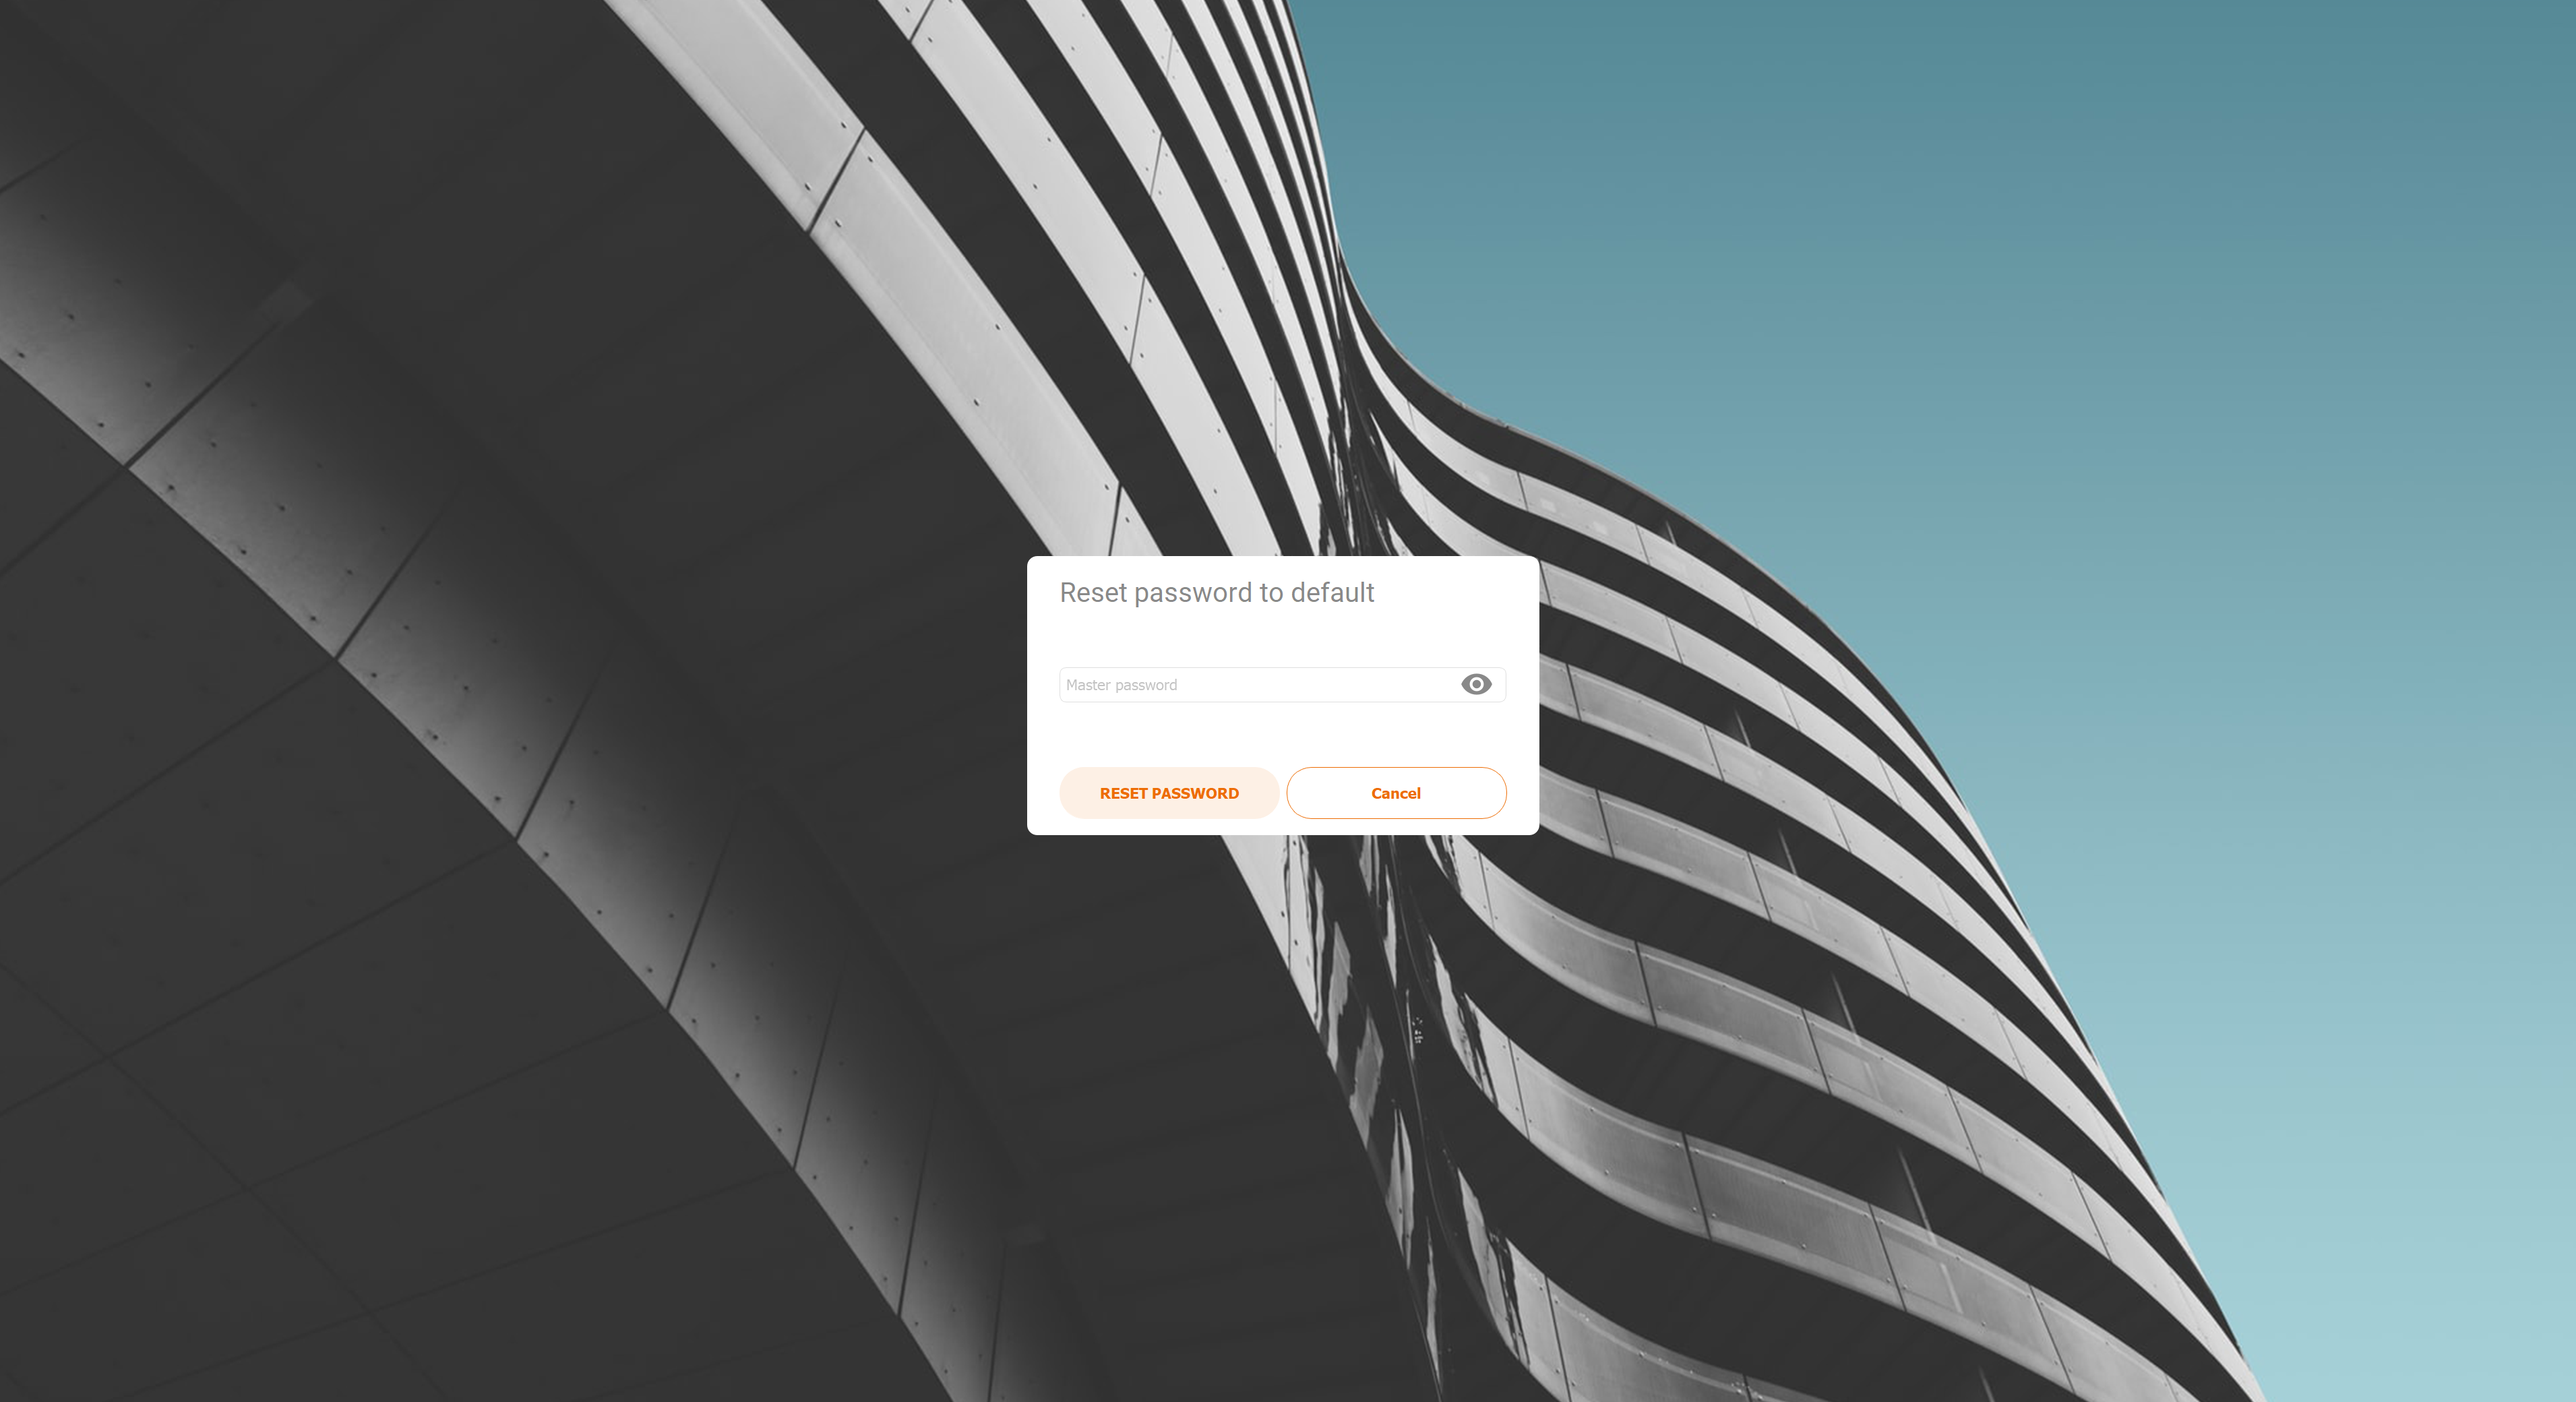
If an incorrect password is entered, an error message will appear - "Sorry, this password is incorrect".
Click ‘reset password’ button to start password reset and type the default ‘Master’ password (3333). After resetting the admin password, the 'Master' password will automatically be set as new admin password. You can change your admin password again via your settings.
Calendar
This feature lets users connect their Office 365 mail account to display current meetings/calendar on the Launcher dashboard.
Configure Calendar Widget
Login to the Admin panel, nagivate to the 'widgets' tab and go to the Calendar section.
Enter the credentials of the Office 365 mail account you would like to connect to the launcher. Press connect and save all changes.

On the dashboard the scheduled meetings for the day will be displayed (meeting title, time and body). If the body of the meeting contains a SIP link, e.g. the link to join a Skype or Zoom meeting, the meeting details be accessible by clicking on the title of the meeting (in case of round layout) or on the "join meeting" button (in case of square layout and only for Skype for Business). In addition to Skype or Zoom links, it is also possible to add custom links in the settings which also will be extracted from a meeting body.
There is also "Manual update" button to update the calendar data immediately and not wait for the next automatic synchronization.
By default, calendar meetings are public, except if user marks it as private when creating a meeting in outlook calendar. If private mode is enabled in the settings, all meetings will have no title and body but instead only meeting host will be displayed.
App Password
Some users may not be able to login to the Launcher Calendar, because of the multi-factor authentication. To solve this, you need to create an App Password. This is the procedure how to do this.
To create an app password
Open a browser on your computer and sign in to Office 365.
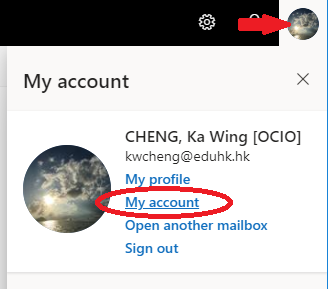
Once logged in, click your profile icon on upper right. Then choose "My account".
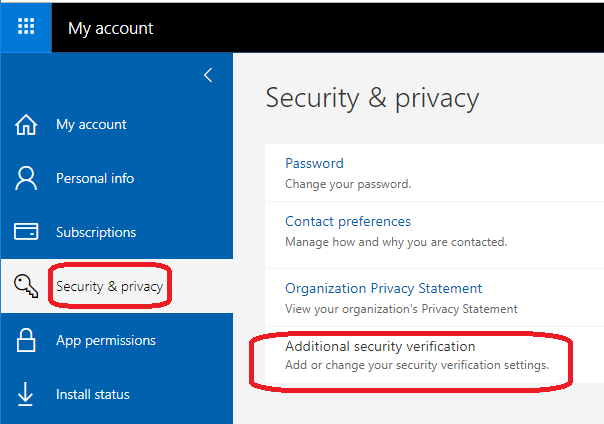
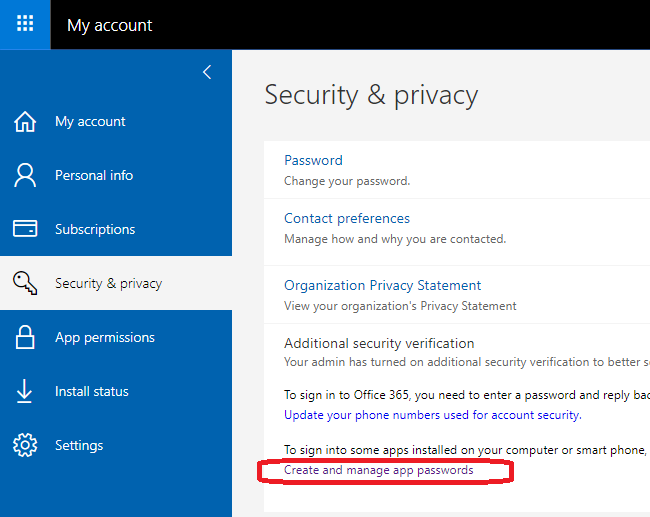
From the left panel, choose "Security & Privacy". Then choose "Additional security verification" on the right hand side (You’ll only see this option if your account has set up multi-factor authentication. If you don’t see this option, contact your OCIO to turn on multi-factor authentication for you.)
Choose "Create and manage app passwords".

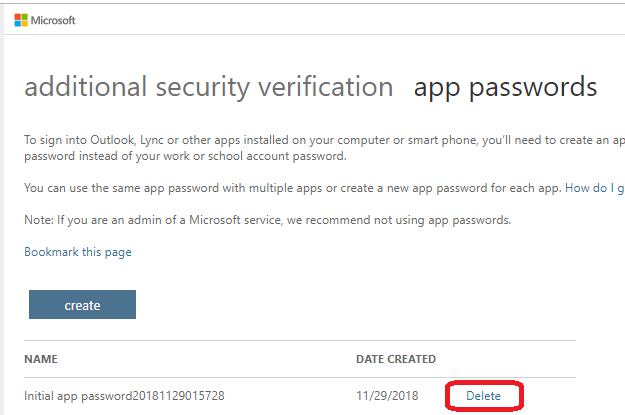
Choose "create" to get an app password.

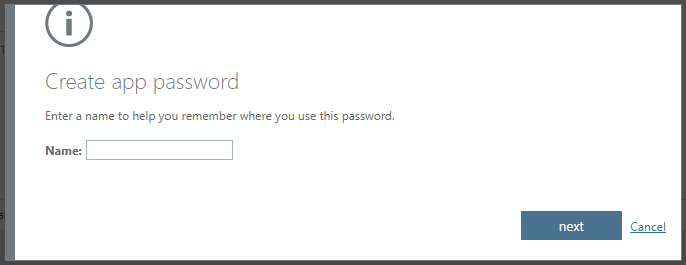
If prompted, type a name for your app password, and click Next.
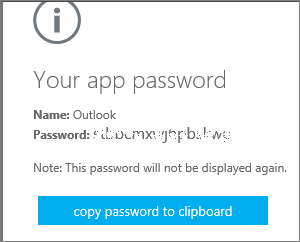
Choose "copy password to clipboard". You won’t need to memorize this password. (Note: You cannot retrieve the app password once your close the windows. Otherwise, you need to create a new app password.)
Go to the app that you want to connect to your Office 365 account. When prompted to enter a password, paste the app password in the box.
To remove an app password
Open a browser on your computer and sign in to Office 365.
Choose "Settings Office 365 gear icon > Office 365" on upper right.
Choose "Security & Privacy" > "Additional security verification". (You’ll only see this option if your account has set up multi-factor authentication. If you don’t see this option, contact your OCIO to turn on multi-factor authentication for you.)
Choose "Additional security verification".

Choose "Create and manage app passwords".
From the app password list, click "Delete" to remove the app password.
Updates
CO-LAB Launcher updates
Updates will be detected automatically (if server connection is available). When an update is available:
A pop-up system notification will inform the user about the update. Click on the notification
to be directed to the settings.A description of the update will be provided in the settings menu. By clicking "update", the update will be downloaded and installed.
After installation, the dashboard will open and there will be a notification if the installation was successful.
CO-LAB Configuration
System requirements:
The CO-LAB SUITE software is only available on a pre-installed OPS.