Setup Wizard
Welcome, to i3STUDIO.
i3STUDIO includes a setup wizard to guide you through the setup and configuration of your i3TOUCH display. The Setup wizard will start automatically when you first start up the i3TOUCH display but can also be accessed via the Quick settings menu in the i3STUDIO Launcher.
To open the Setup wizard via the Quick settings, open the side menu. Click the cogwheel icon at the top of the menu. This will open the settings from the bottom of the window. Under the Quick Settings section, select the Wizard icon. The Setup wizard will now start up.
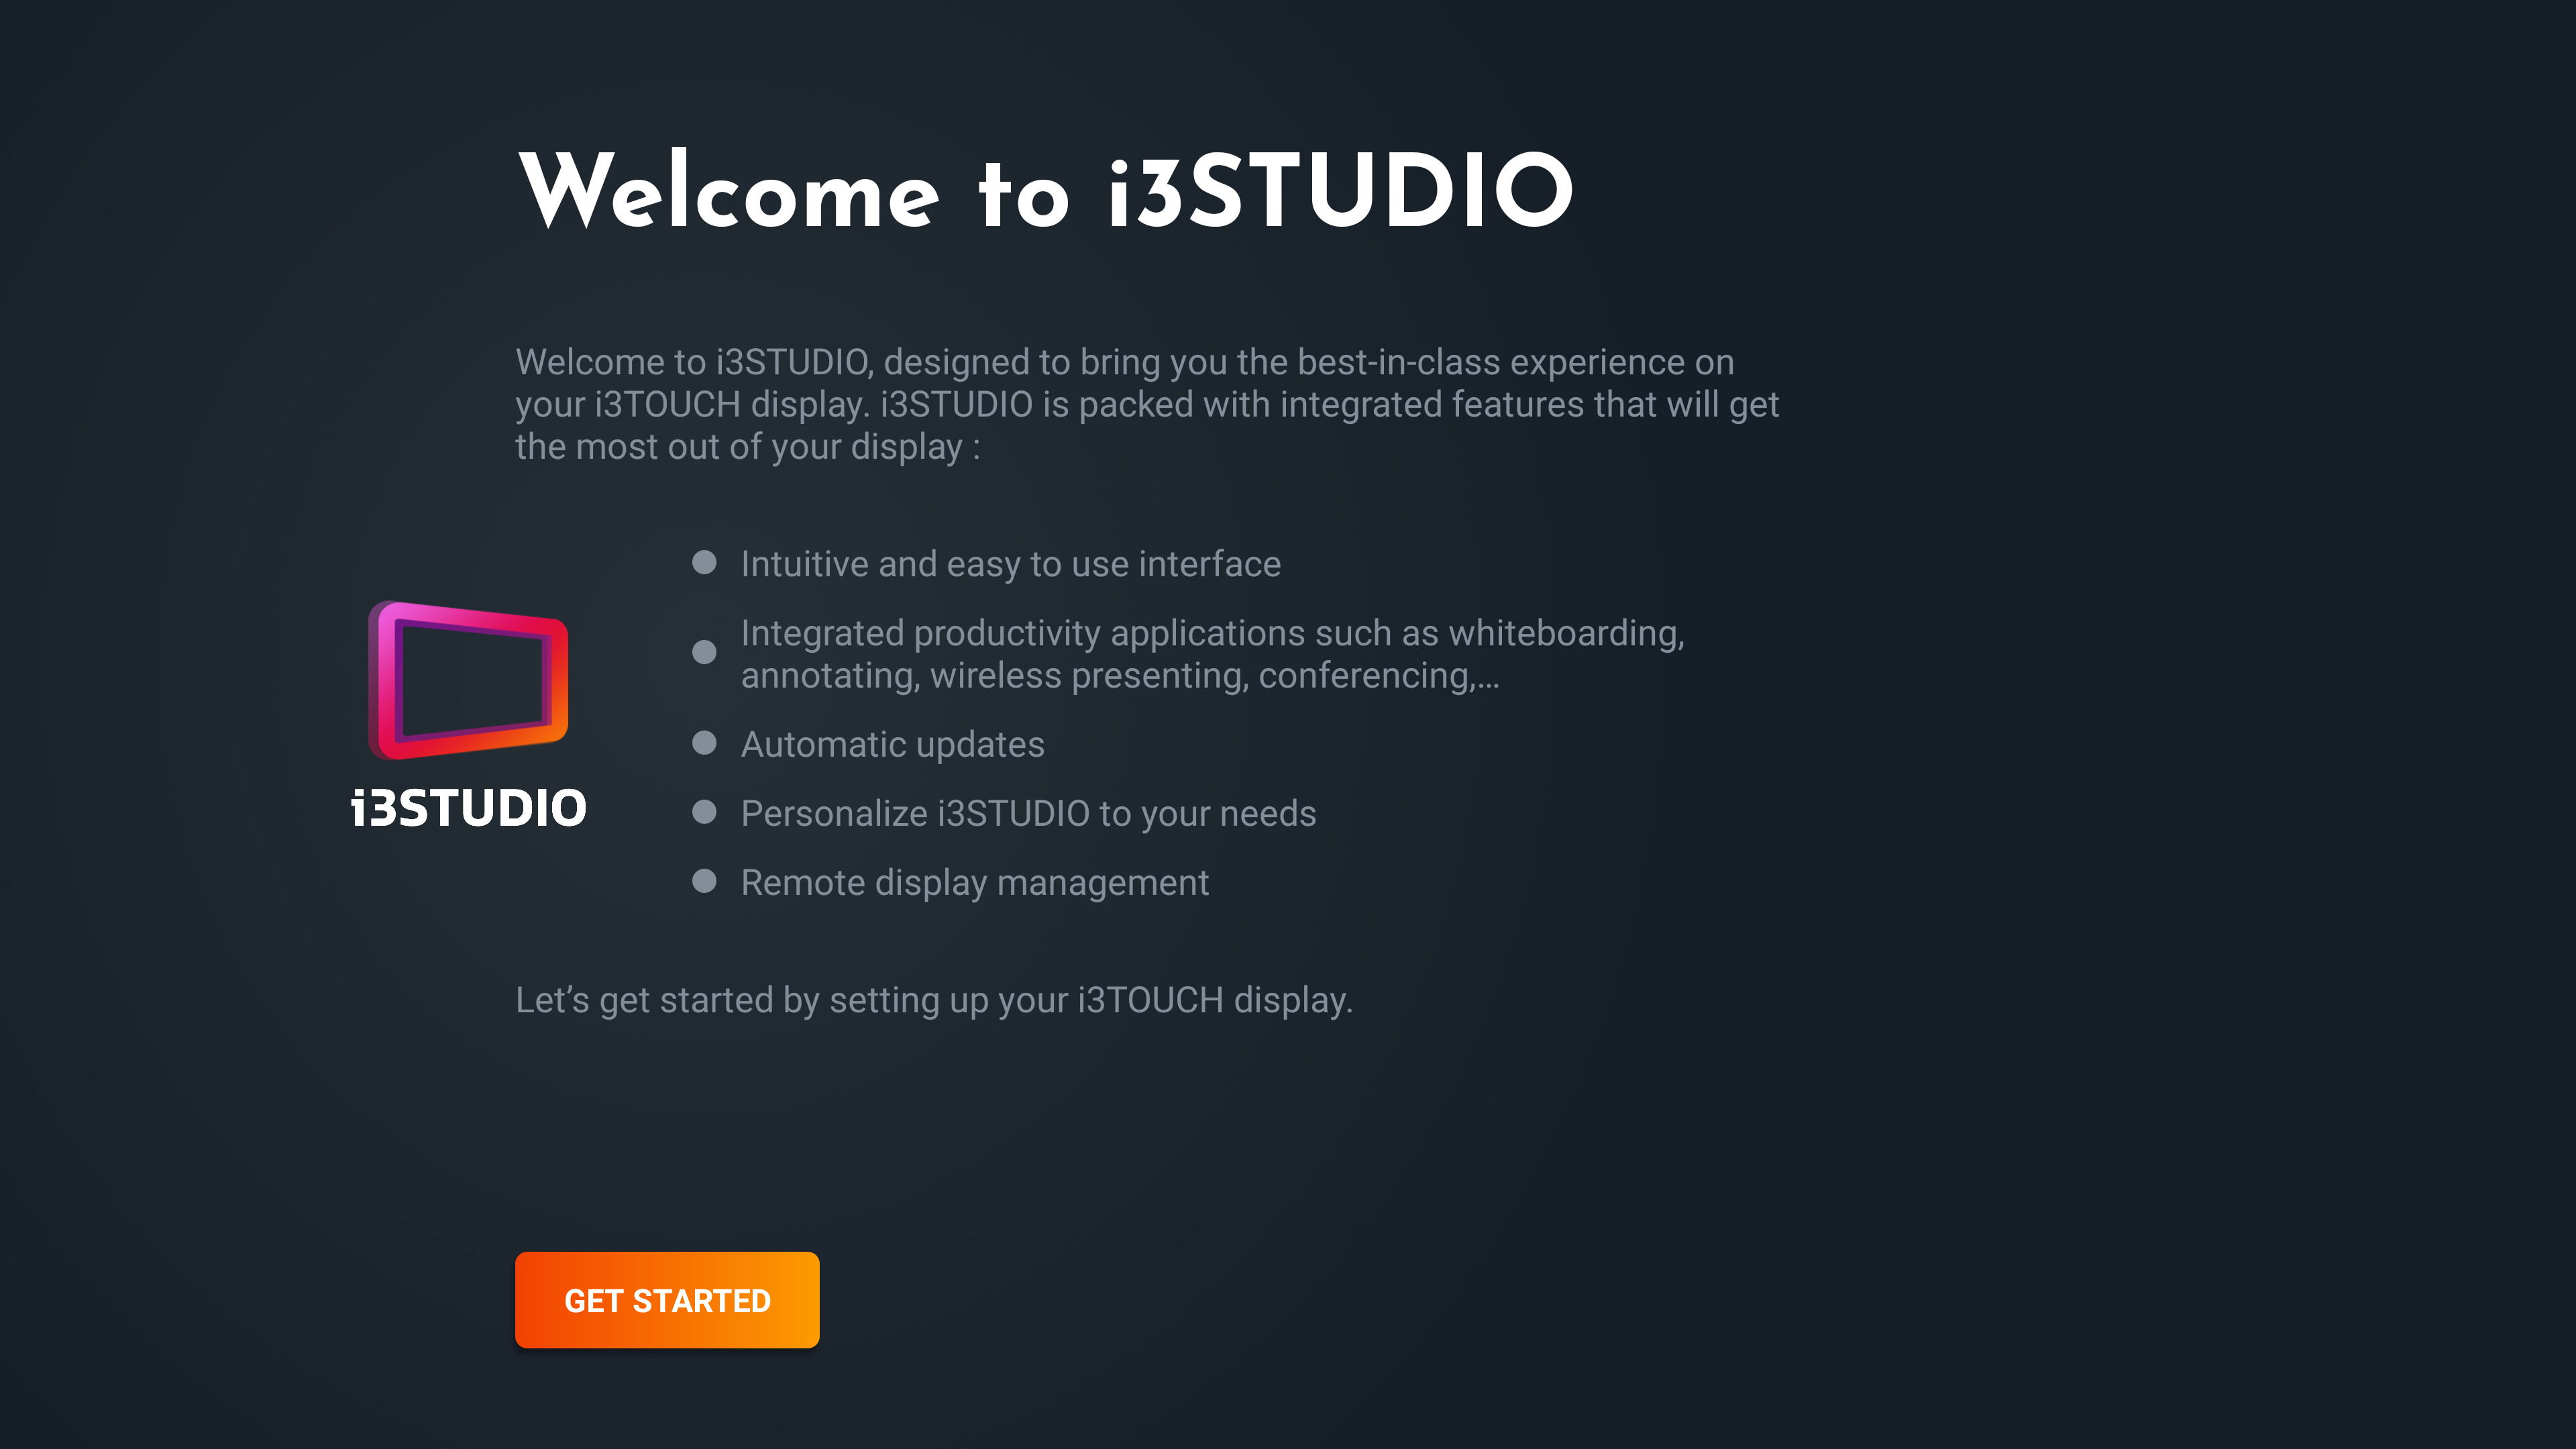
Welcome to i3STUDIO
This screen will guide you through the Setup wizard. Select “Get started” to continue. If you make a mistake in one of the steps, you can use the “back” button to go back and change it.
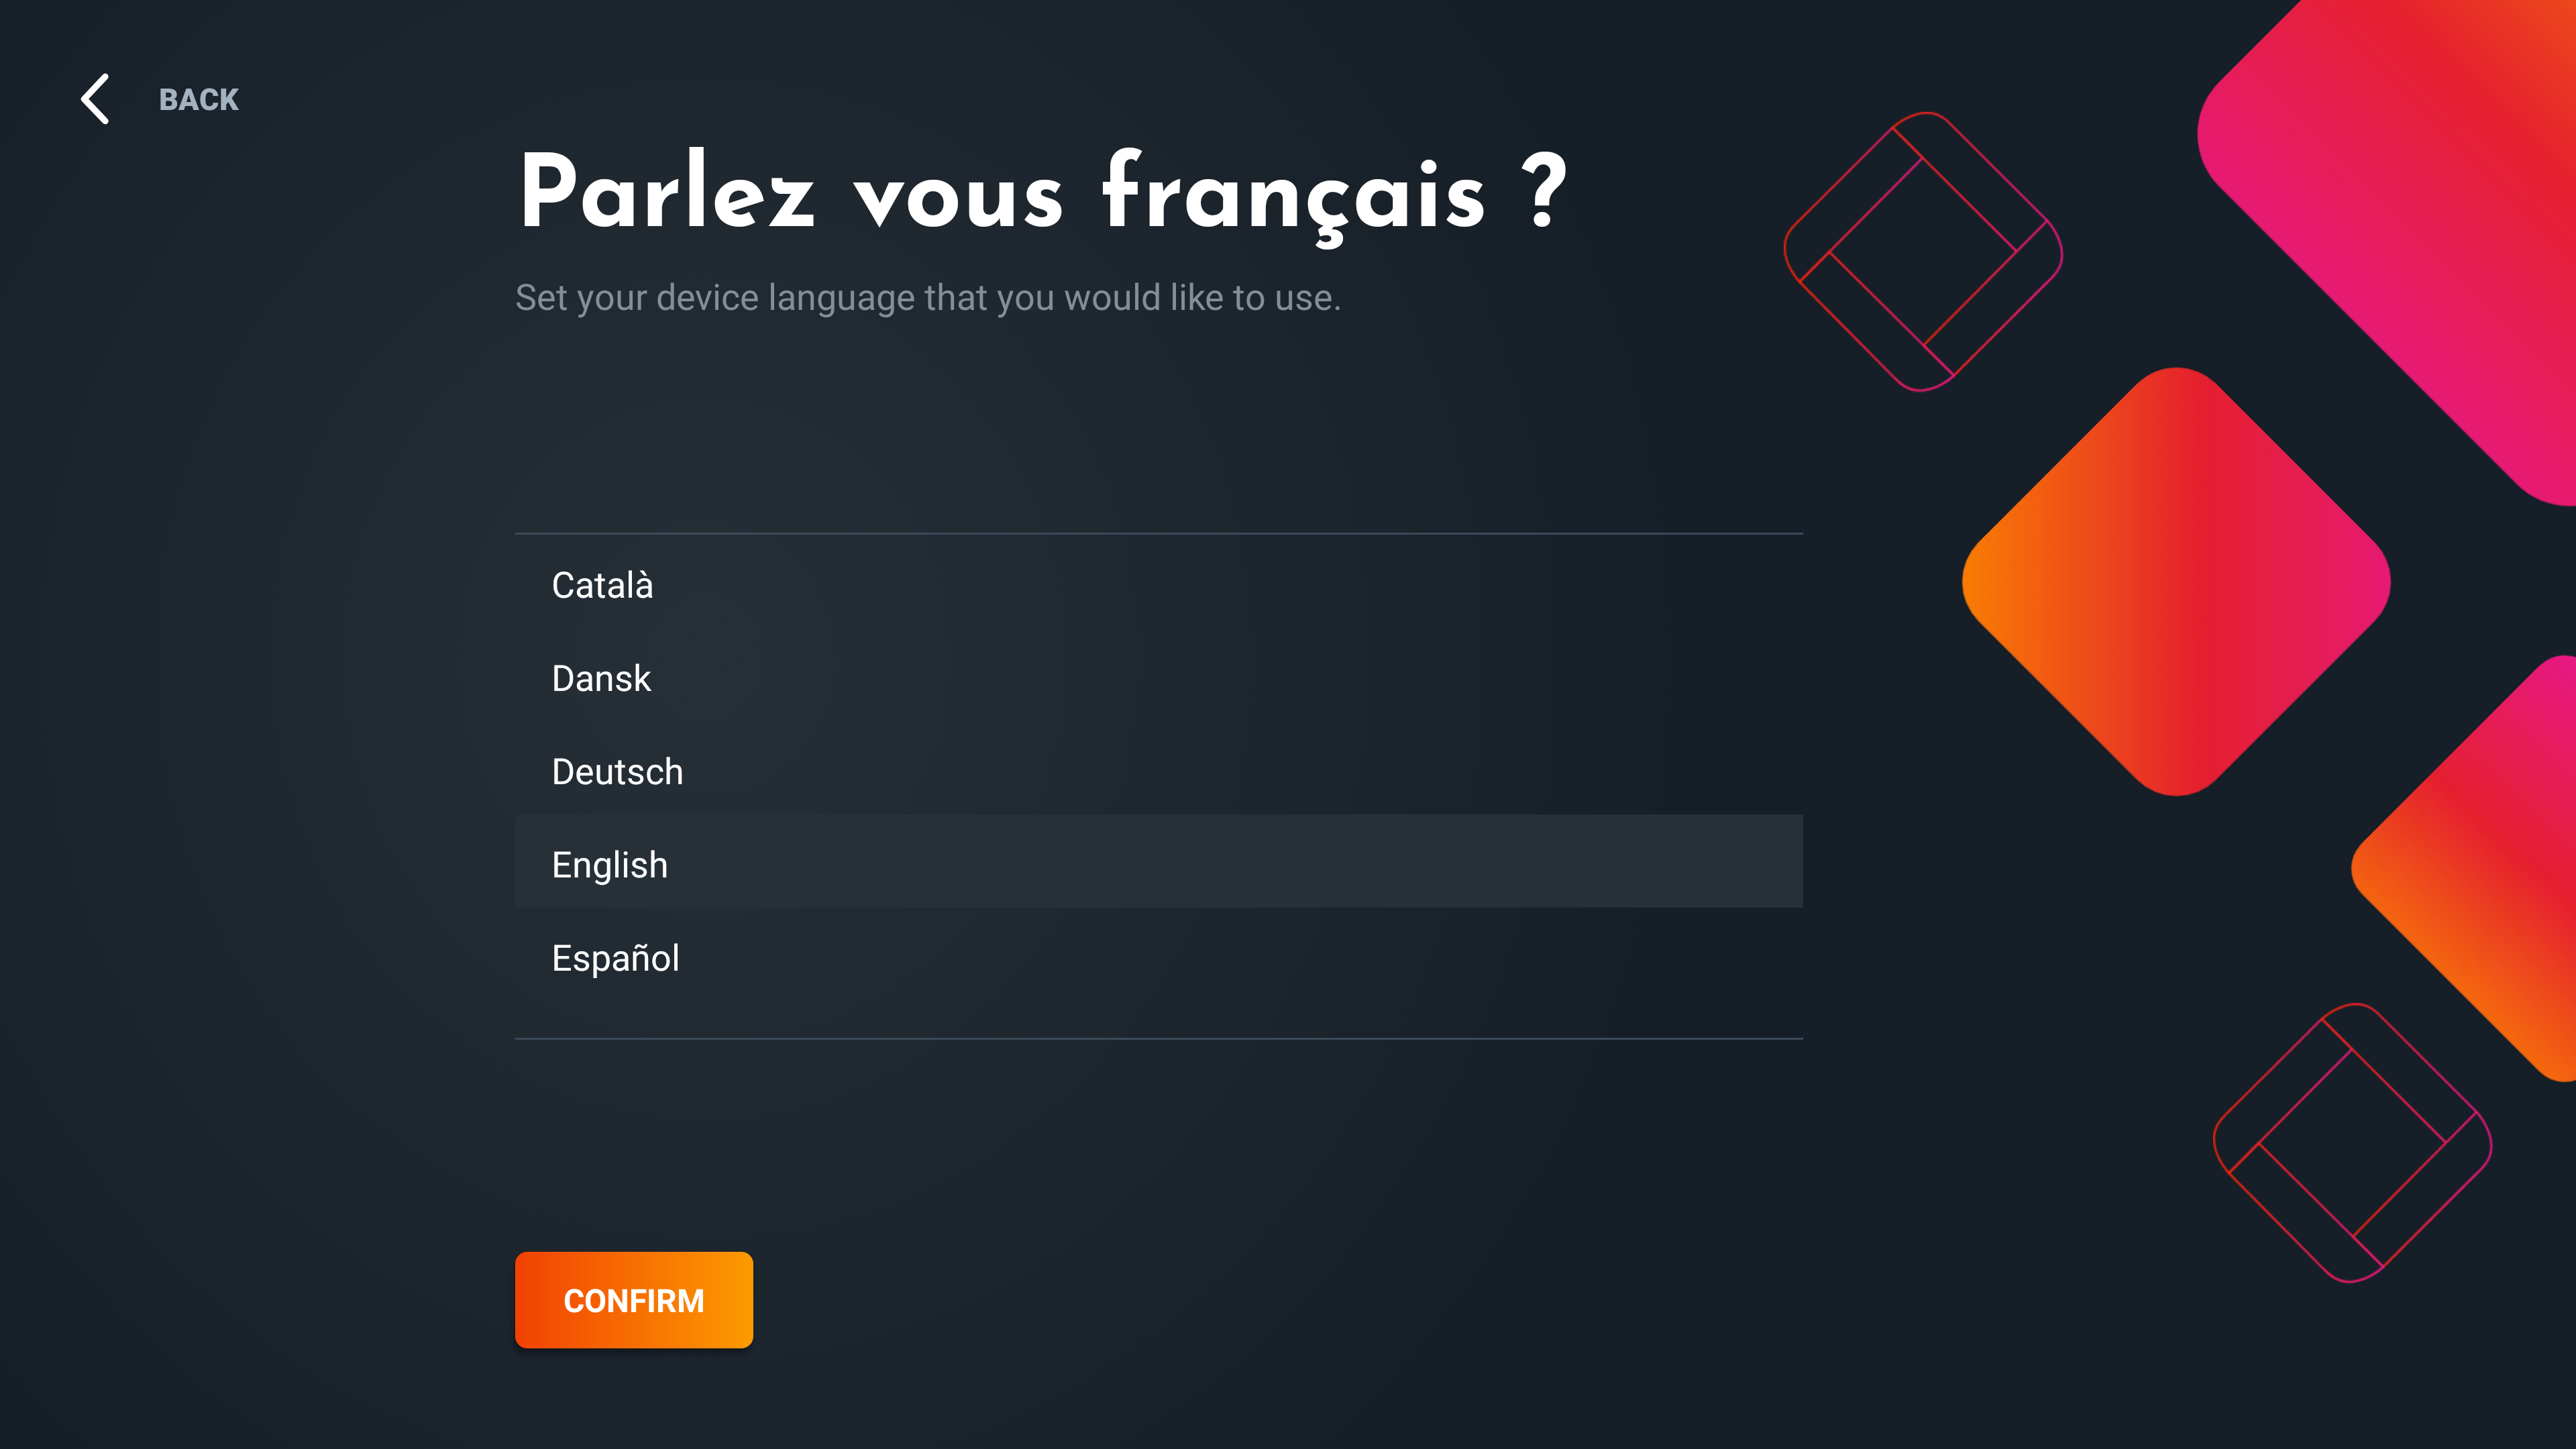
Choose your language
Choose the language that you want the i3TOUCH display to use while interacting with your users.
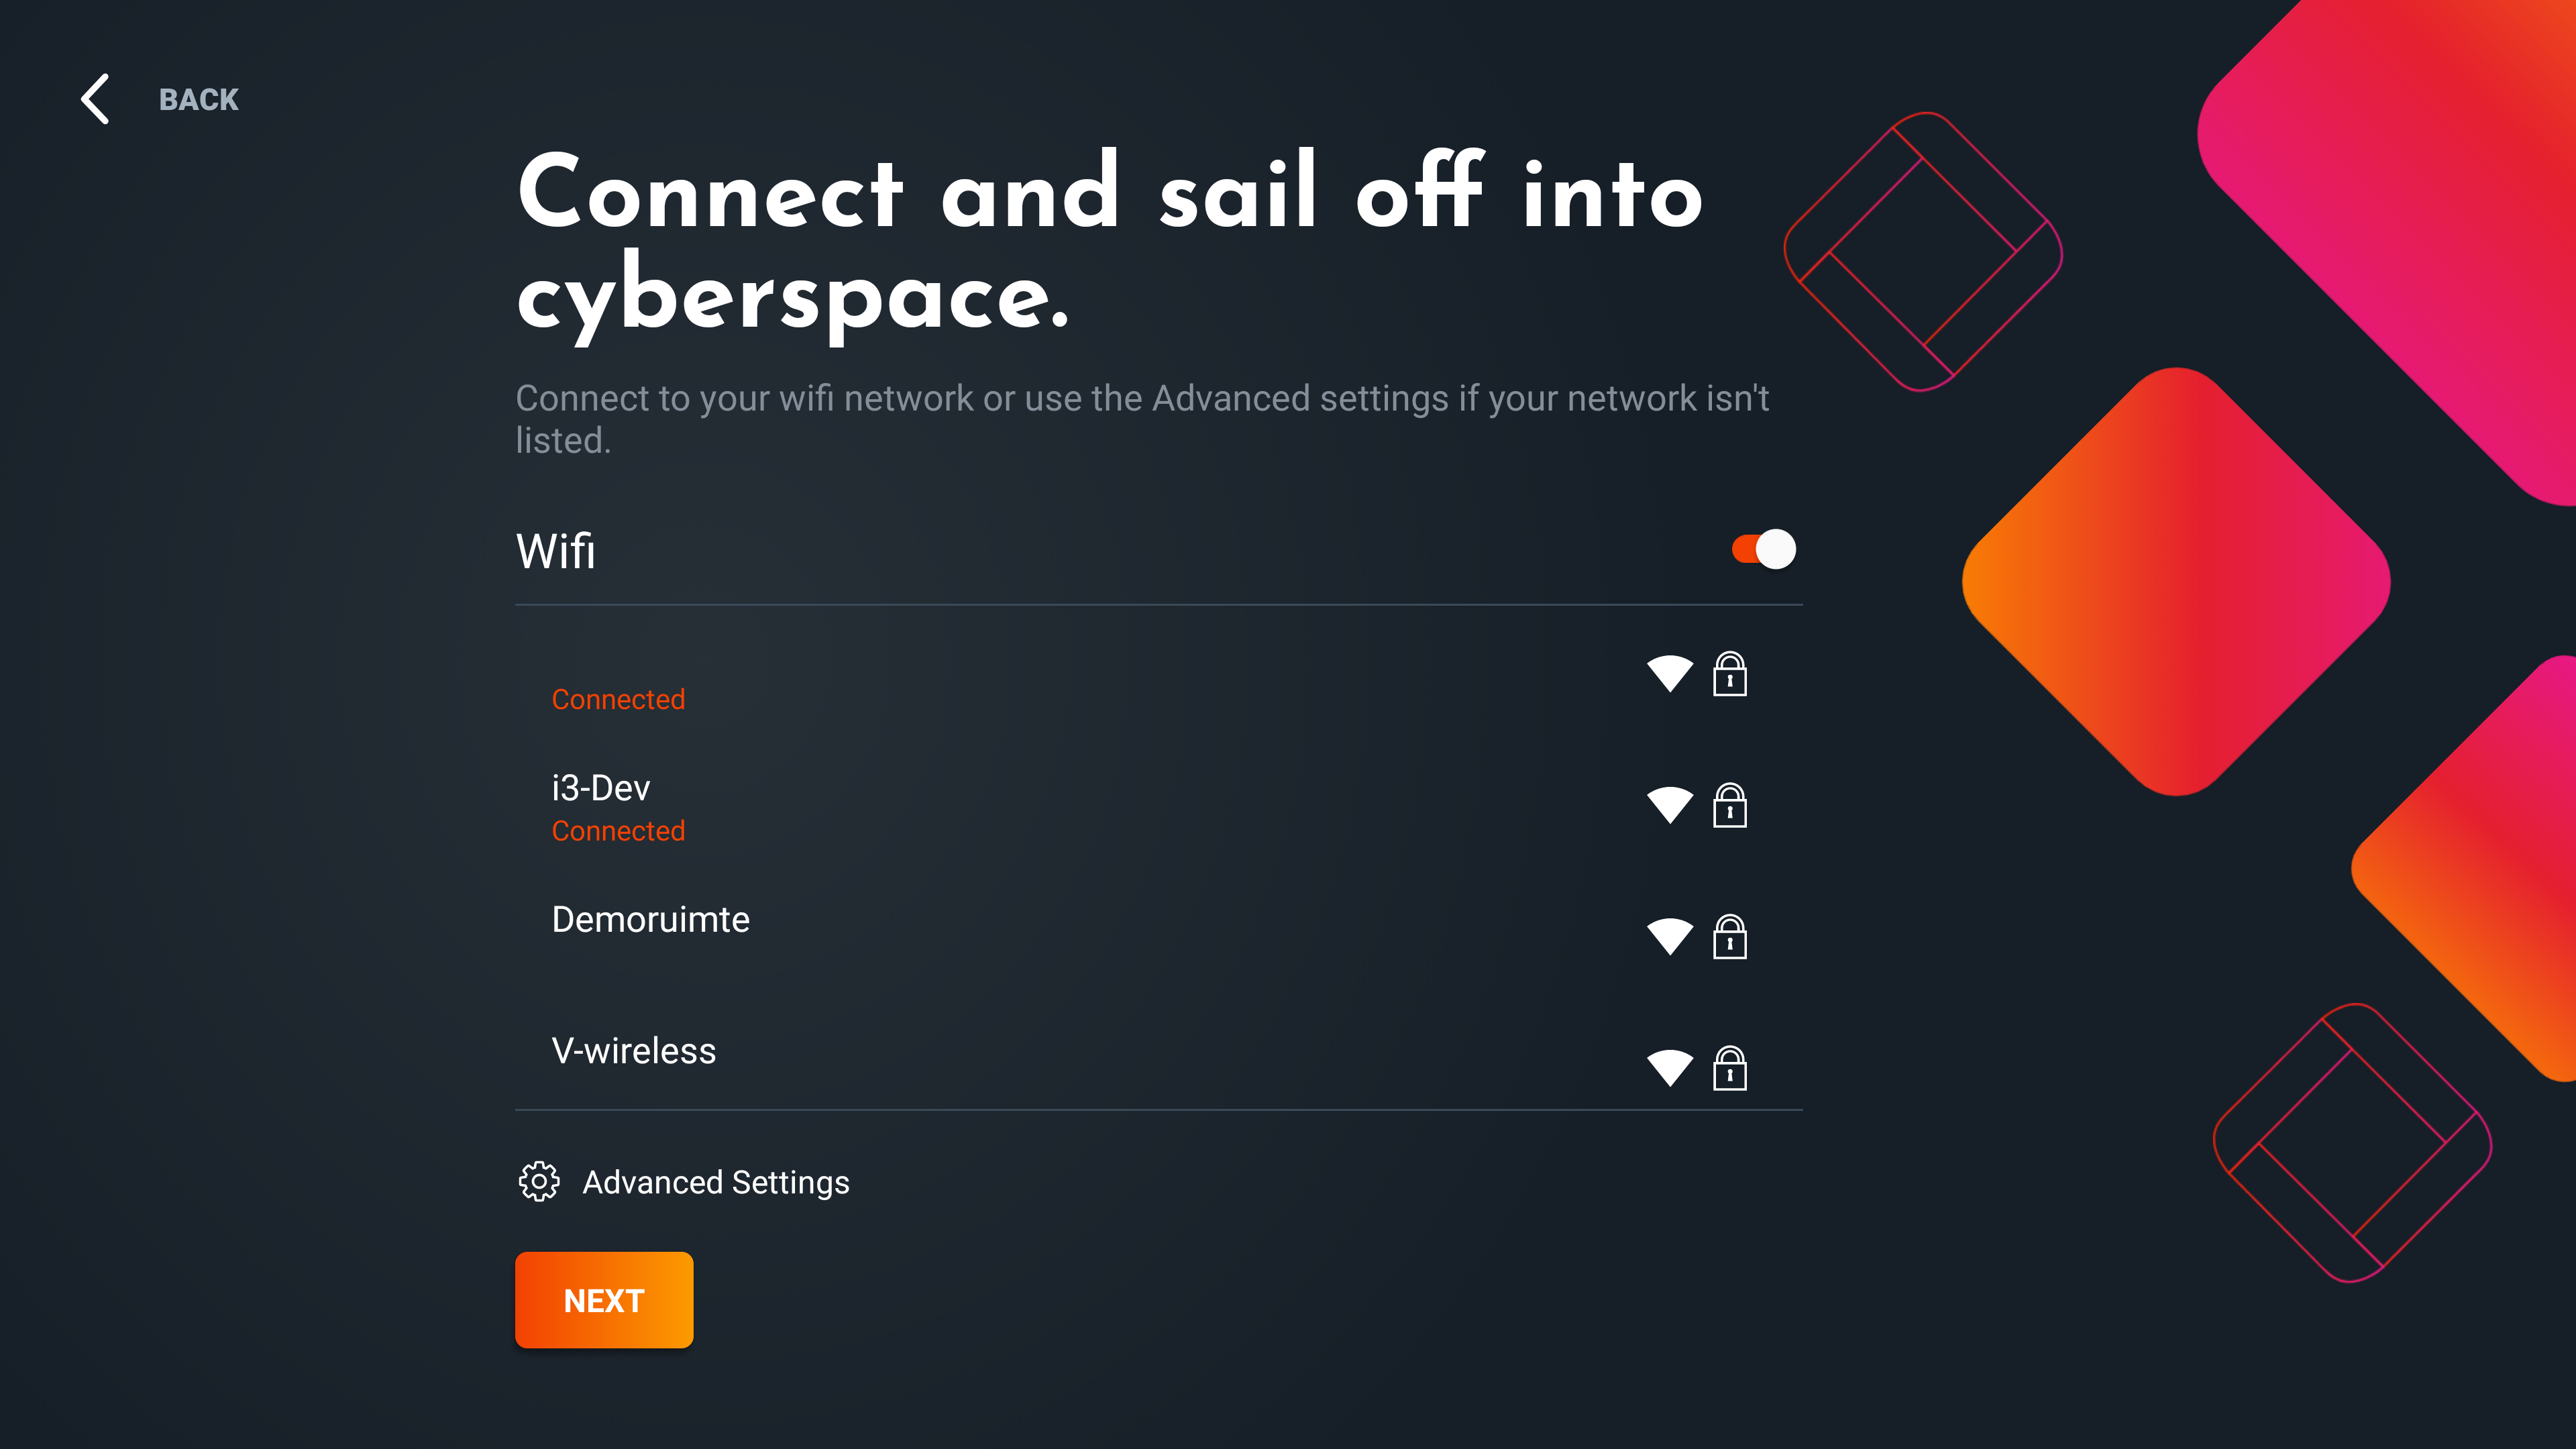
Connect your i3TOUCH display to the internet
Activate the Wi-Fi toggle and select an available Wi-Fi signal from the list. Select “Advanced Settings” if you need more control.
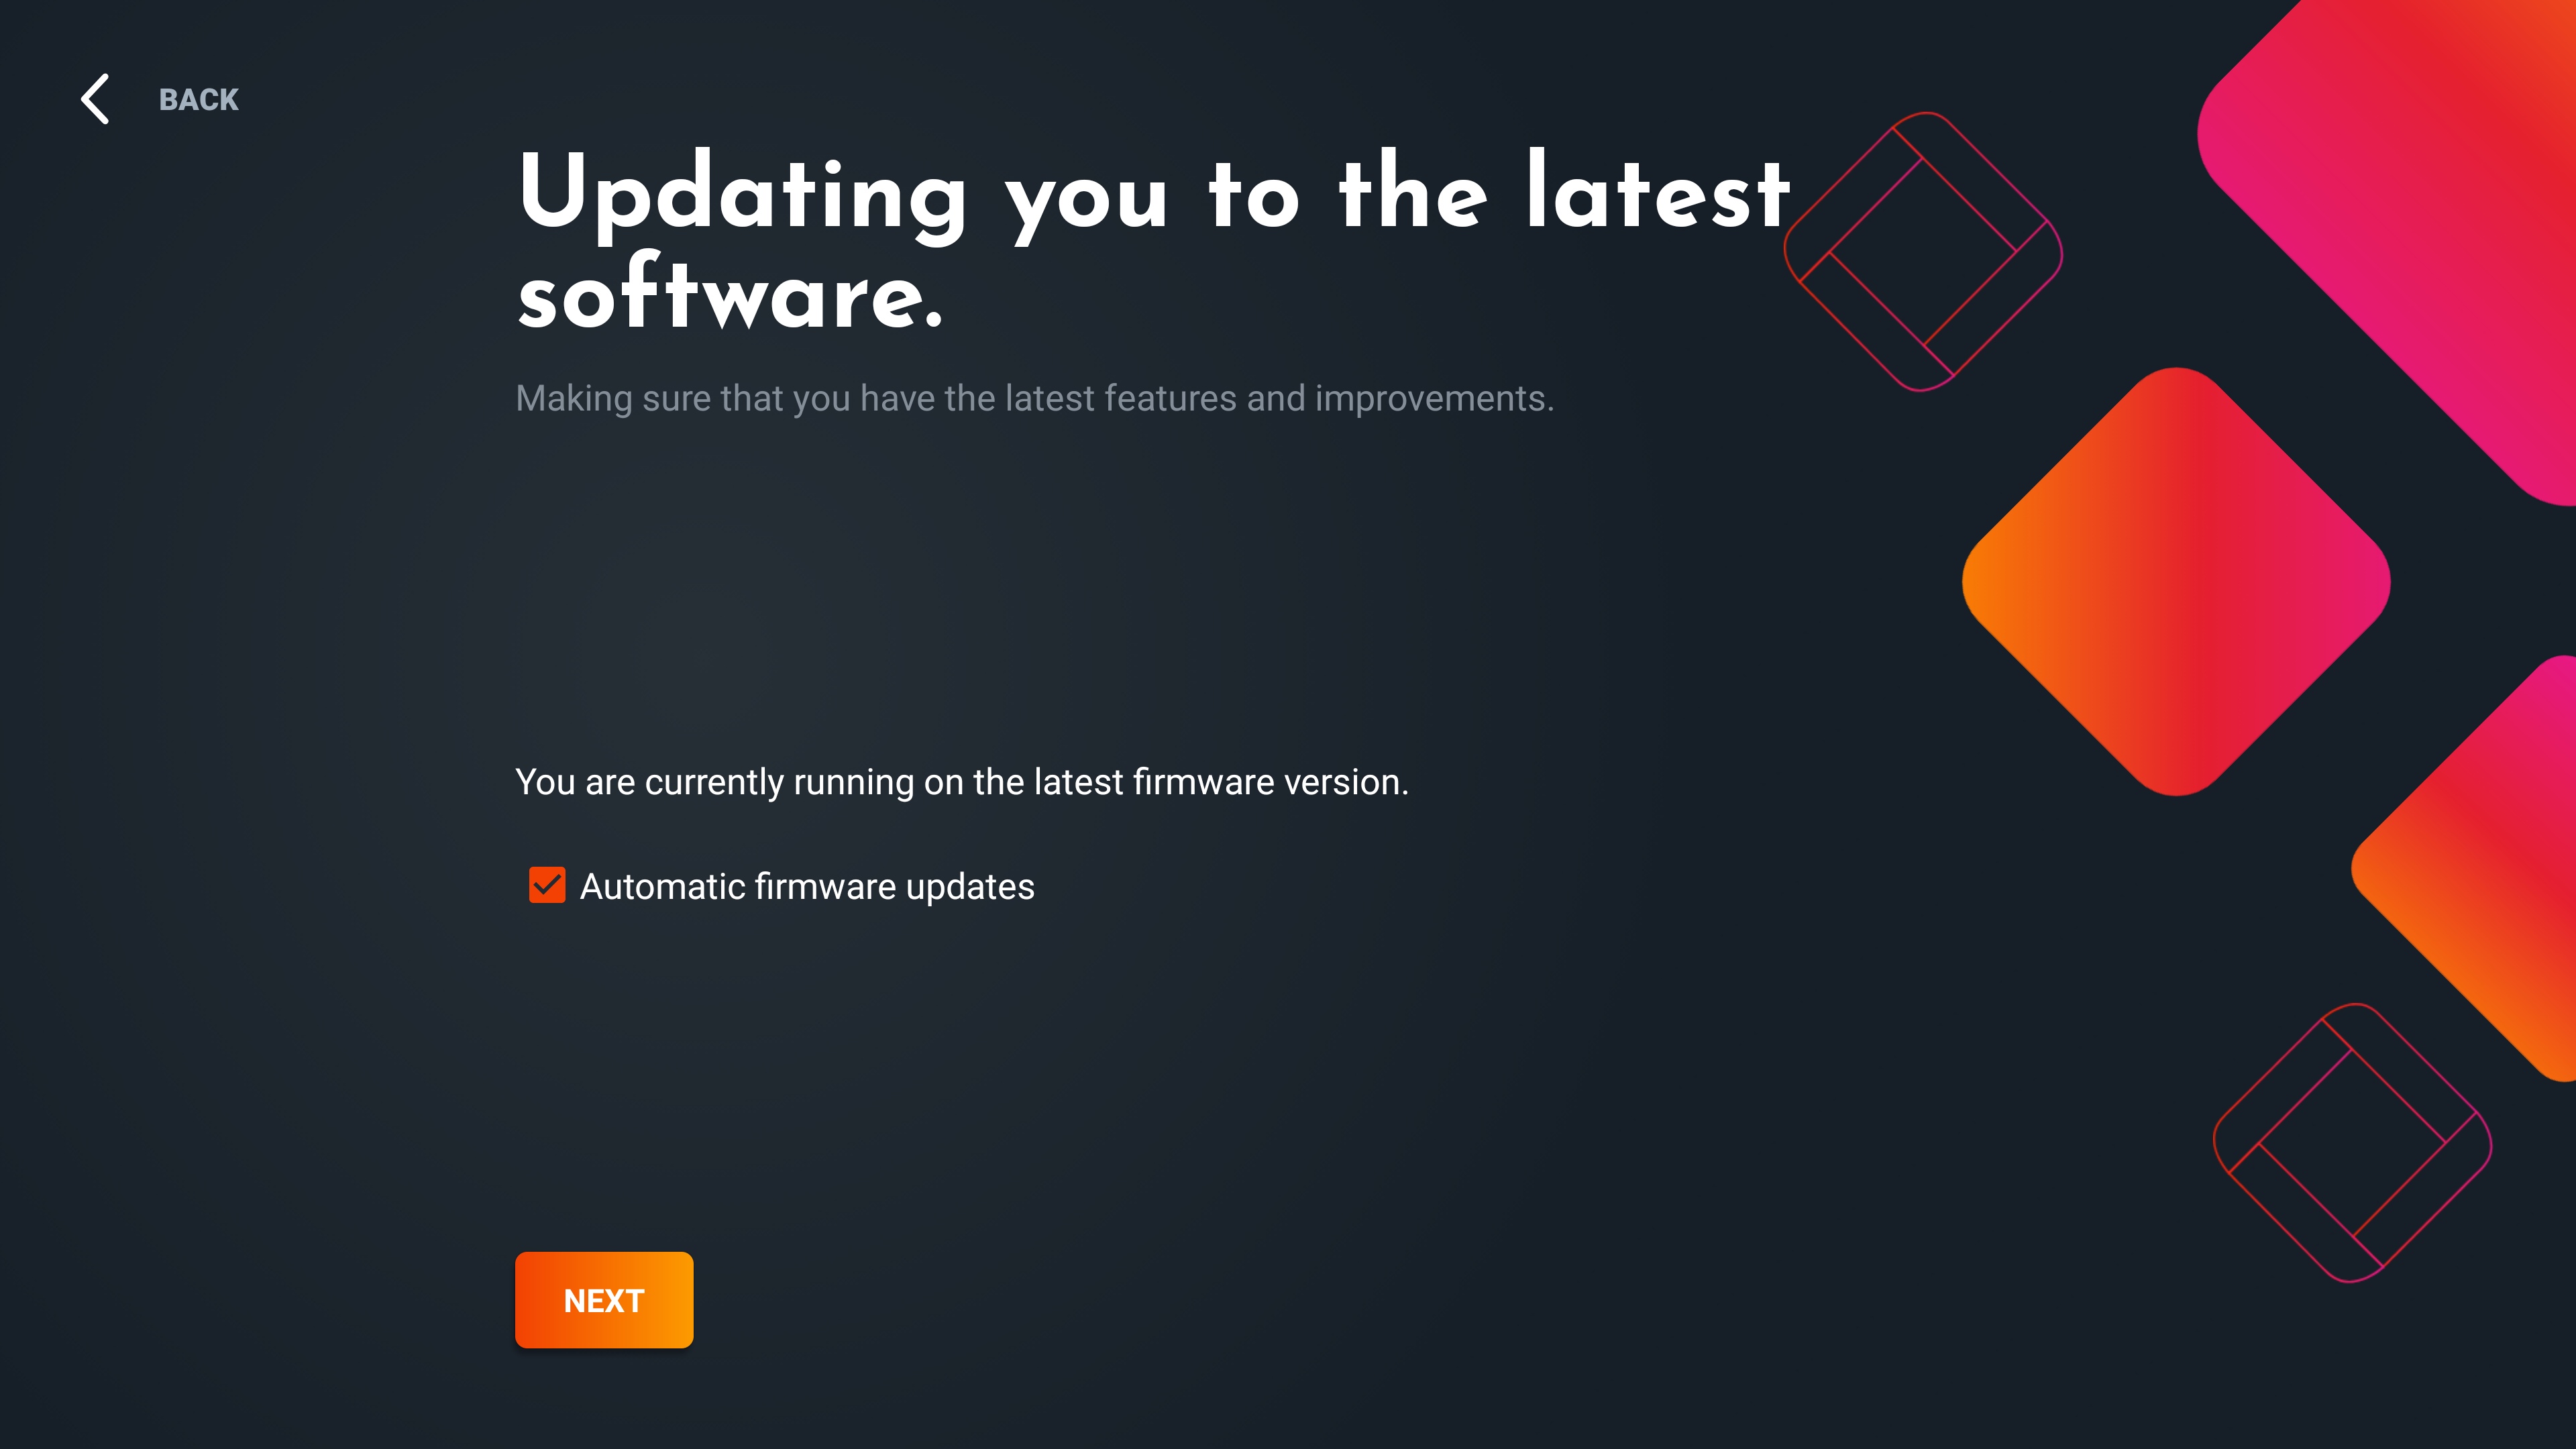
Firmware updates
Please wait while the i3TOUCH displays downloads and installs the latest firmware. Be sure to select “Automatic firmware updates” before continuing if you want to keep your i3TOUCH display secure. You’ll find advanced remote firmware update settings in i3RDM. You can find more information on that in the i3RDM manual.
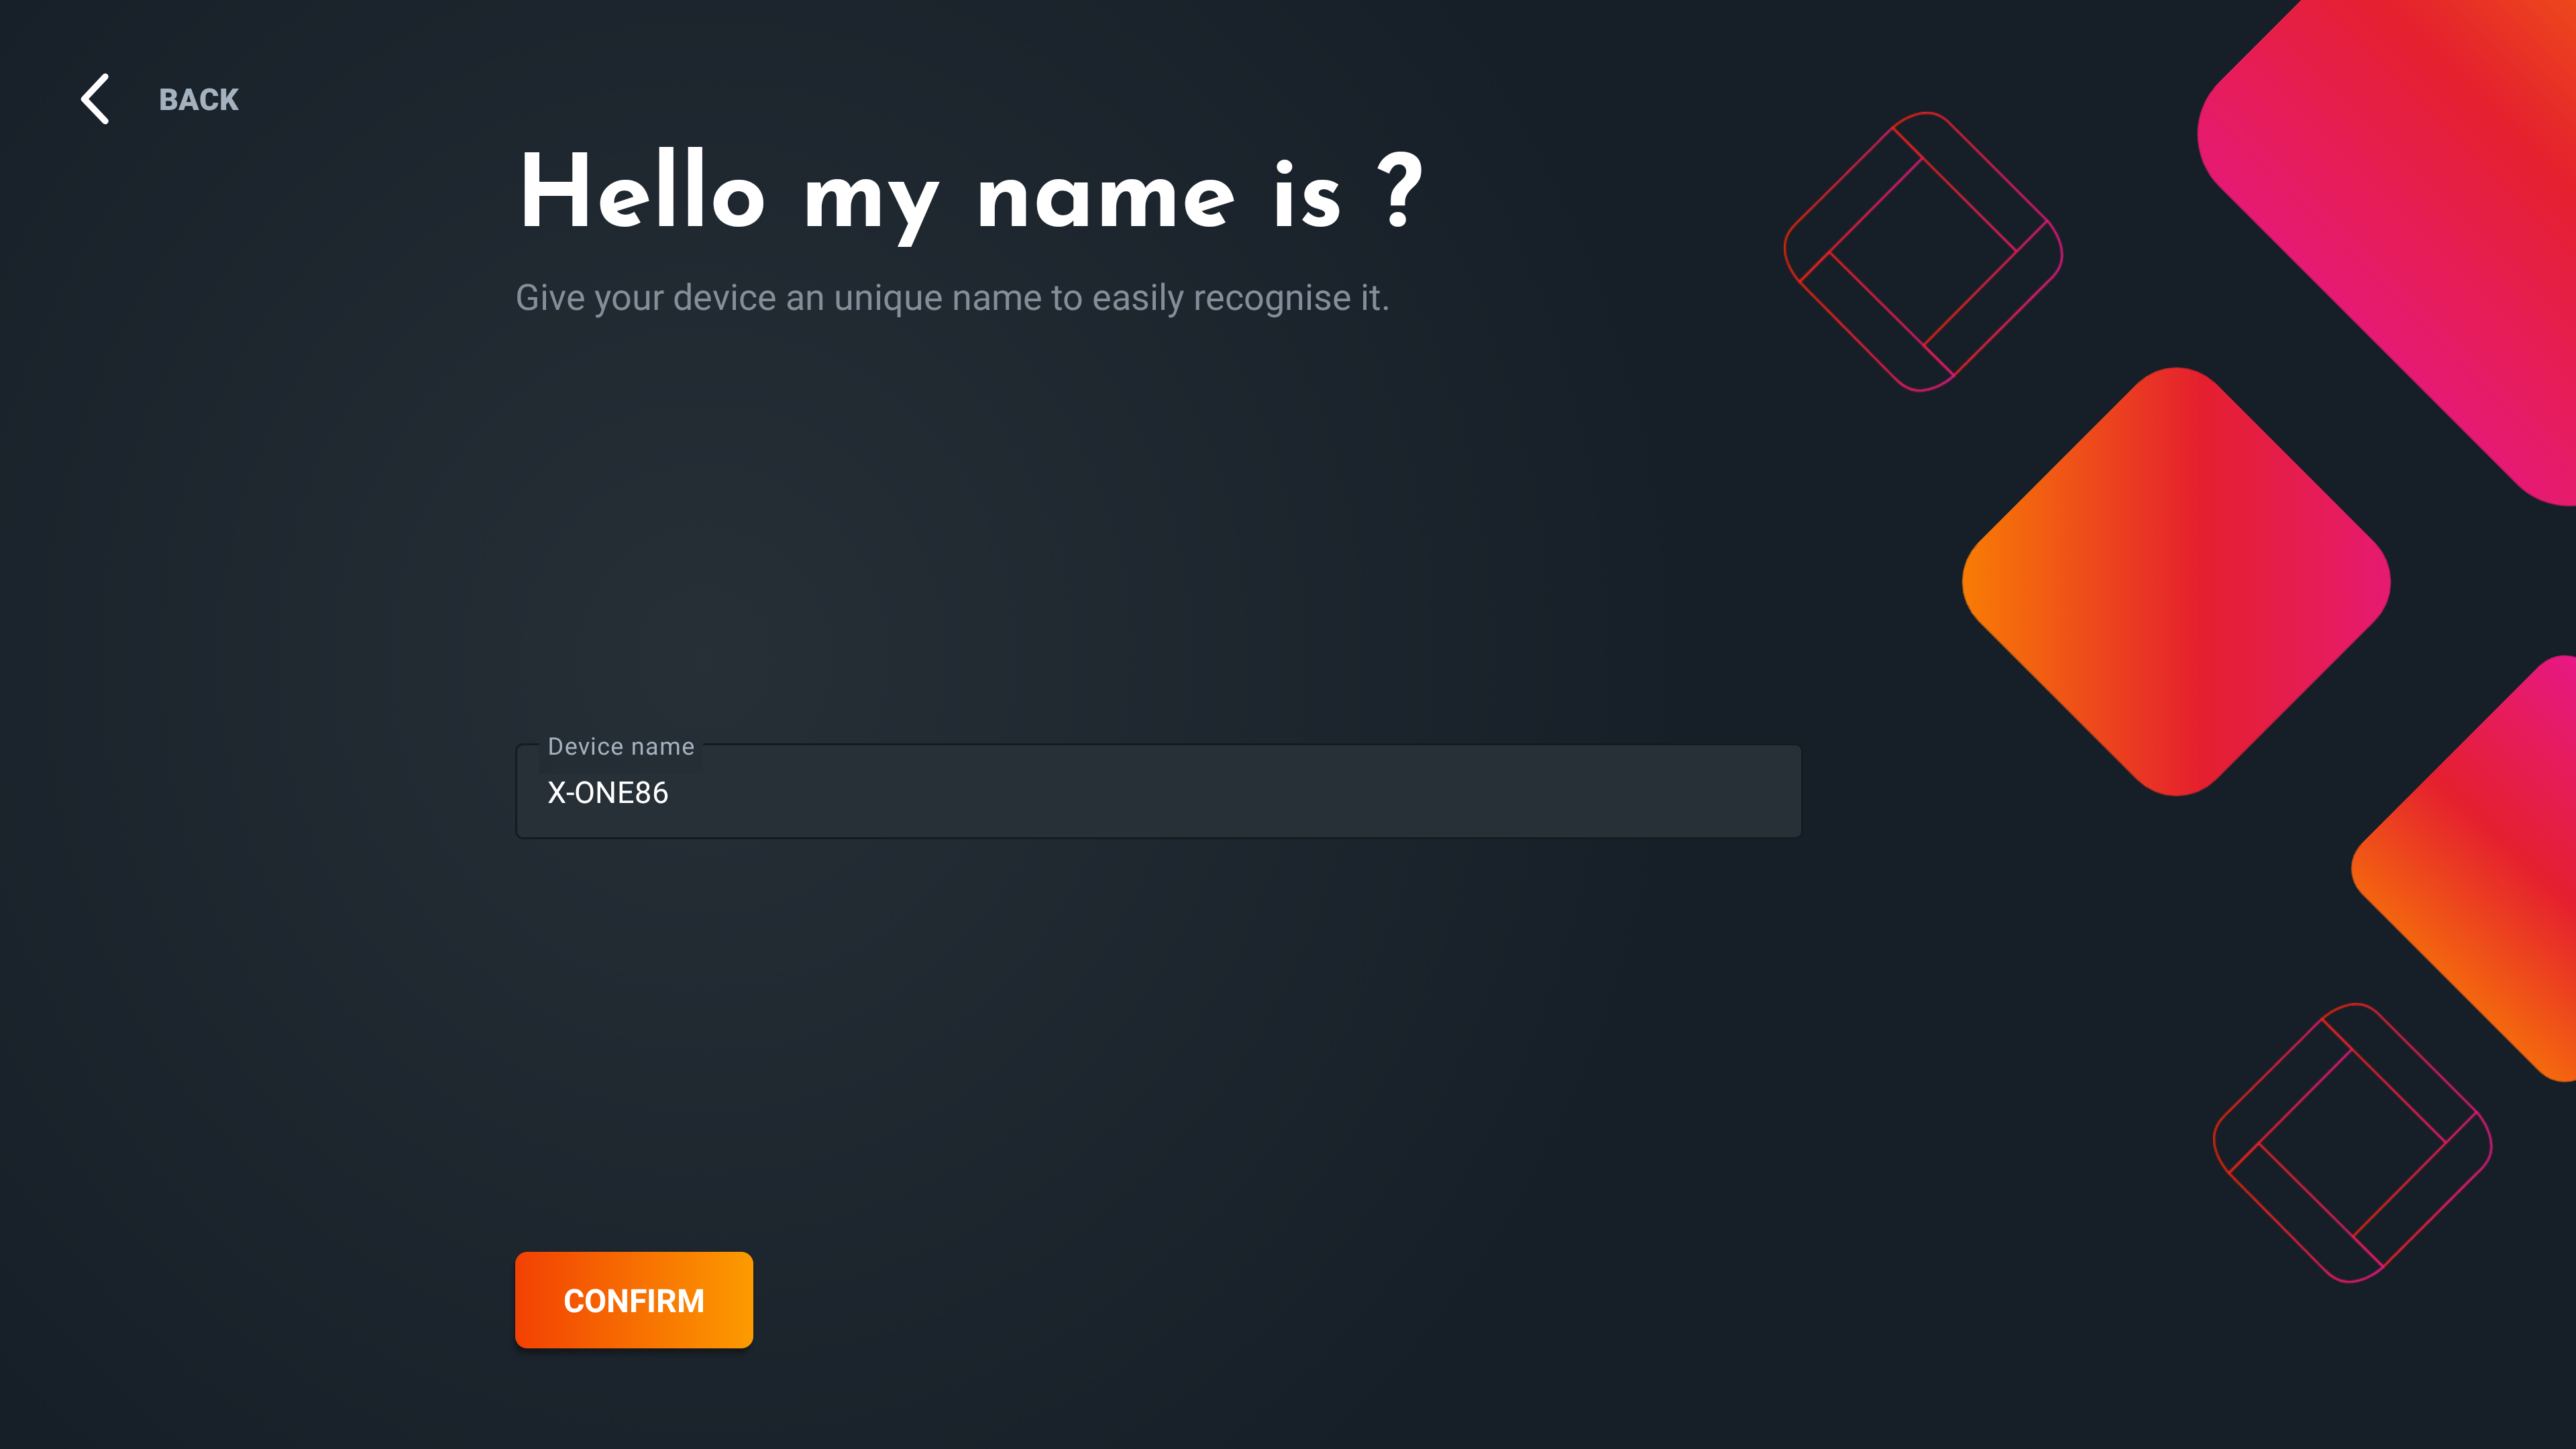
Name your i3TOUCH display
Give your i3TOUCH display a proper name. This will be handy if you decide to enroll the display in i3RDM.
Register the device in i3RDM
Unlock advanced remote management of your i3TOUCH display with i3RDM. Registering is easy with the QR code scanner. Just point your mobile phone at the QR code and continue registration. If you already have an i3RDM account, log in and register the i3TOUCH display.
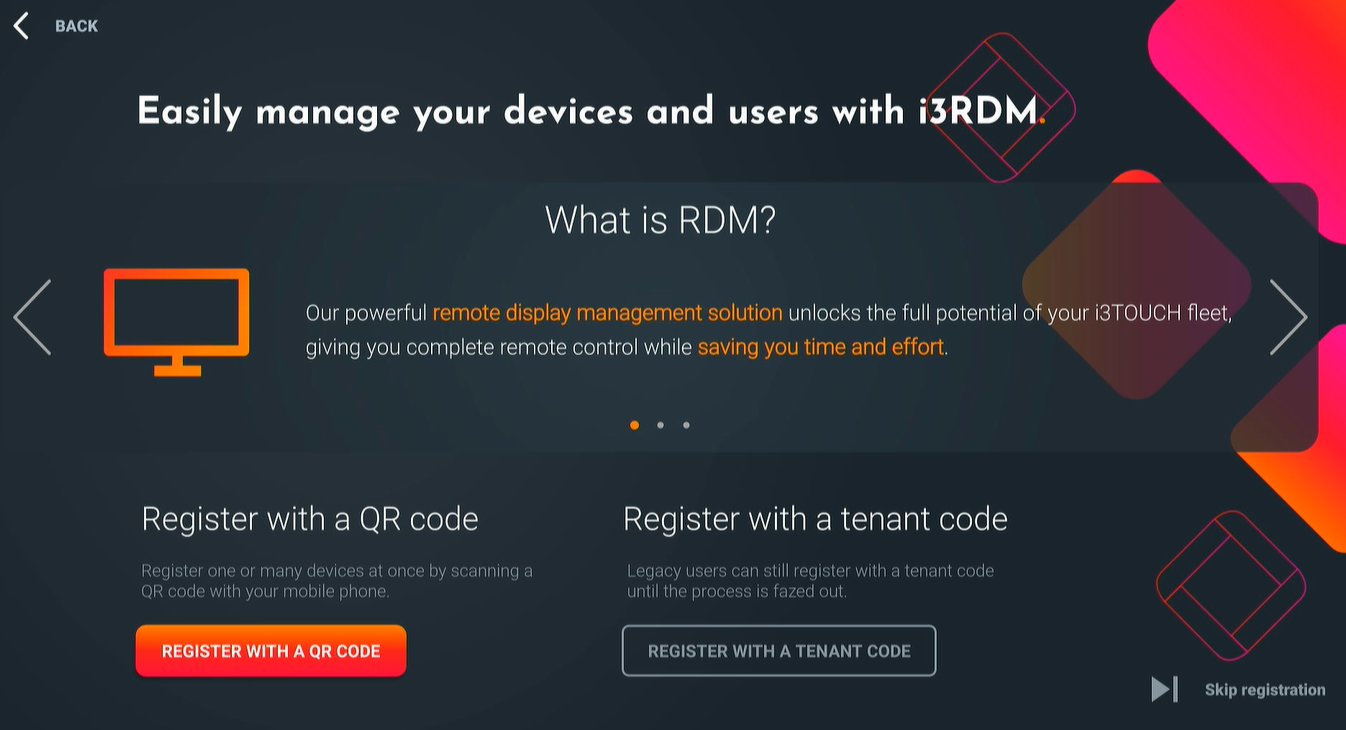
Register using the QR code
When you select this feature, a QR code will be generated. Make sure that the i3TOUCH display is connected to the internet or this will fail.
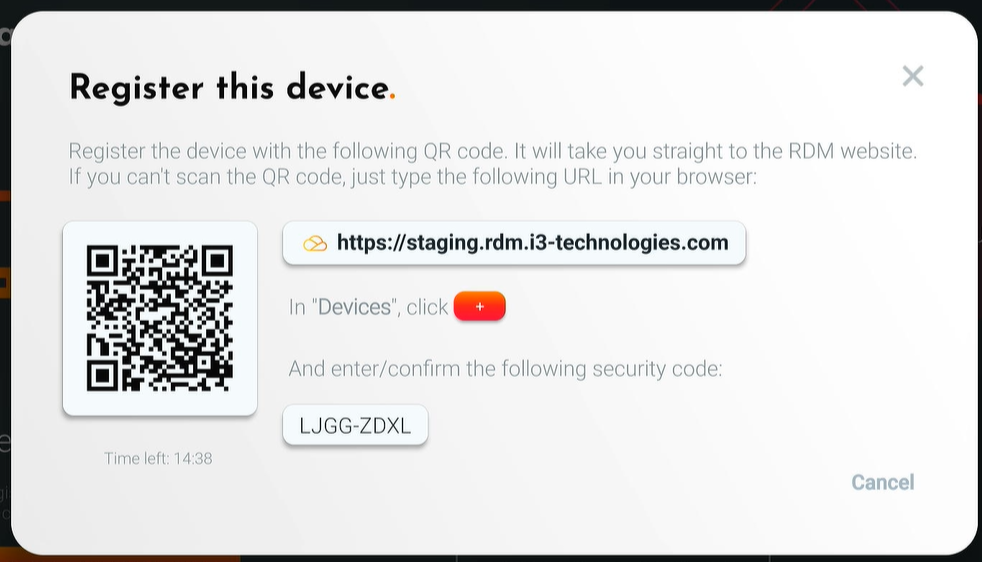
A dialog will pop up with the following items:
A QR code that will redirect you to i3RDM
A weblink, which is essentially the same link as in the QR code that you can use if you don’t have a mobile phone with you
A security code
The QR- and security code are both generated and have a built-in security measure to expire after 15 minutes.
Register using the URL link
If you prefer to register the i3TOUCH display with a computer, you can just use the web link that is visible in the popup dialog. Enter that link in your browser, you will be requested to log in to i3RDM if you aren’t already. If you don’t have an account with i3RDM, you can choose to sign up for a free trial or buy a license.
When successfully logged in to i3RDM, your dashboard is loaded. Go to Devices> My devices. This is the overview of your i3TOUCH displays. In the table menu, click the ' + ' icon to add a new i3TOUCH display.
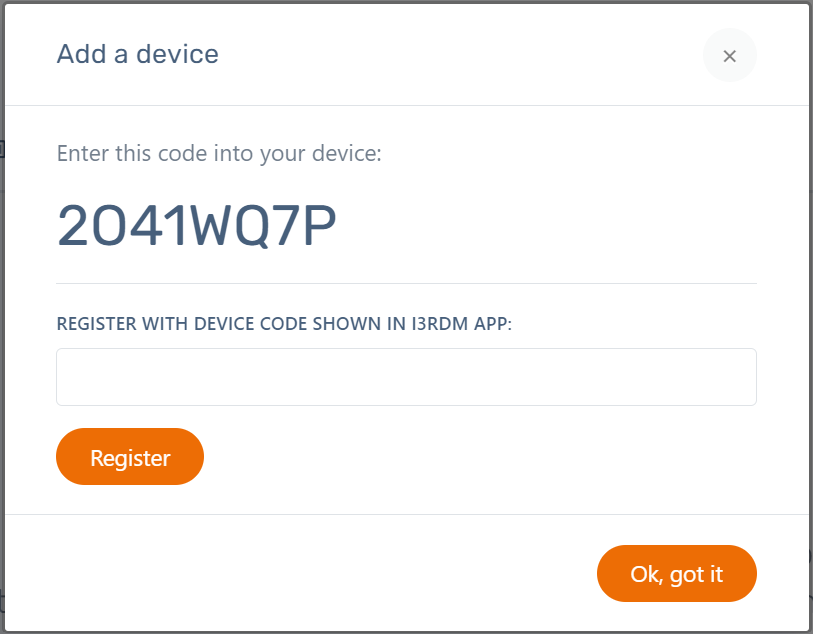
A dialog will pop up. Under ‘Register with device code shown in i3RDM app’ add the security code that is visible in the dialog on your i3TOUCH display.
Your i3TOUCH display should now appear in the table and on your i3TOUCH display, you will receive the message that it has been enrolled into i3RDM!
Register using the tenant code
Registering using the tenant code will be deprecated. Please register using the QR code instead.
The tenant code is a code that is given to you when you’re registered to i3RDM. To view it, log in to i3RDM or create an account. Once logged in, go to Devices, My devices. This is the overview of your i3TOUCH displays. In the table menu, click the ' + ' icon to add a new i3TOUCH display.
A dialog will pop up. Under ‘Enter this code into your device’ you’ll find the tenant code. Enter that code in the dialog on the i3TOUCH display.

Your i3TOUCH display should now appear in the table and on your i3TOUCH display, you will receive the message that it has been enrolled into i3RDM!
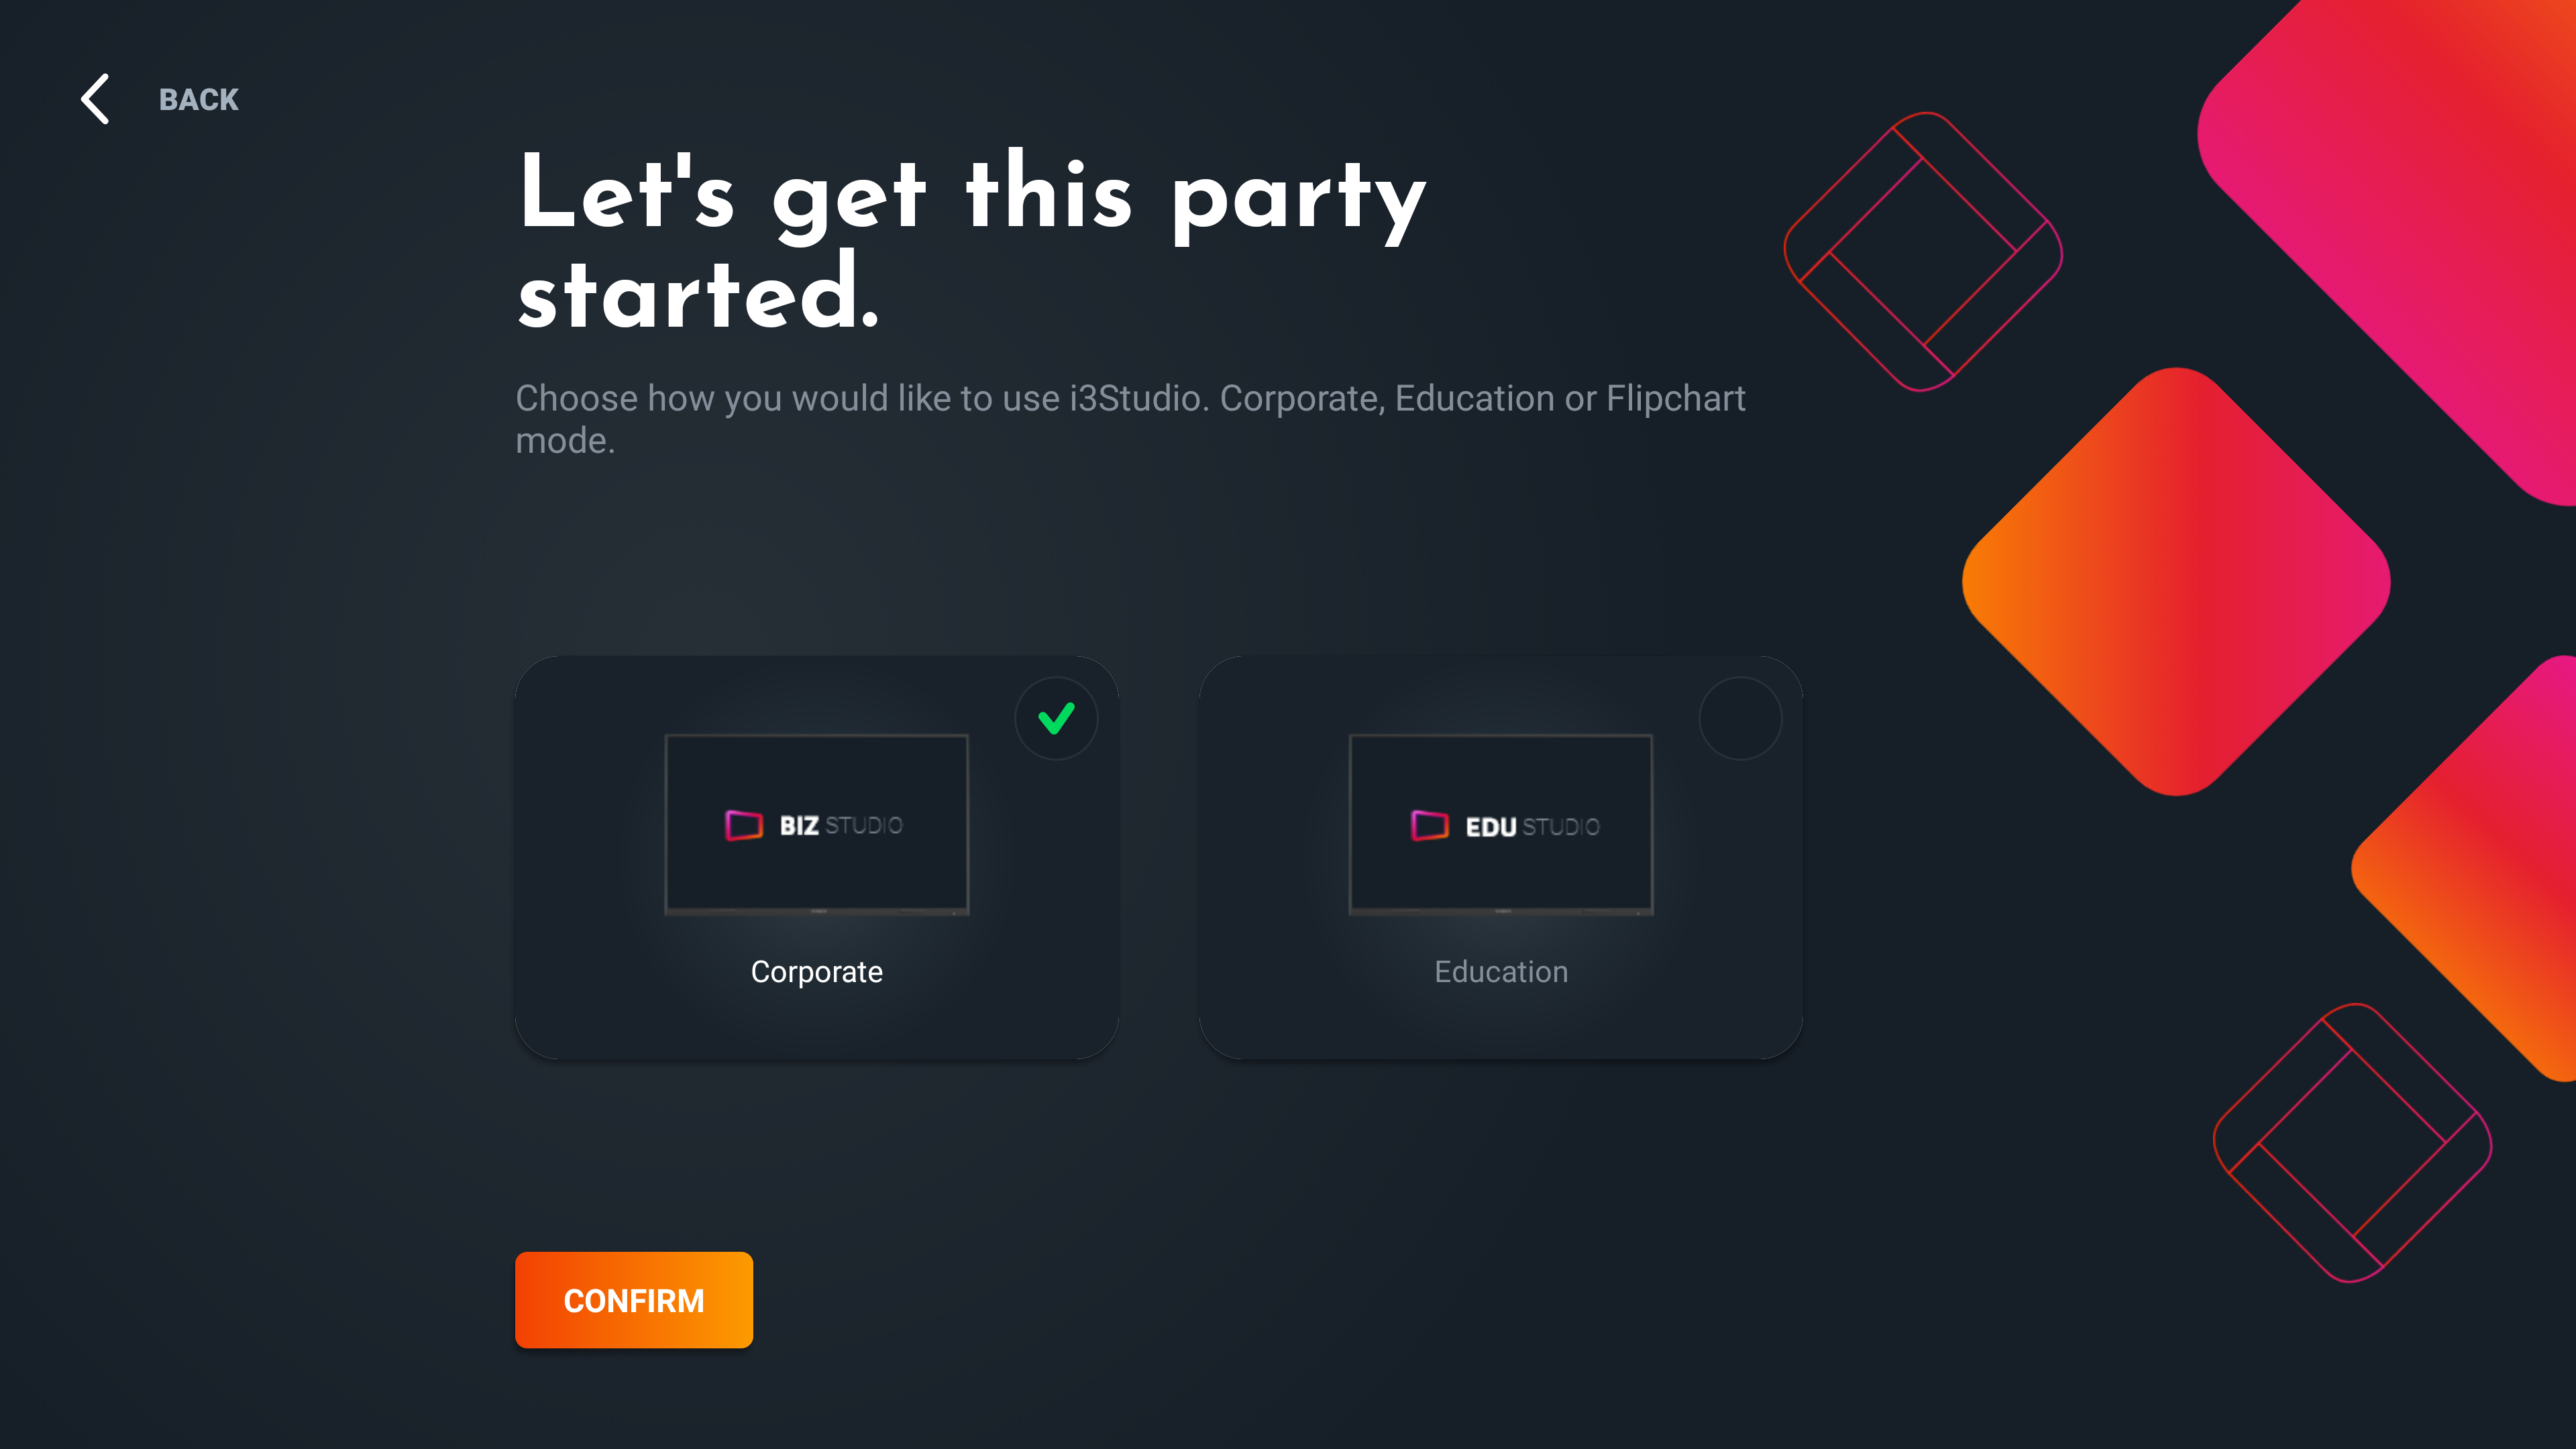
Corporate or education mode
Choose the environment in which you will generally use the i3TOUCH display. Corporate mode or Education mode ( depending on your i3TOUCH display you may also see a Flipchart mode). Both modes are optimized for their specific environments. You can still choose this later if you’re not sure.
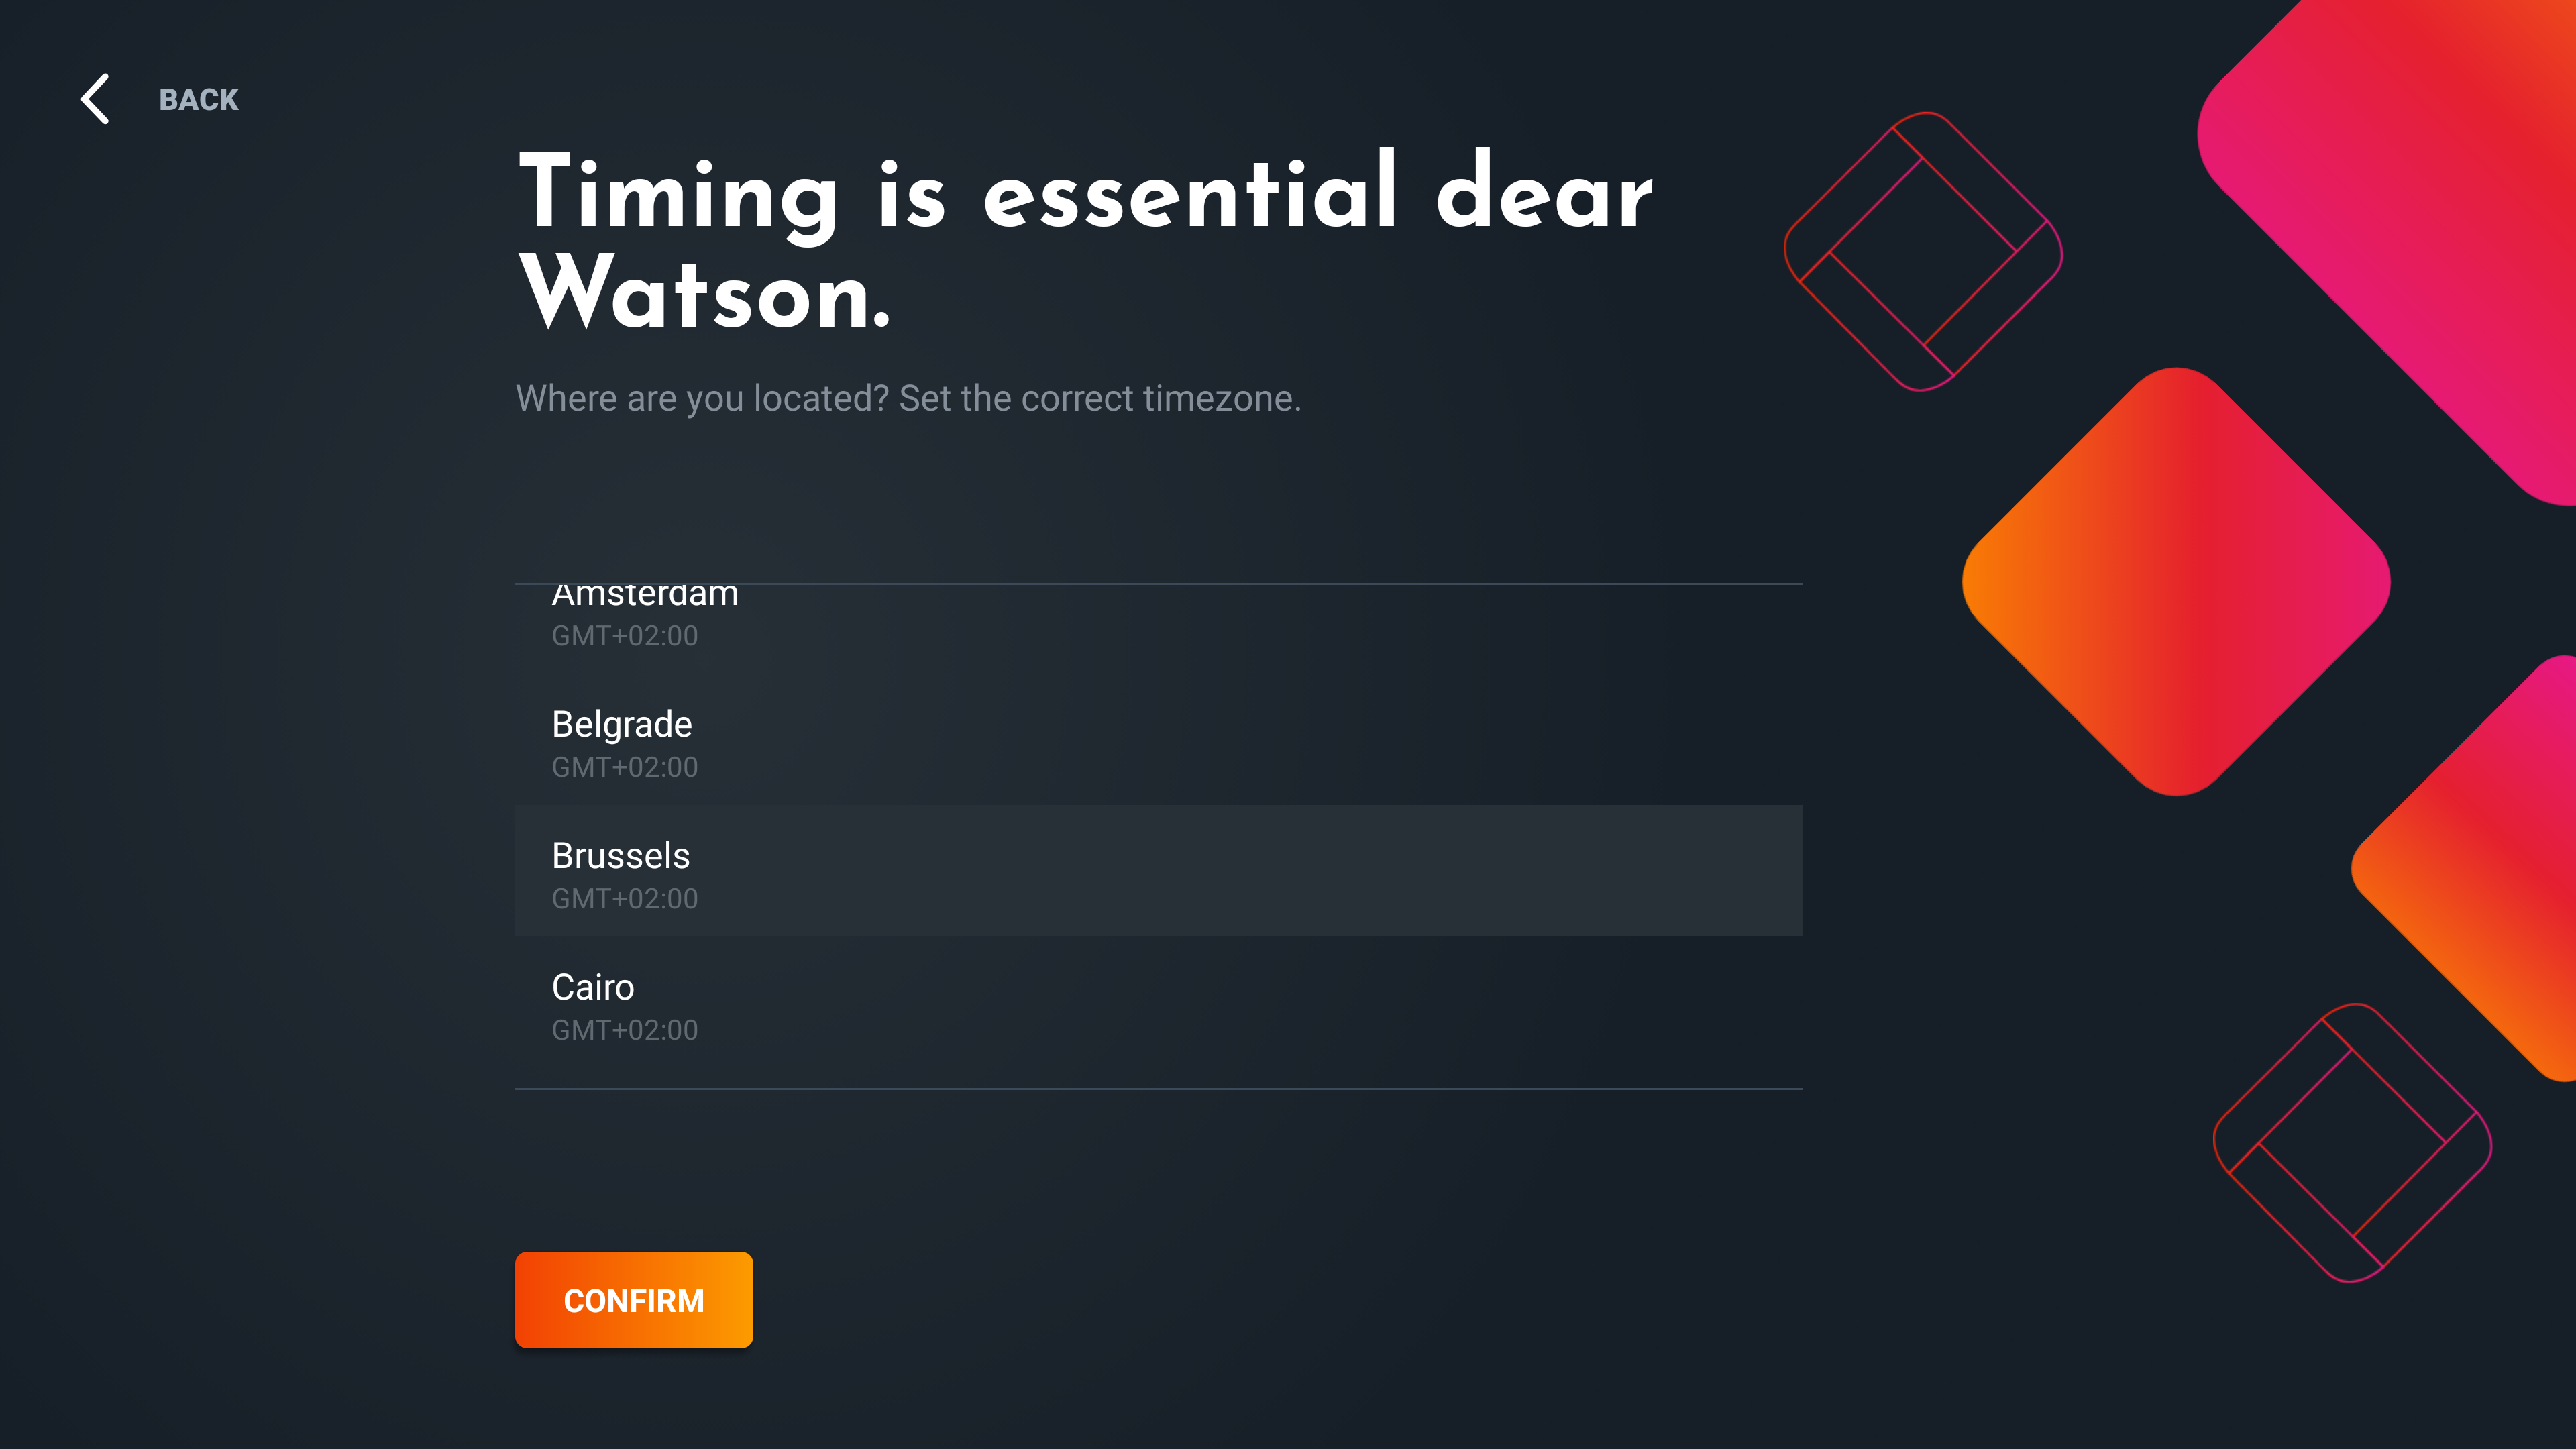
Set a time zone
Setting the time zone will help you save power with the remote power management feature in i3RDM.
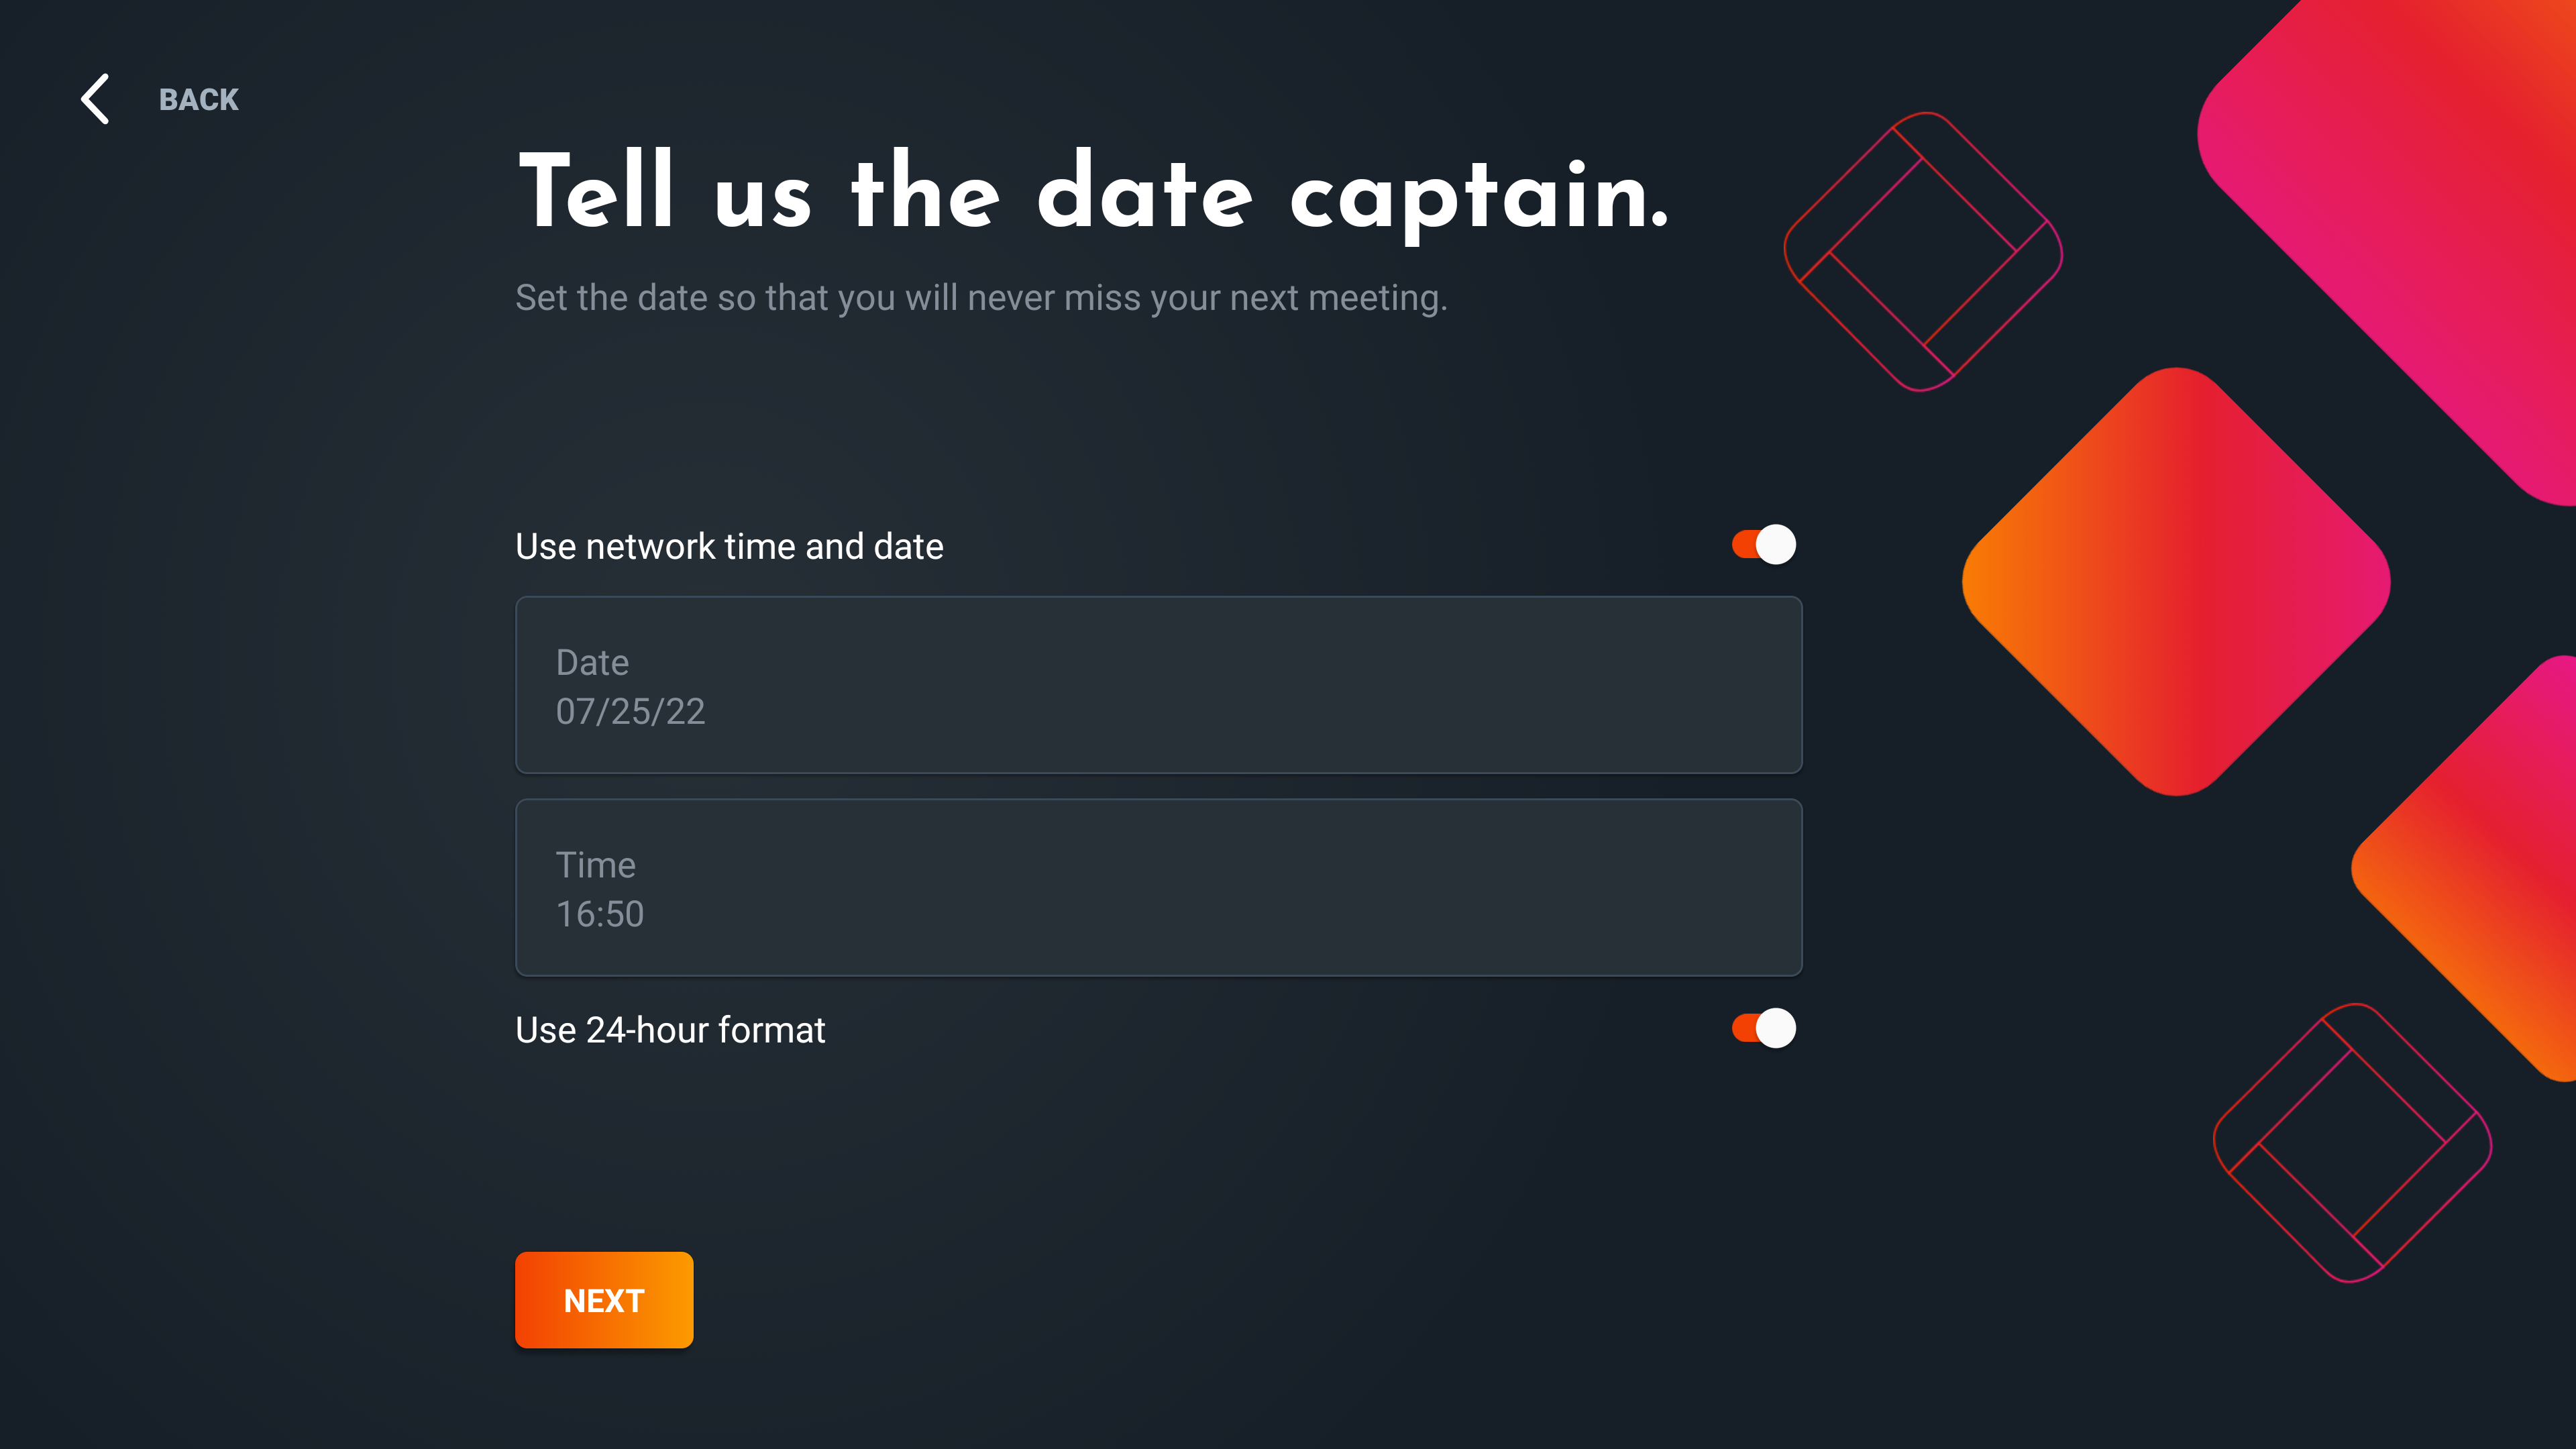
Set time and date
Setting a time and date will keep the display in coherence and will help it to correctly execute power schedules if set from i3RDM.
Setup completed
Congratulations! You’ve successfully completed the setup. Click confirm to start up i3STUDIO.