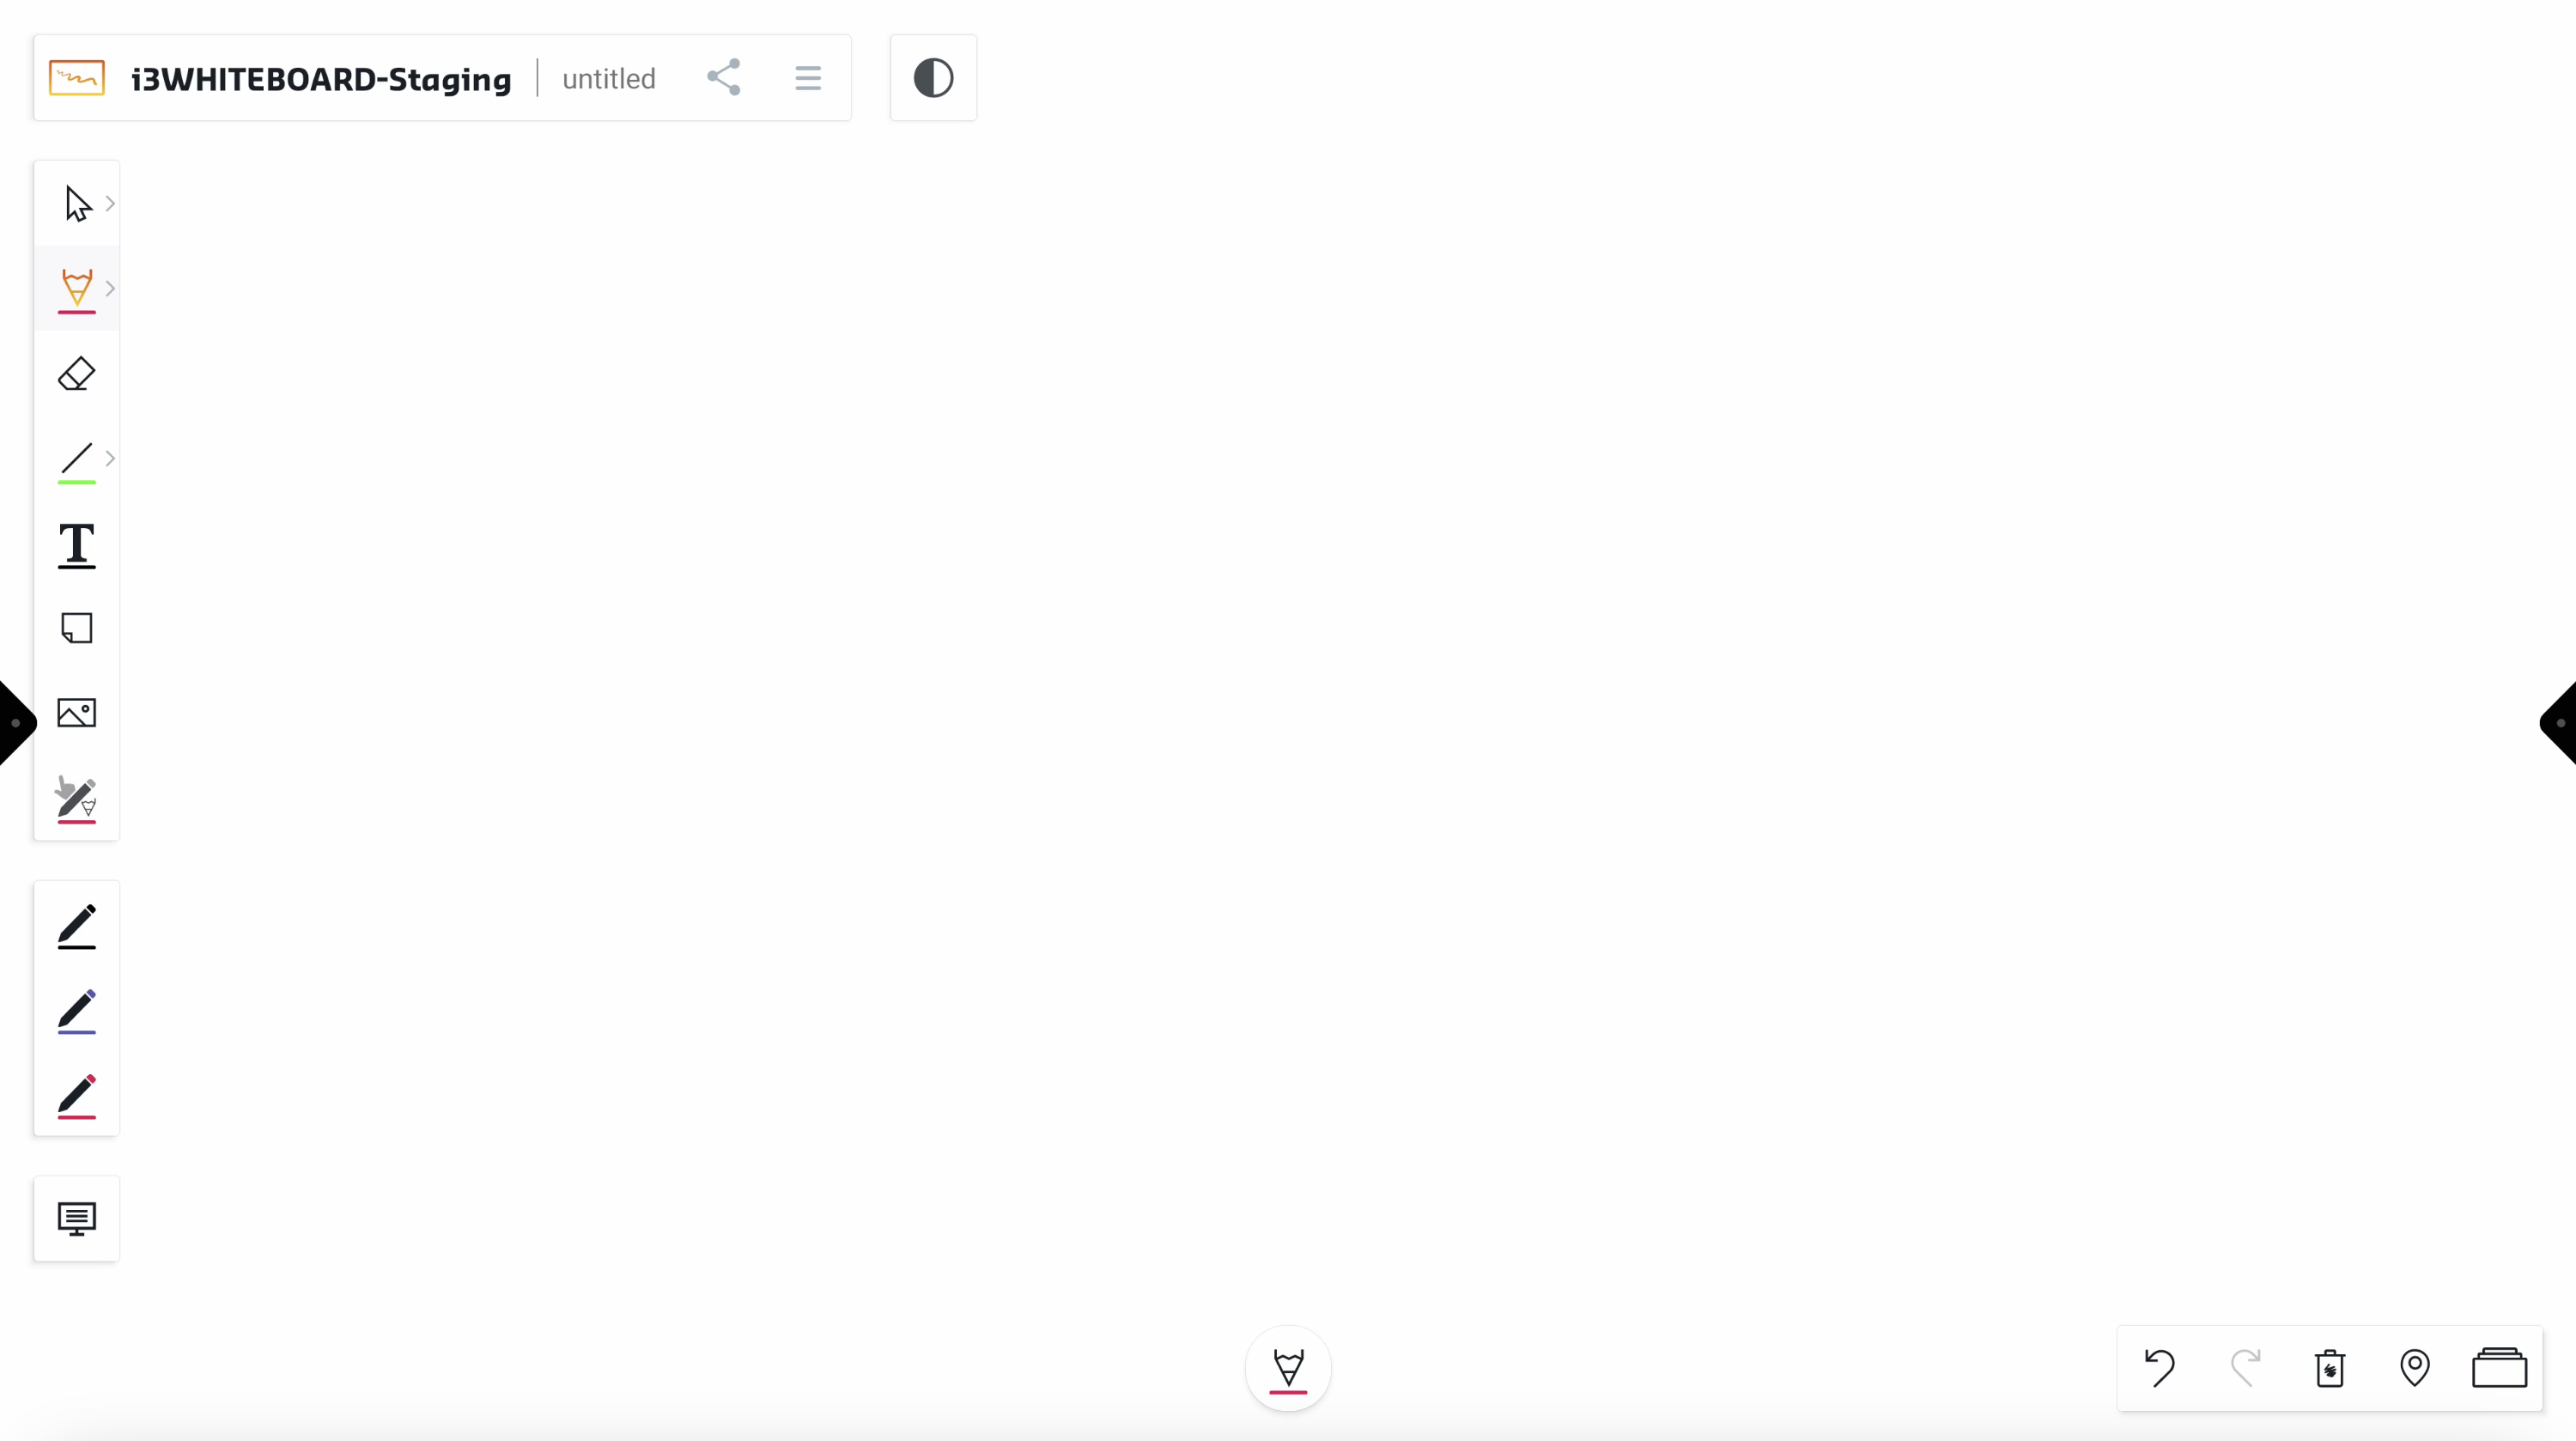
The main menu
The top-left main menu contains the name of the workspace you are currently working in and access to the hamburger menu, which contains various options related to the workspace as a whole. Next to the file name you’ll find a share icon. This is a quick link to export your file to pdf or e-mail it to someone.
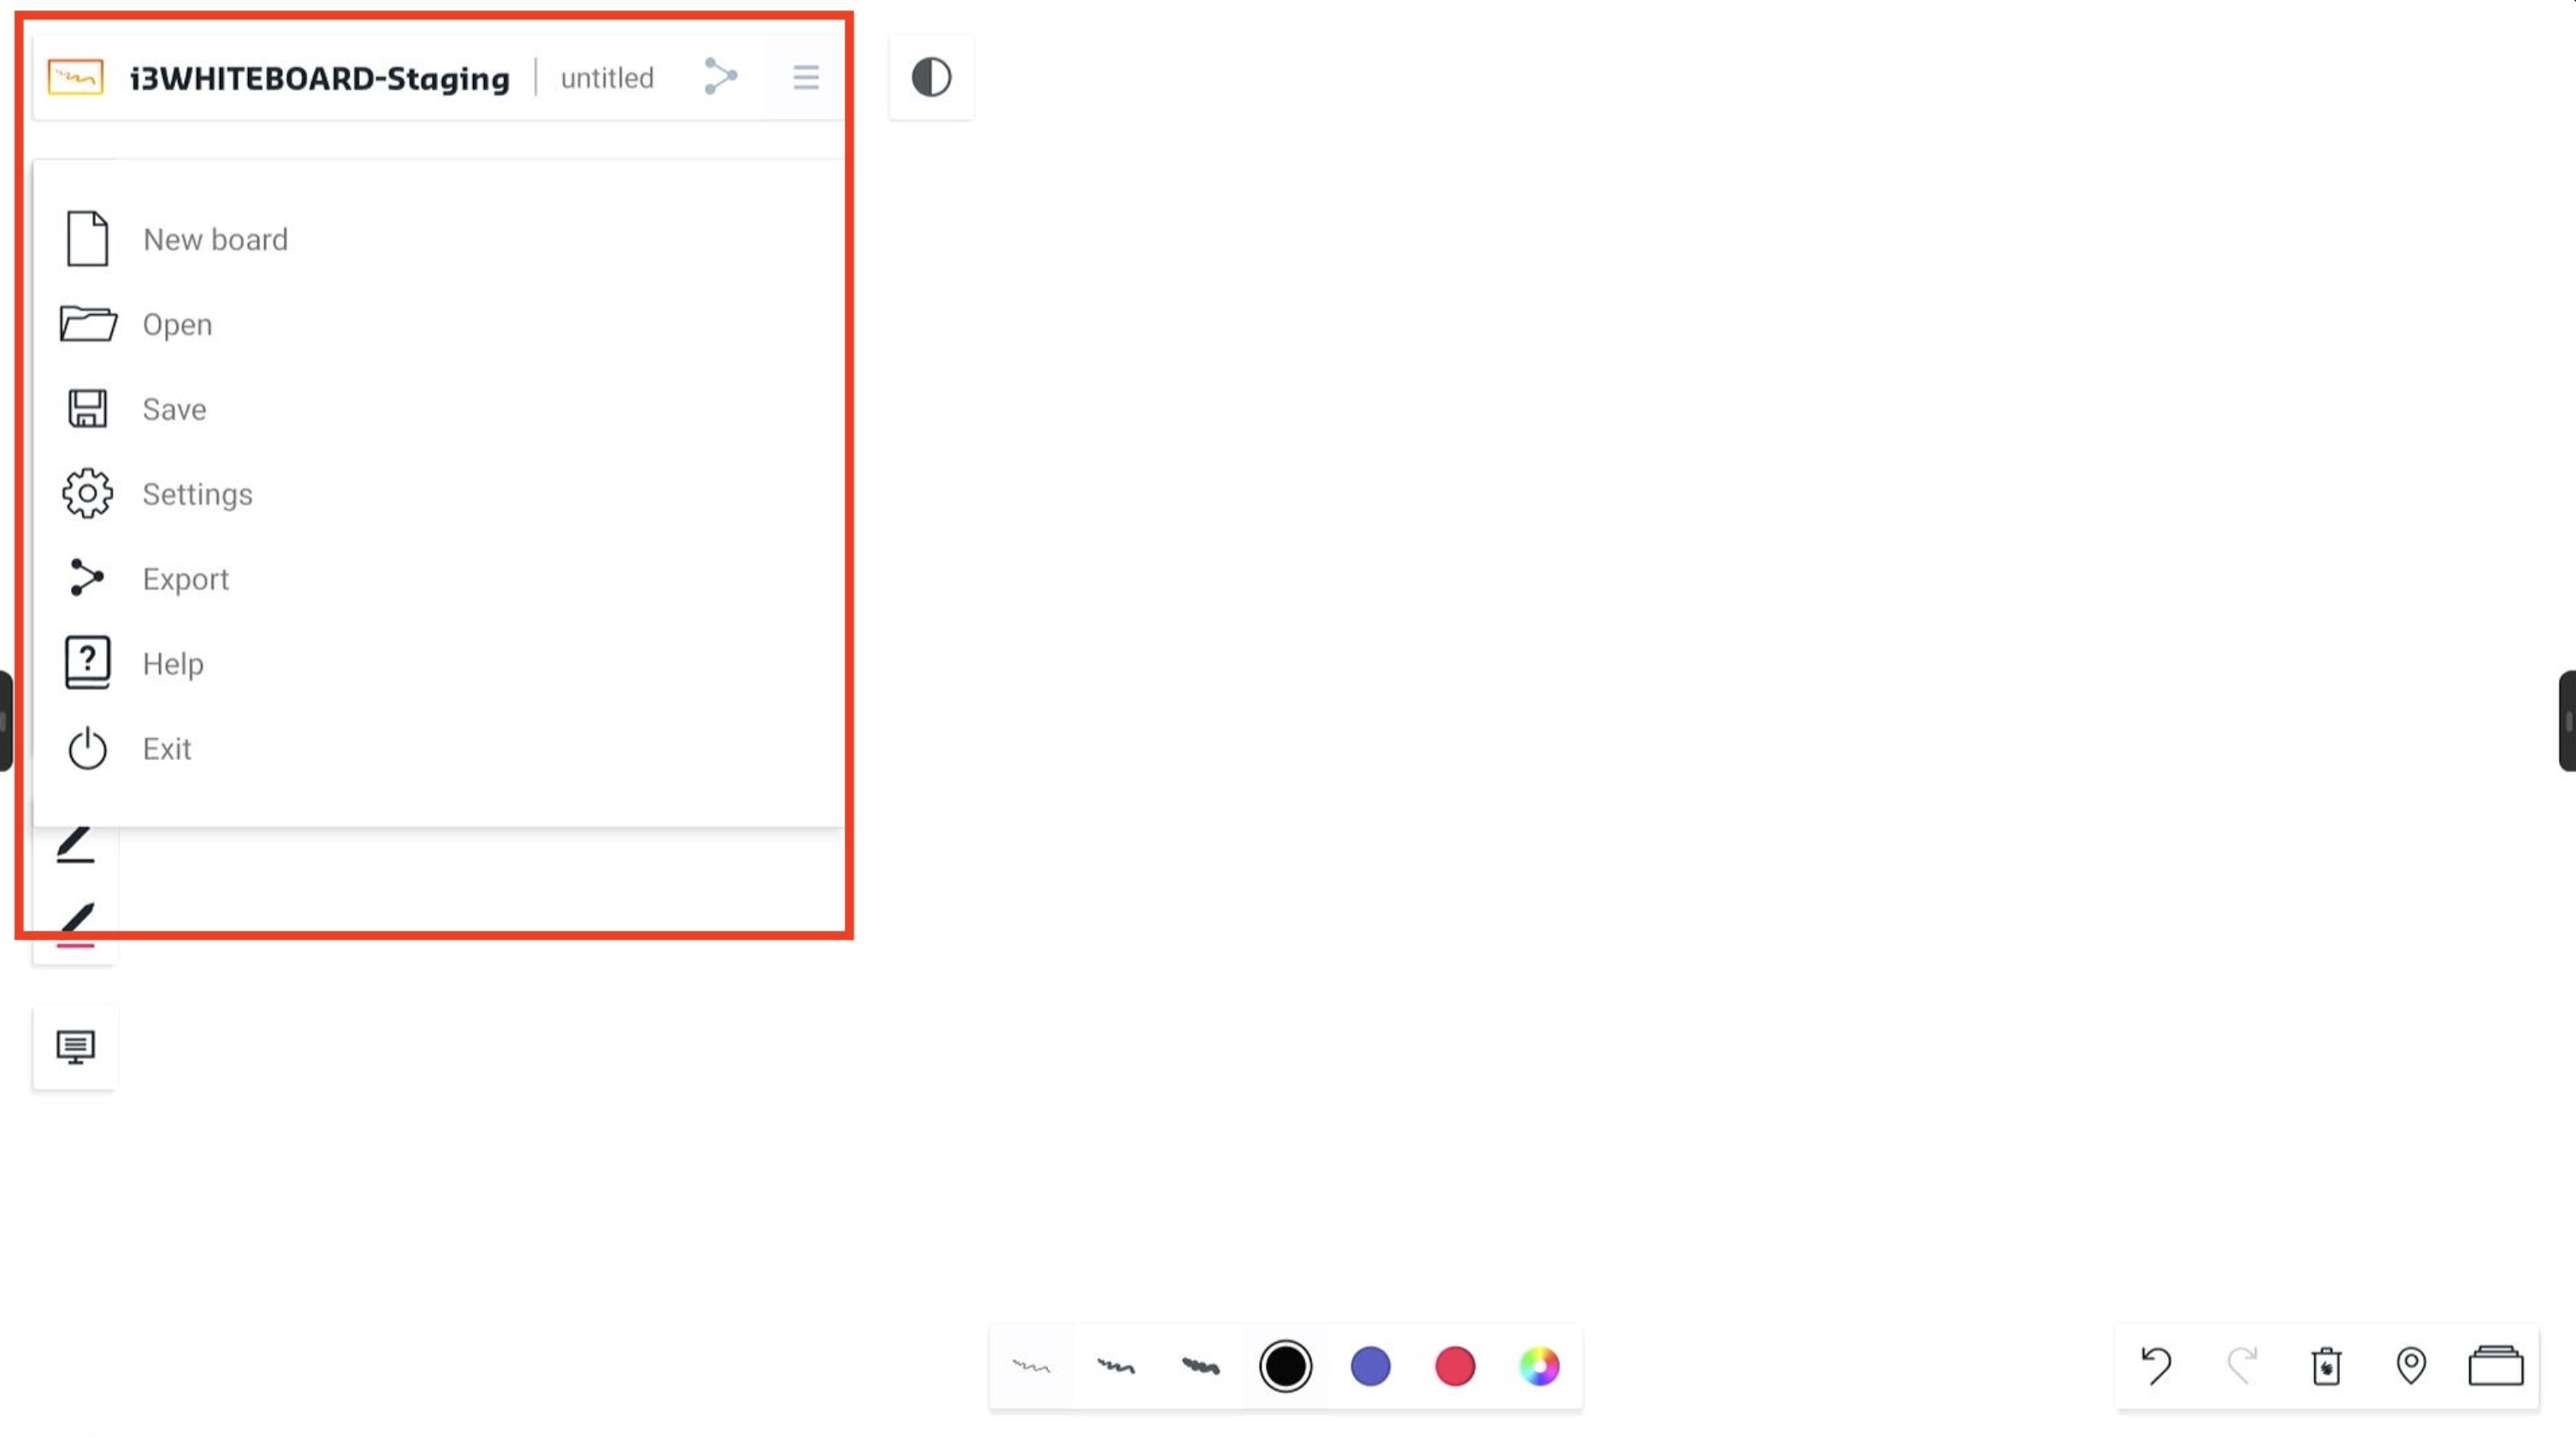
Select the hamburger icon to open the main menu.
-
New board → start a new and empty workspace.
-
Open → open a previously saved, existing whiteboard file
-
Save → save your whiteboard file for later use
-
Settings → customize application and workspace settings.
-
Export → export your work to a PDF file to share or for external use
-
Help → the link to this guide
-
Exit → exit the whiteboard application and close the current session
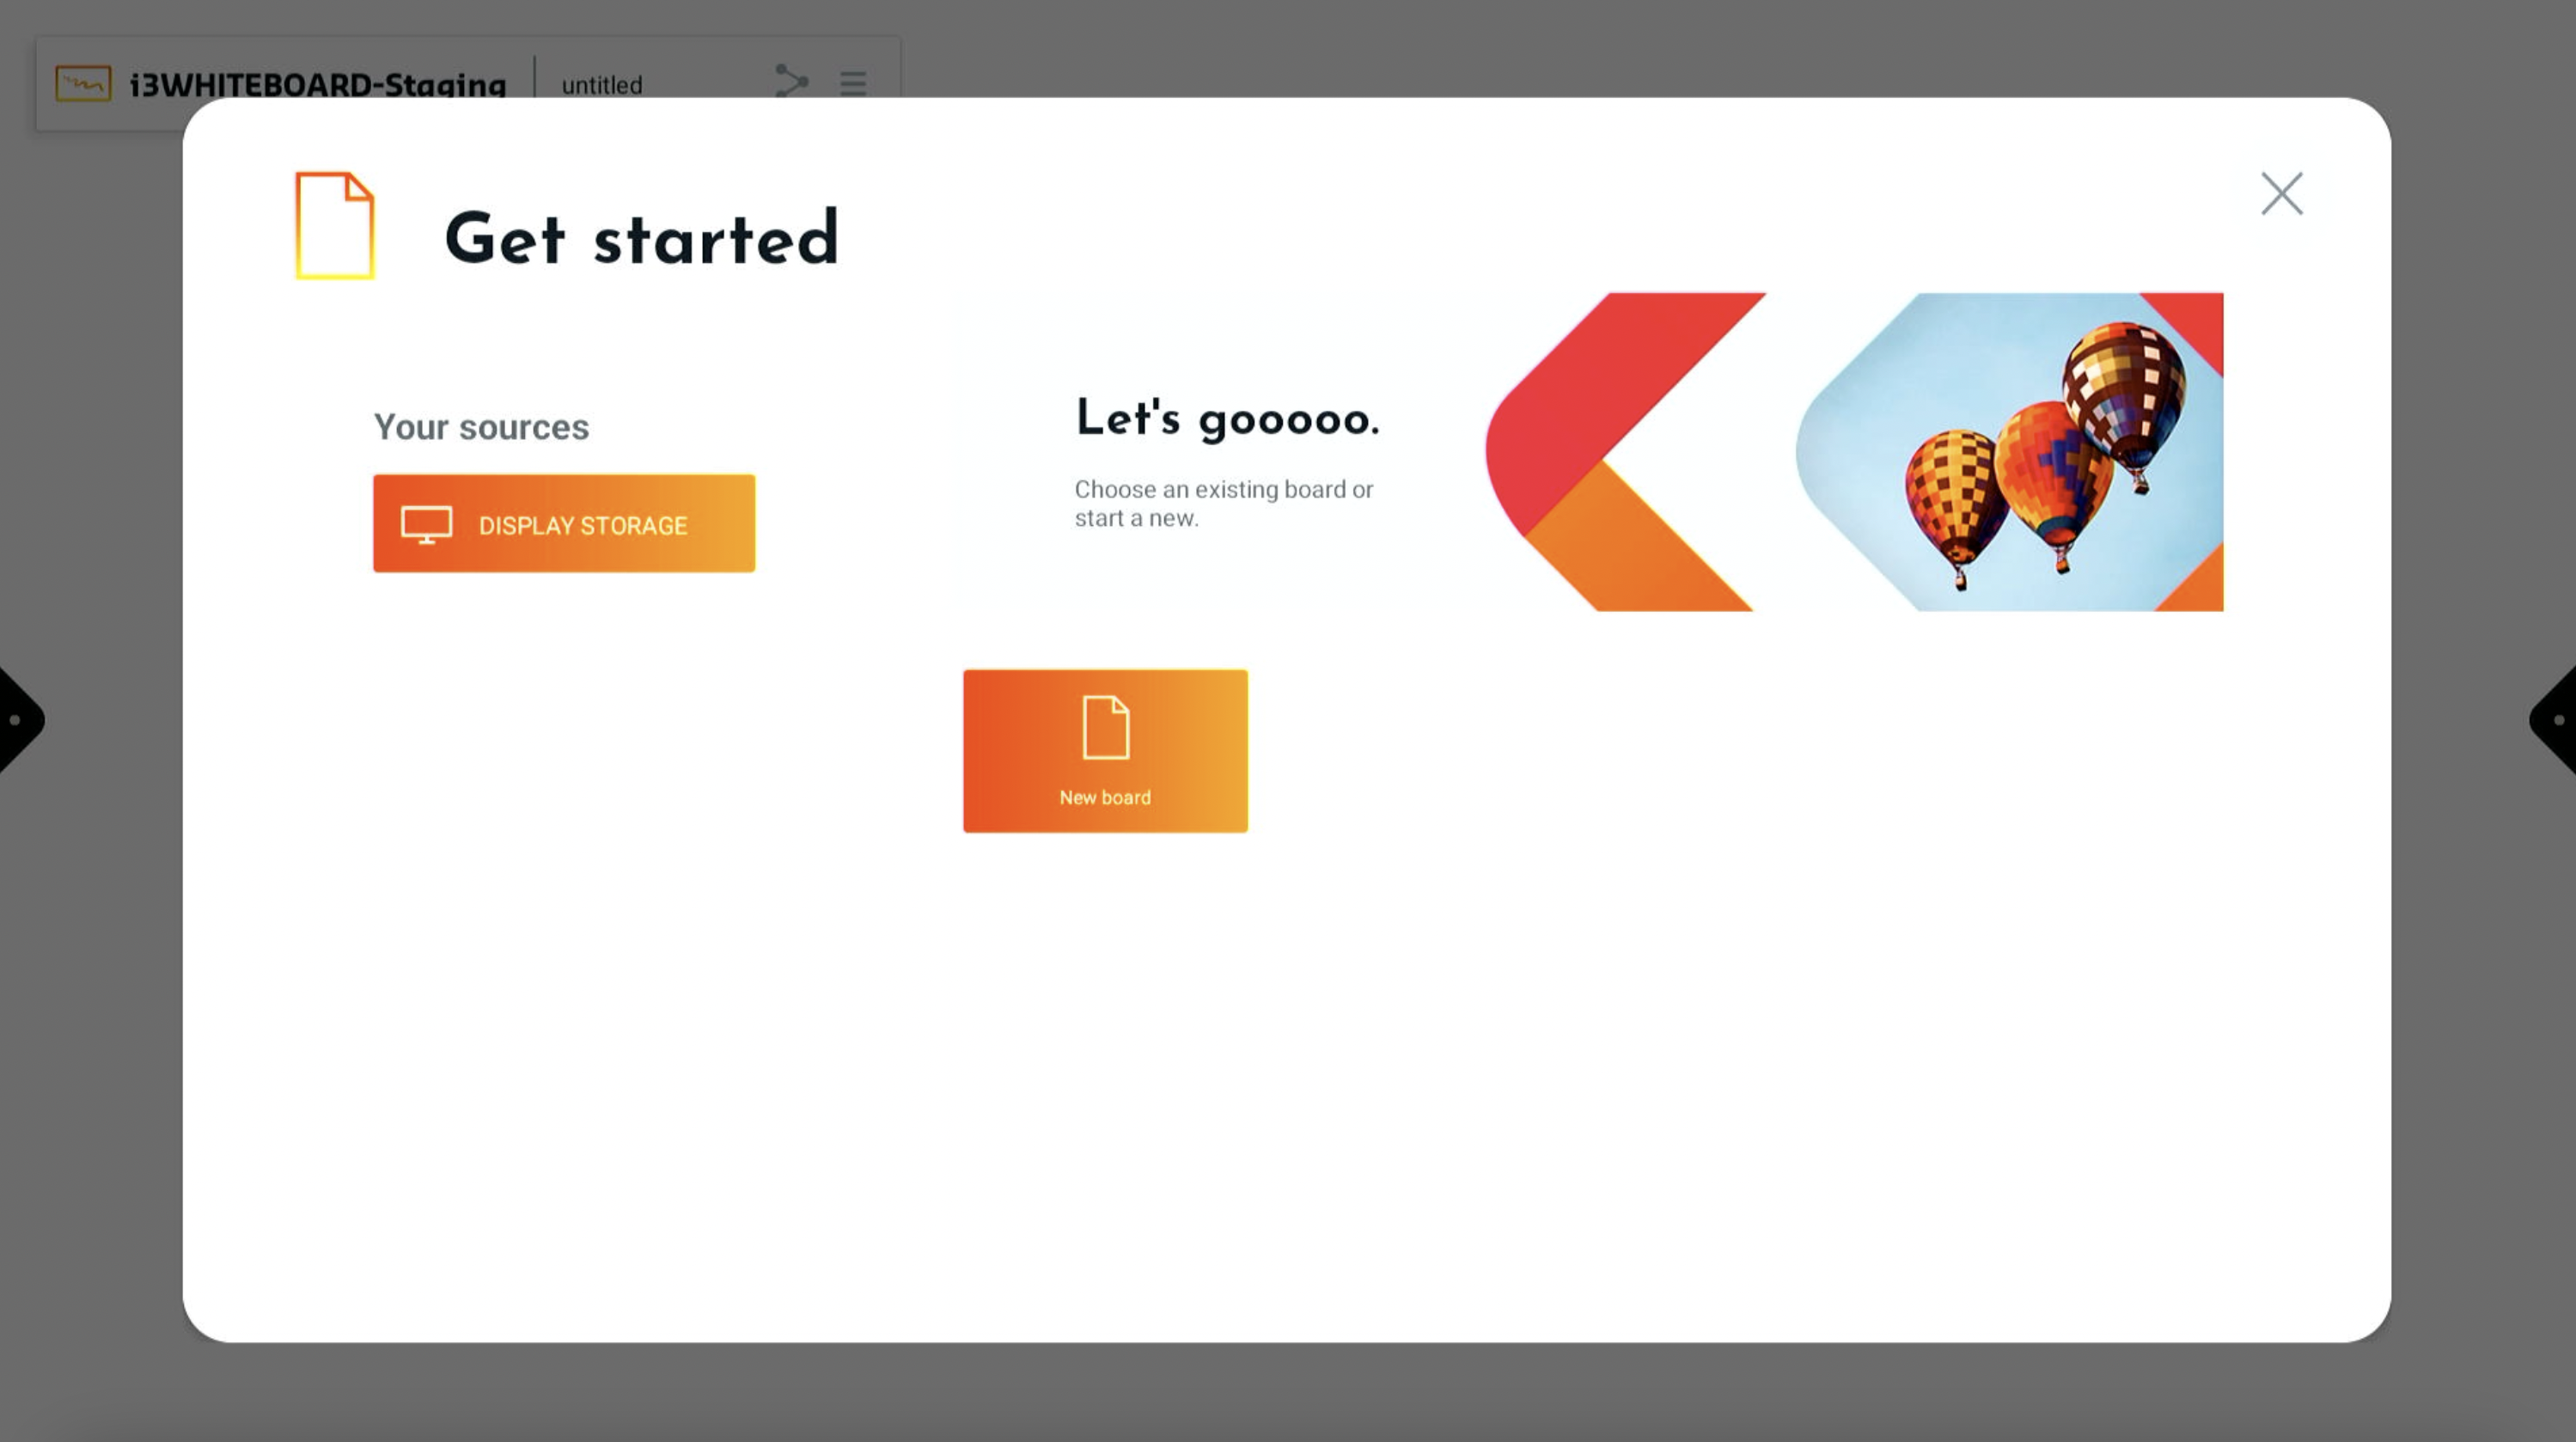
New board
This will create a new i3WHITEBOARD file.
Open
This allows you to open previously saved i3WHITEBOARD files.
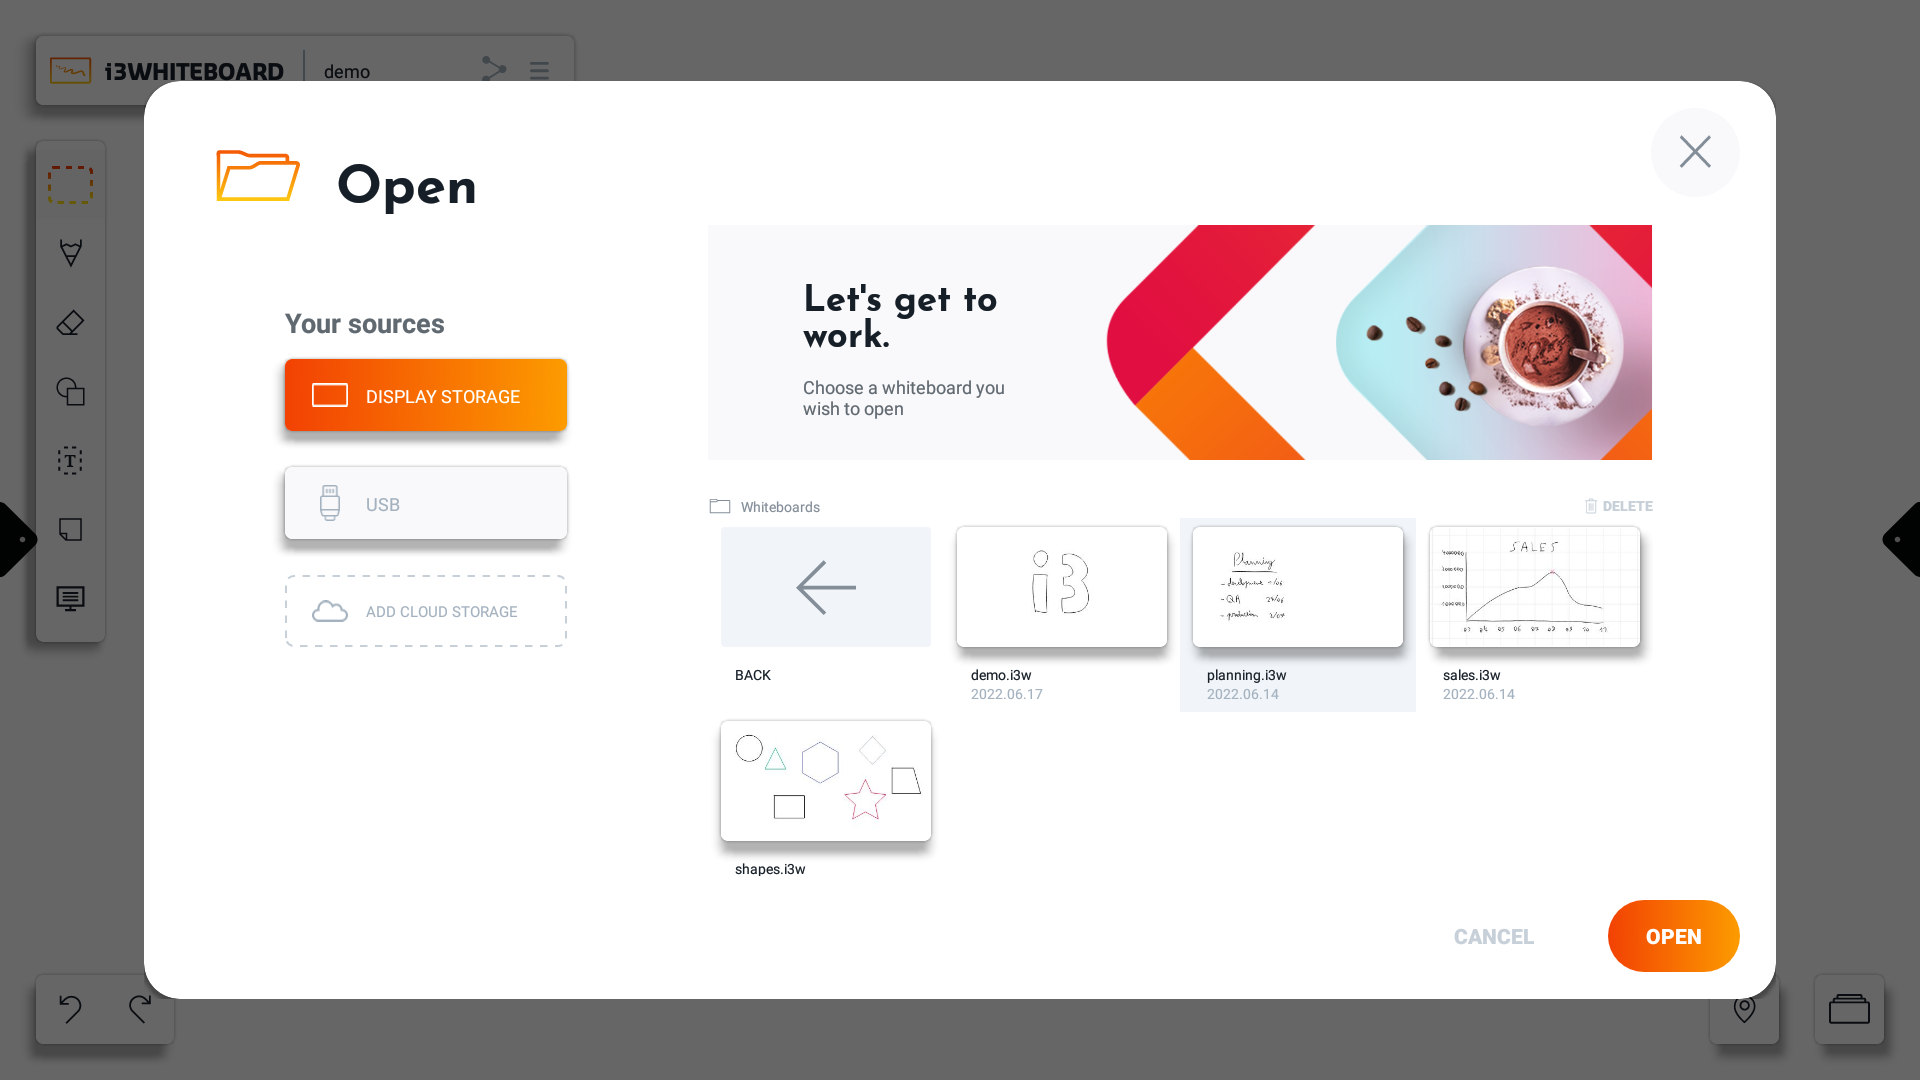
Select the file you want to open and press “Open.” Instead of opening the file, you also have the option to delete a file here.
Note: Deleting a file will permanently erase it from the file system. This cannot be reverted or recovered.
Sources
Display Storage
Here you can look for i3WHITEBOARD files that were saved to the i3TOUCH displays' internal storage.
USB
Connect a USB drive to the i3TOUCH display, and you can browse its content here.
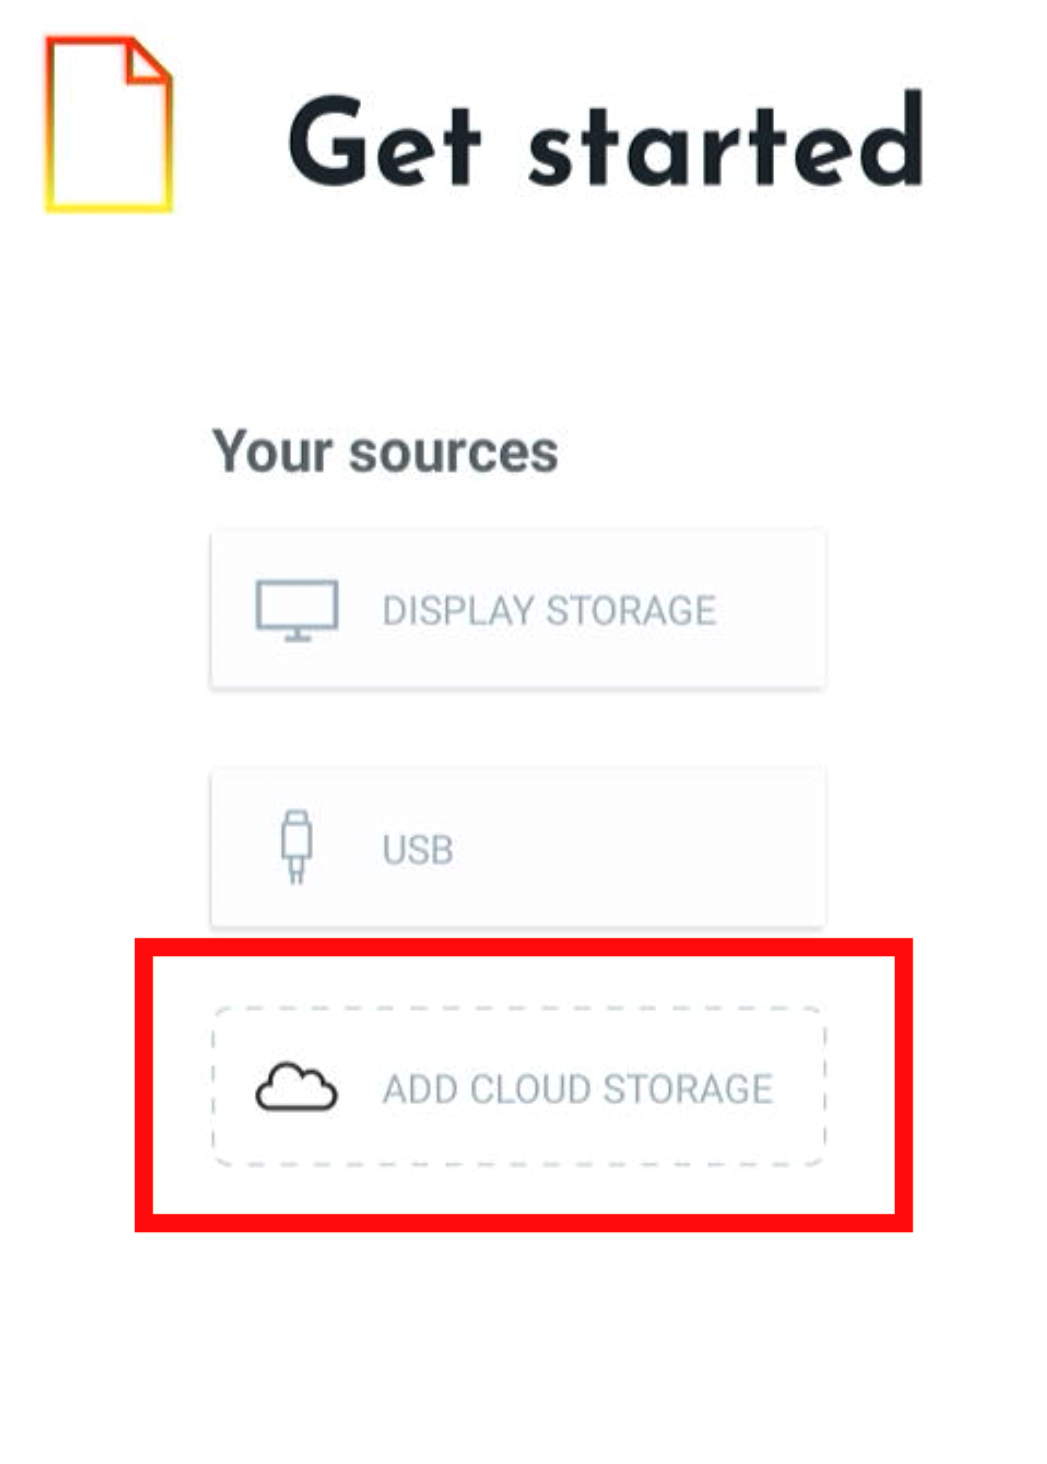
Cloud storage
This is the preferred storage since it’ll allow you to use your i3WHITEBOARD files on multiple i3TOUCH displays.
Connecting Cloud Storage
i3WHITEBOARD allows you to connect to the following cloud providers:
-
Google Drive
-
OneDrive
To start, choose “Add cloud storage” from the Save or Open dialog and follow the instructions on the screen.
Currently, we support Google Drive and OneDrive:

Use your phone to connect using the QR code, or with your browser go to the included URL:
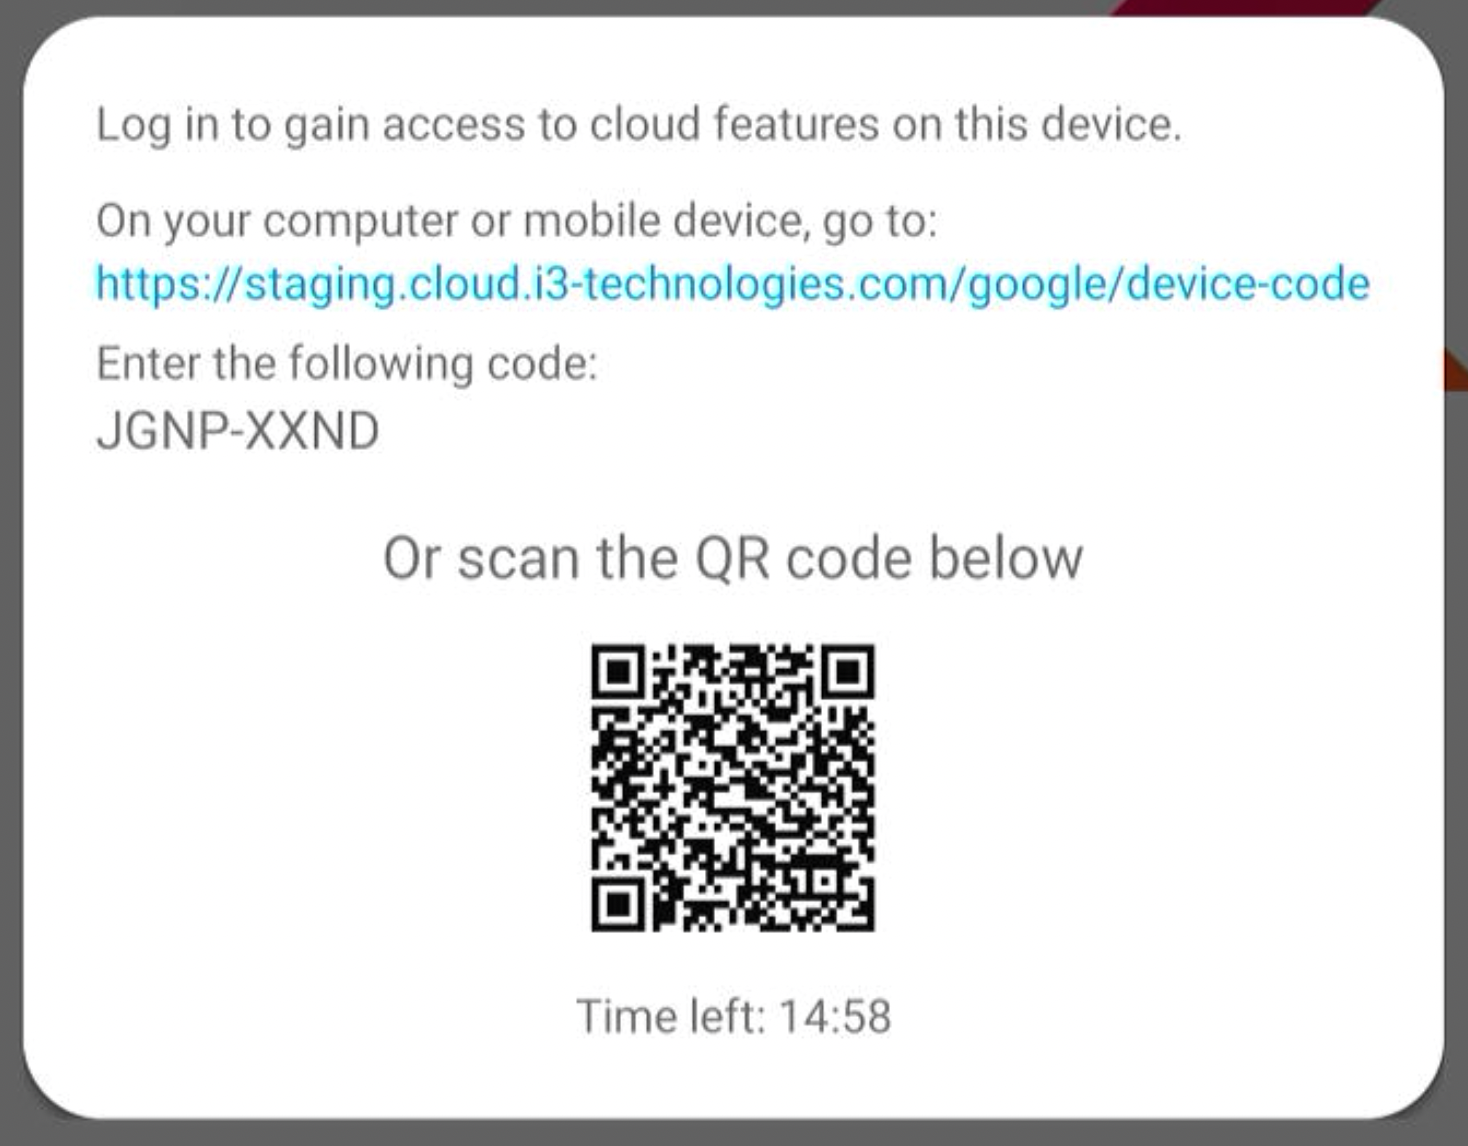
Once logged in, you can use your cloud storage to browse, save, and open files to and from the connected cloud provider.
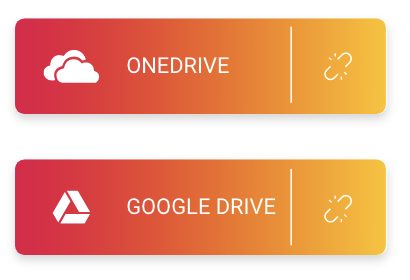
If you no longer want to use a cloud storage, press the disconnect icon next to each cloud connection.
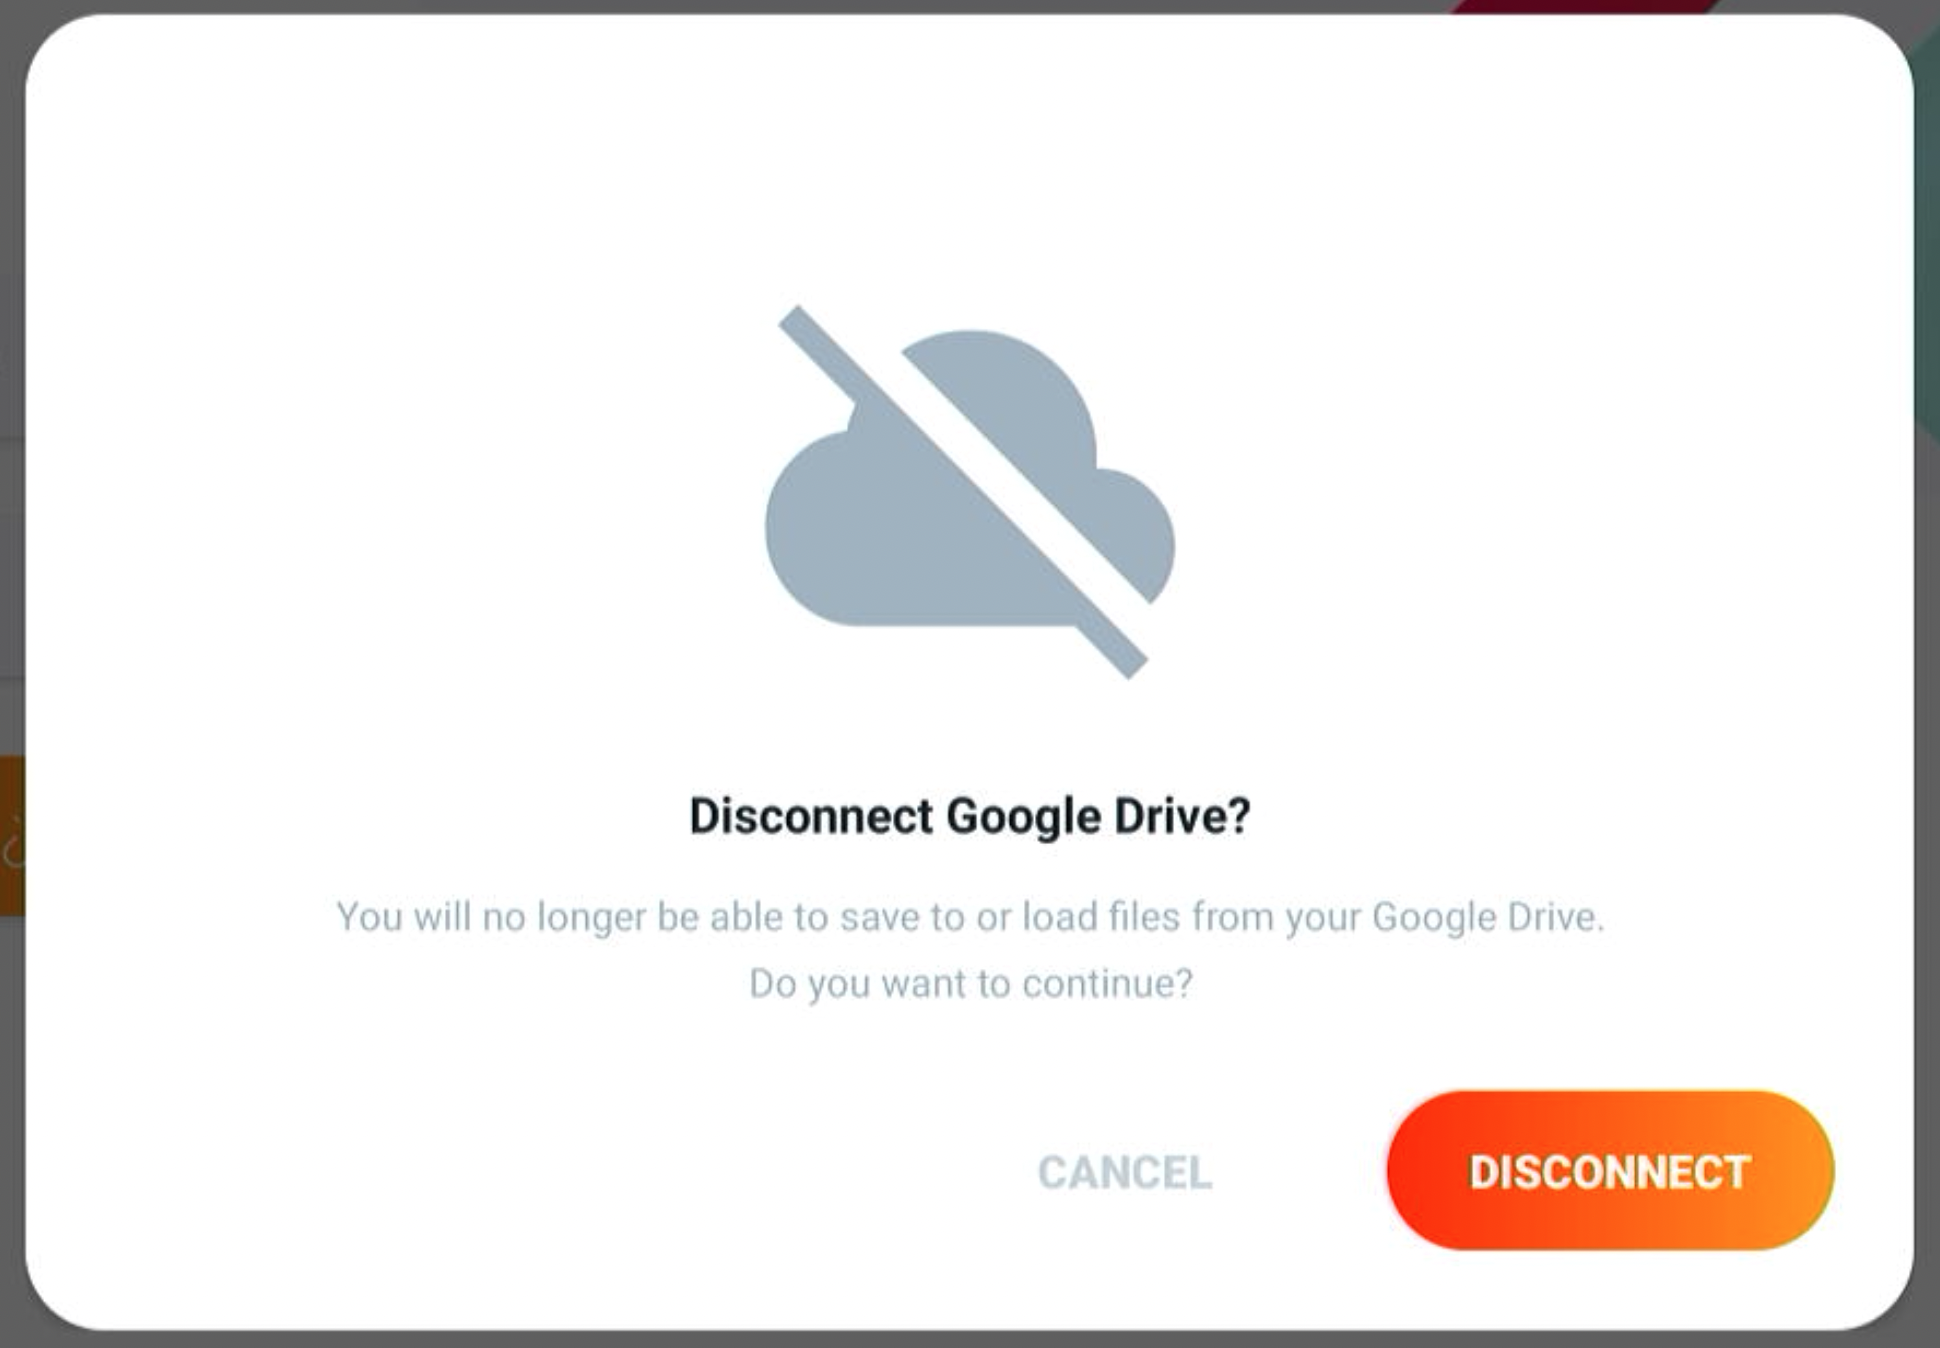
Press disconnect. The cloud storage will be disconnected immediately. From this point on, the device can no longer access your online files.
Save
i3WHITEBOARD will automatically store your current session, so you don’t have to worry about losing progress when navigating to and from other apps.
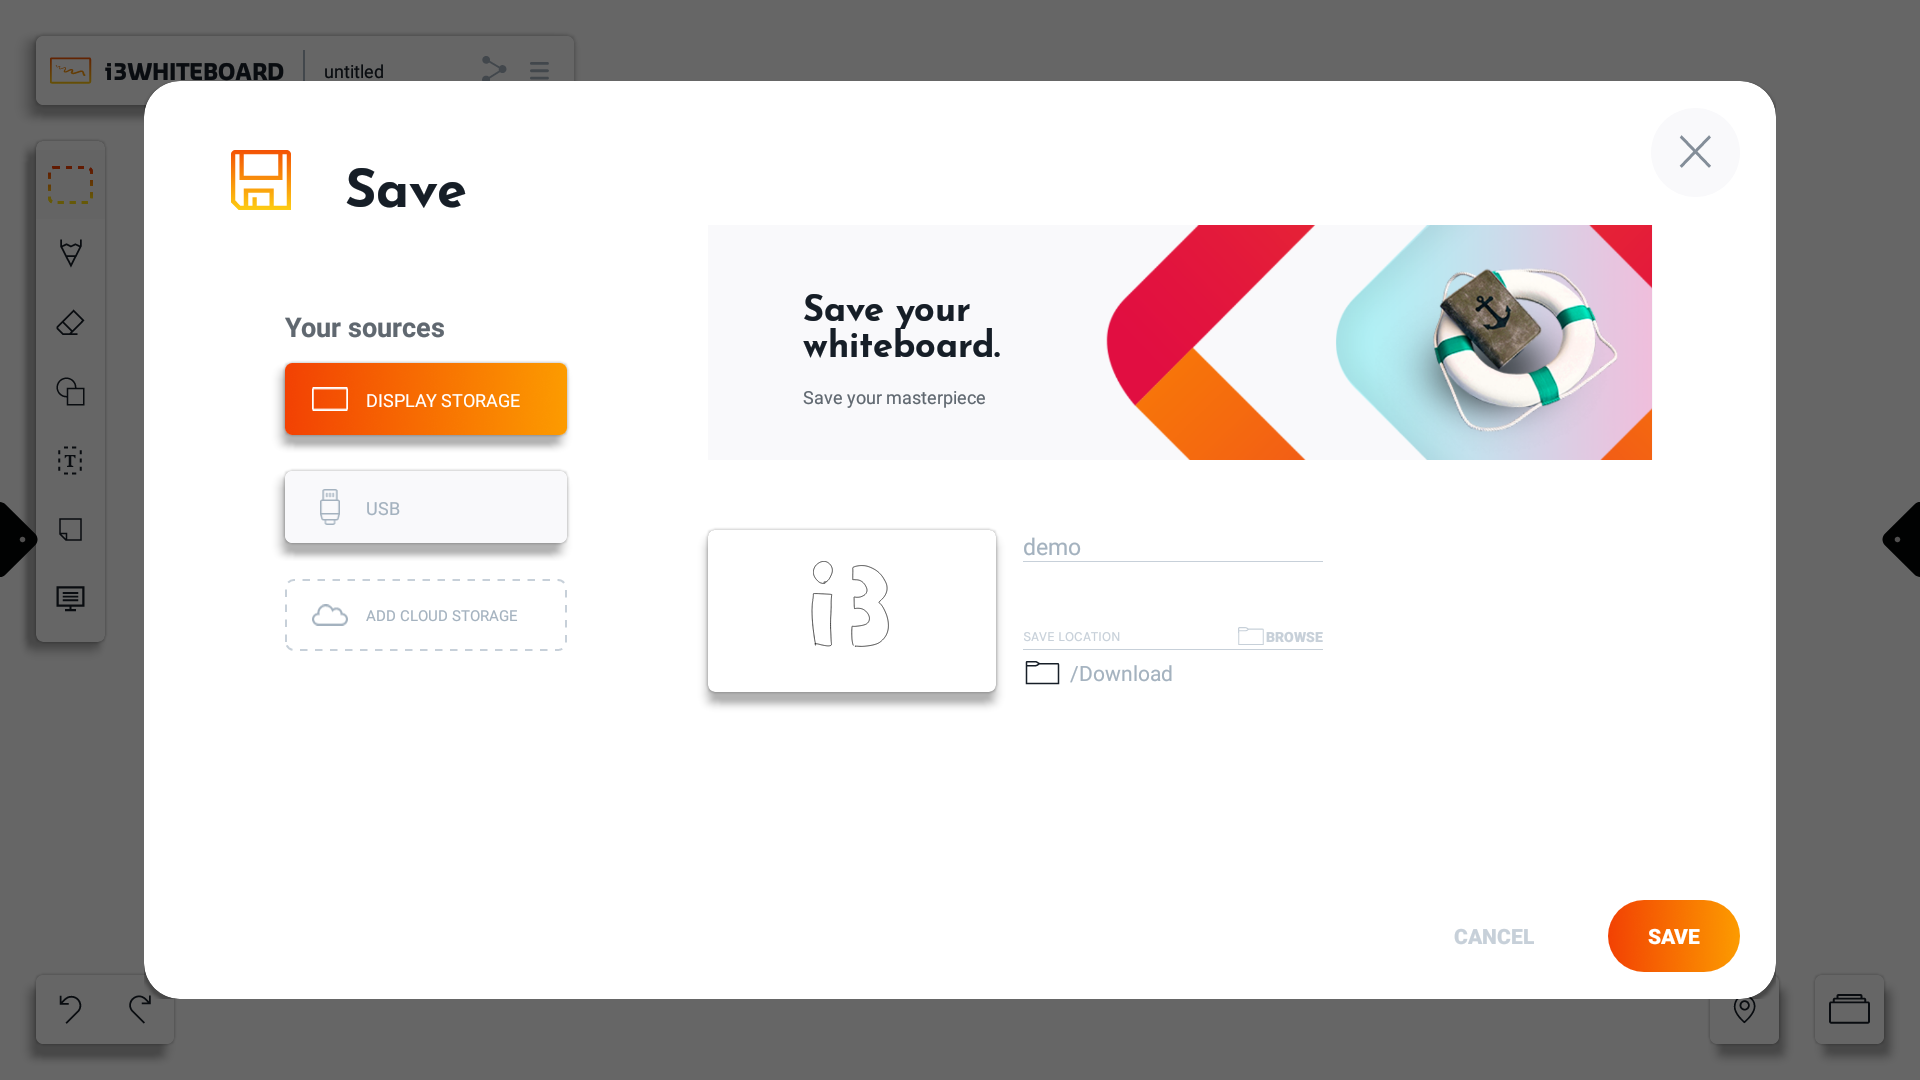
Sources
To the left, you can choose a source location where you want to store your i3WHITEBOARD files. This can be one of the following:
Display Storage
The internal storage of your i3TOUCH display. Other users will be able to access the files if you store them here.
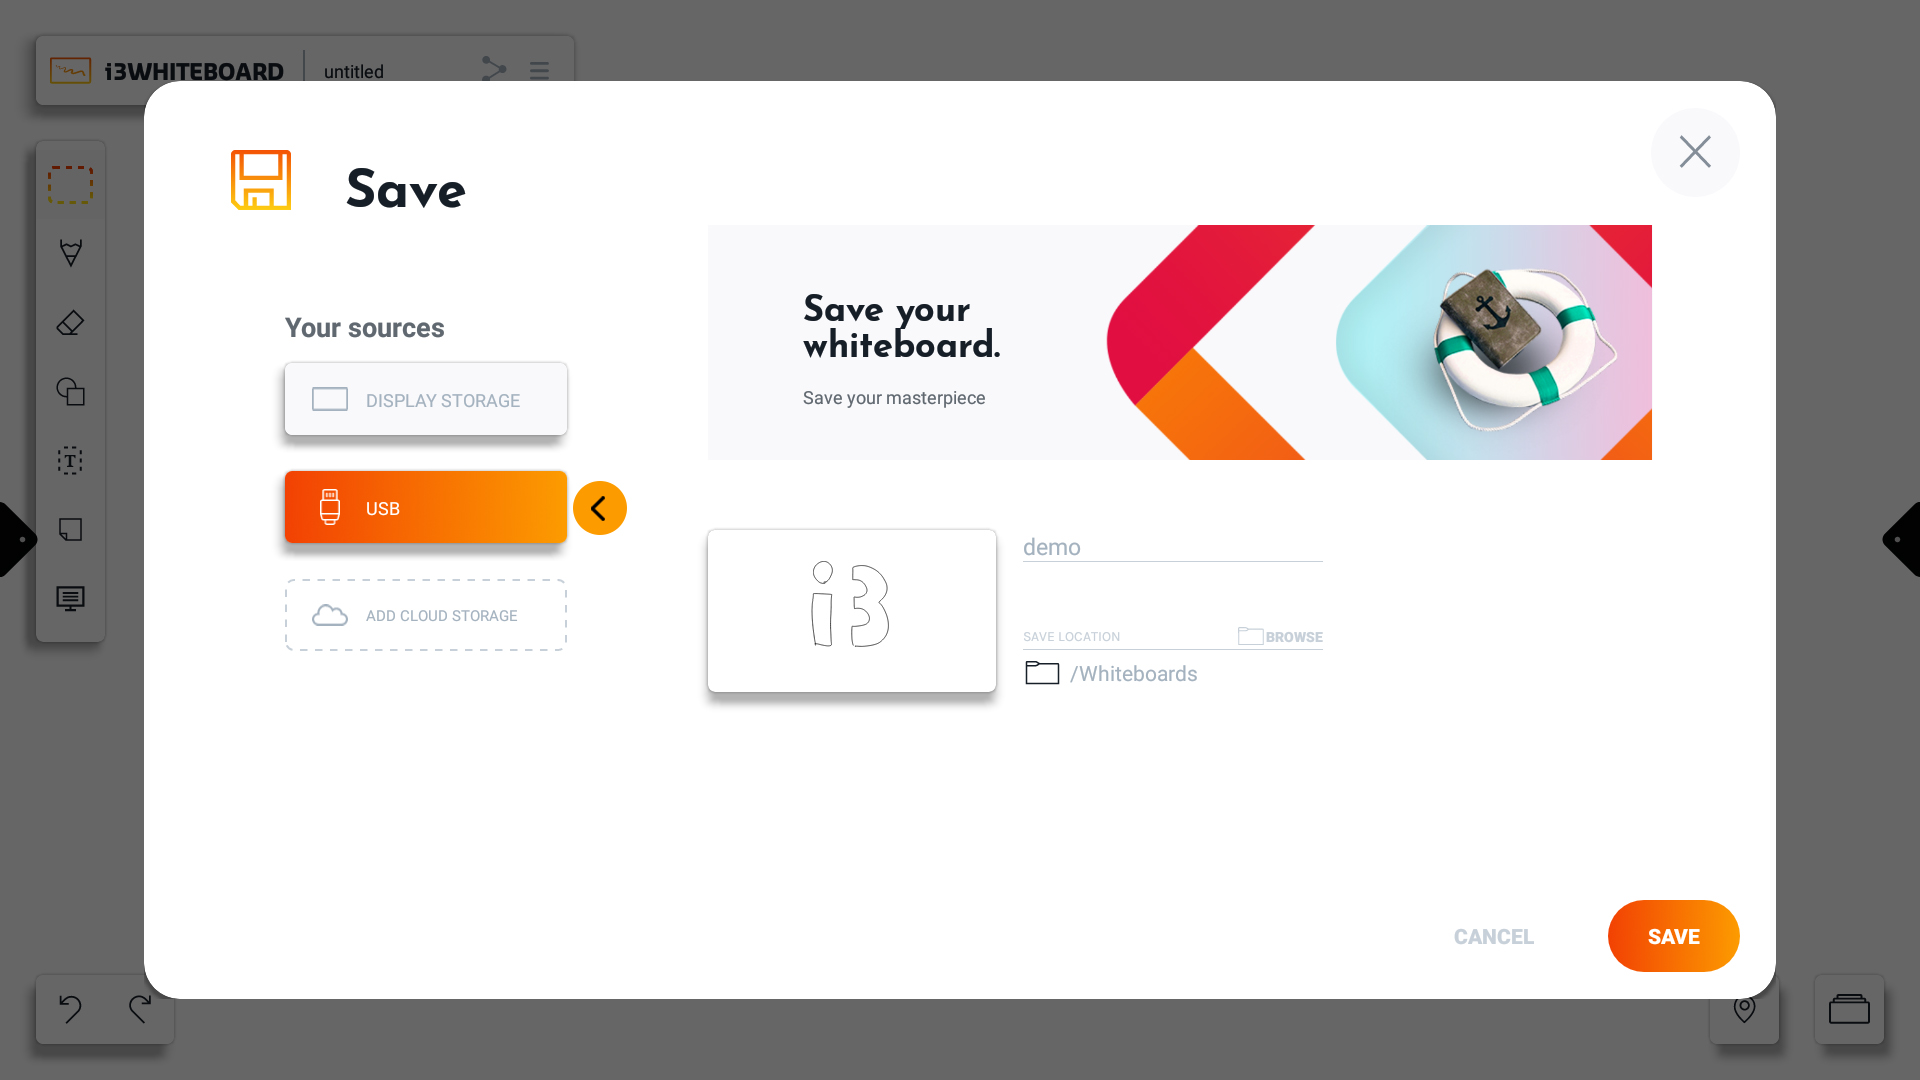
USB
Connect a USB drive to the i3TOUCH display, you’ll be able to save your file to the preferred folder here.
Cloud storage
This is the preferred storage since it’ll allow you to use your i3WHITEBOARD files on multiple i3TOUCH displays, and other users of the display won’t be able to open them.
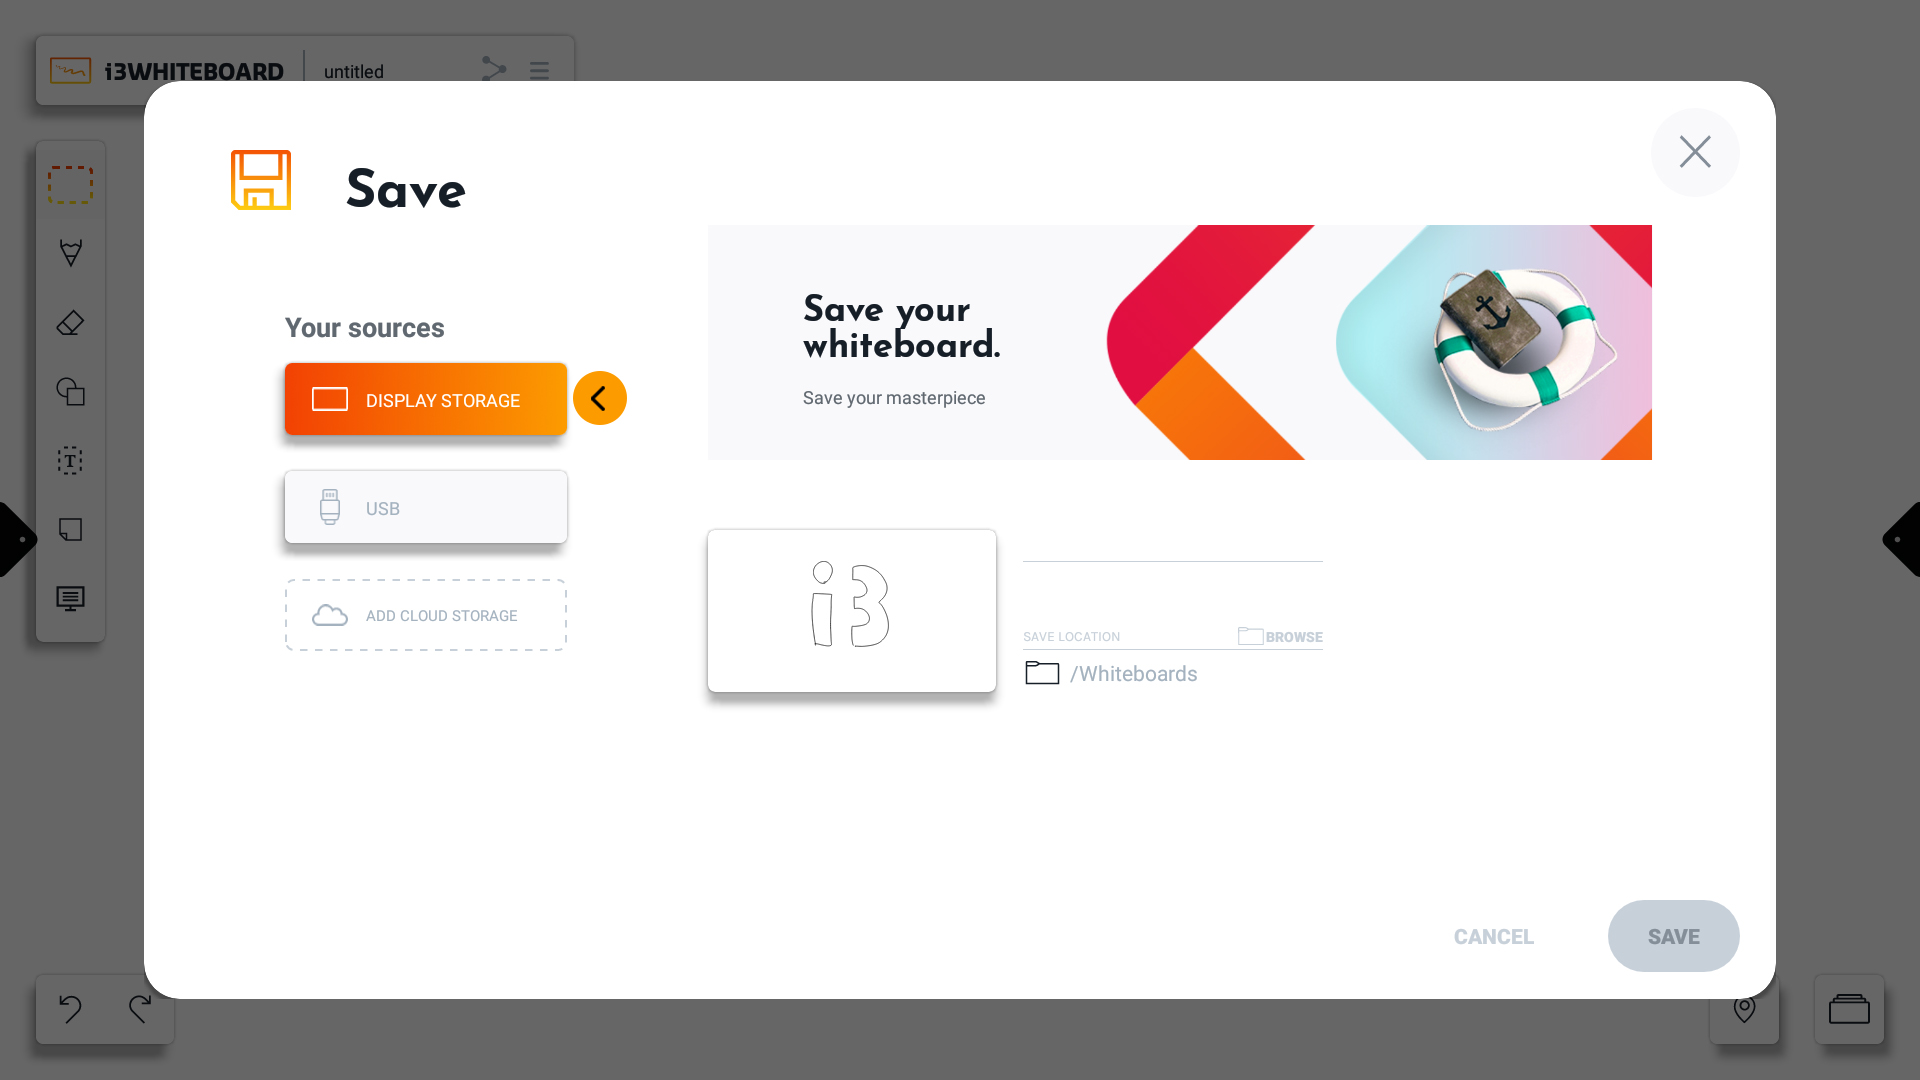
Choose a name for your i3WHITEBOARD file.
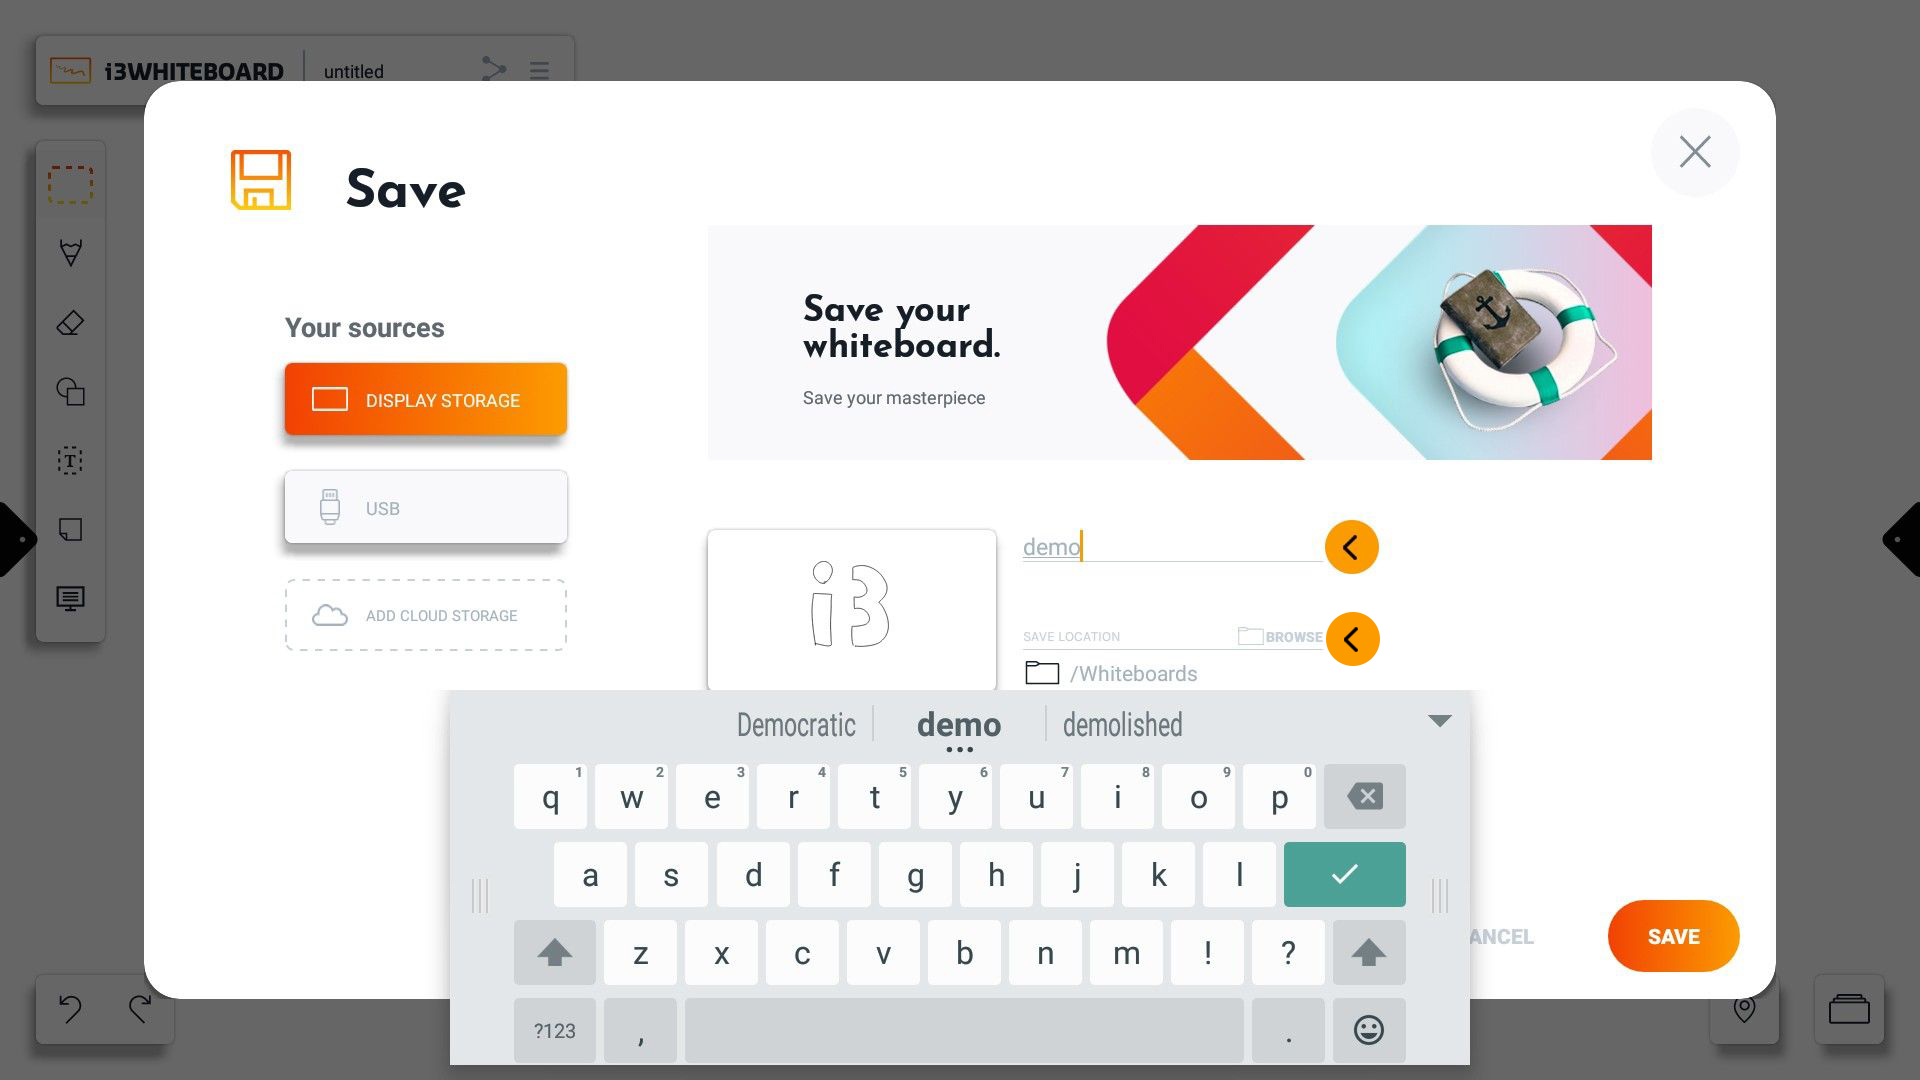
By default, i3WHITEBOARD will save your whiteboard file in the Whiteboards folder. You can choose a different location by pressing on “browse.”
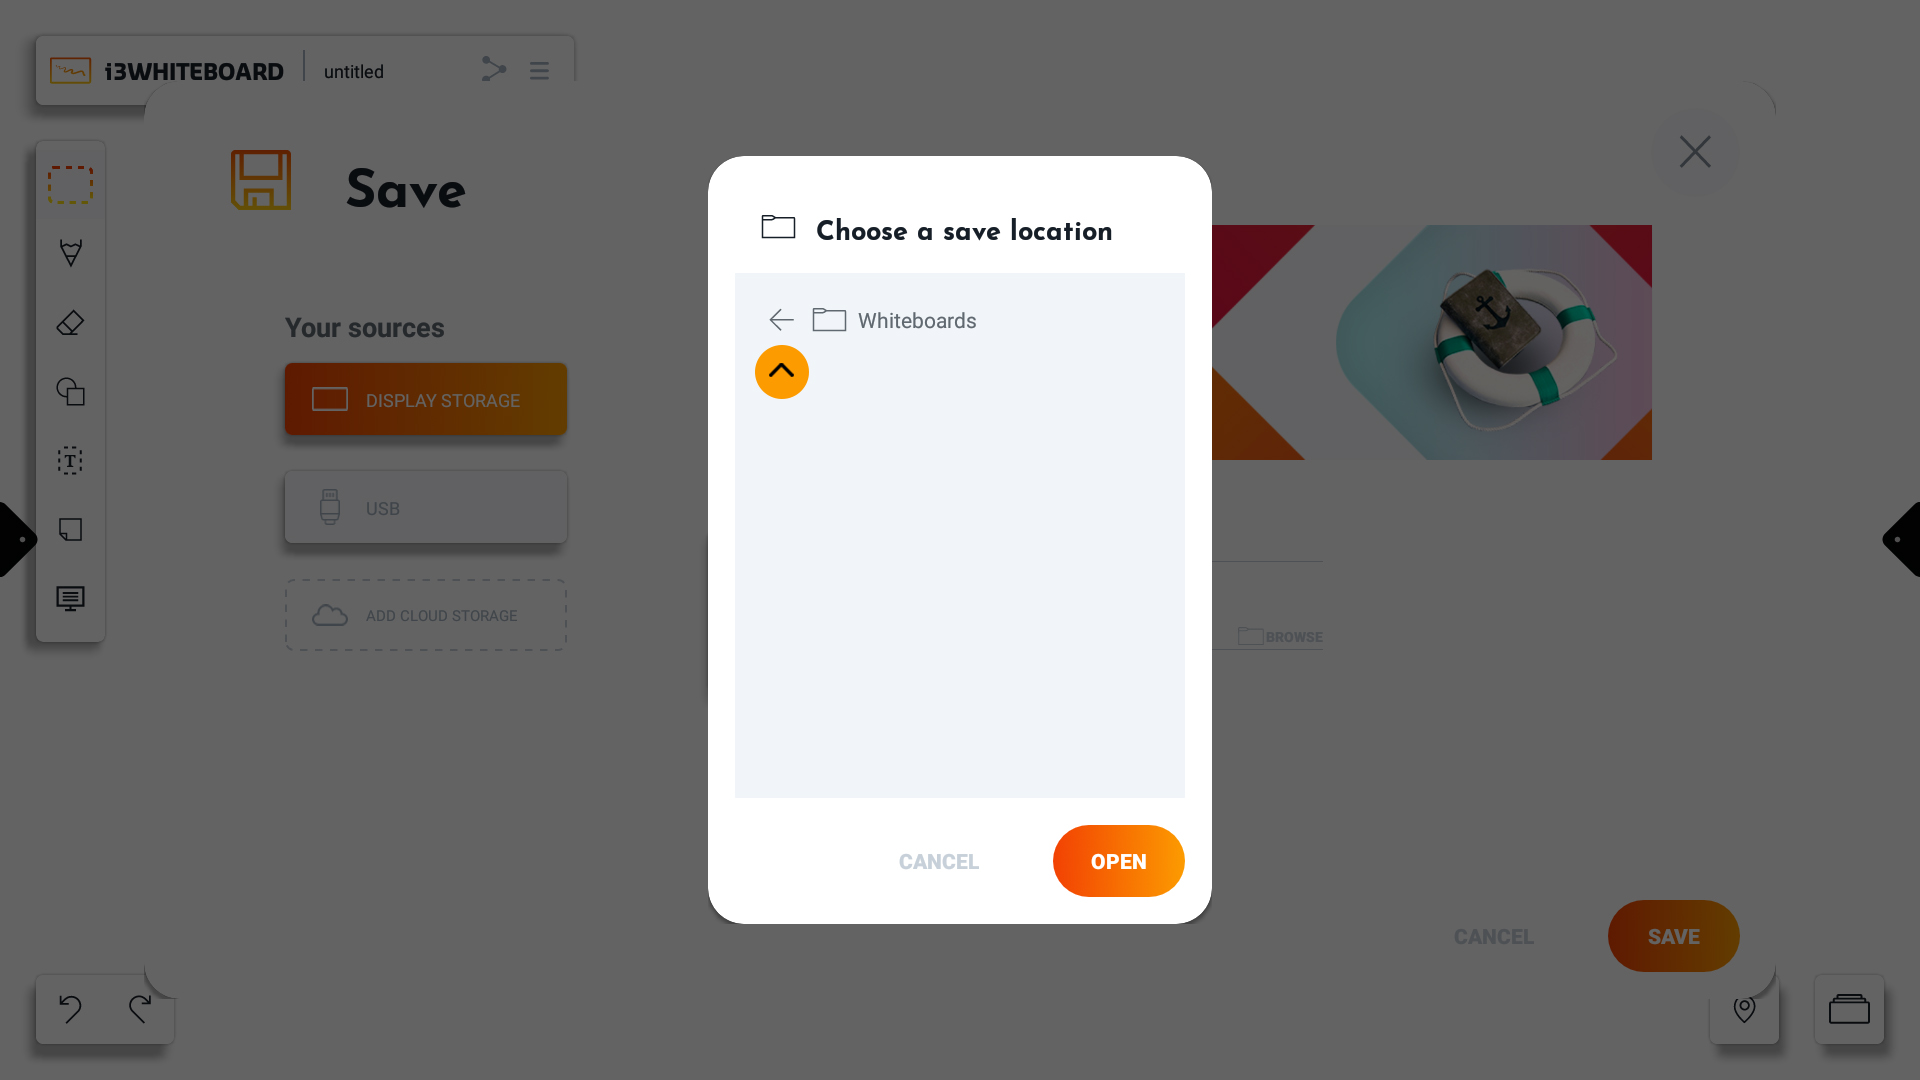
You can navigate back.
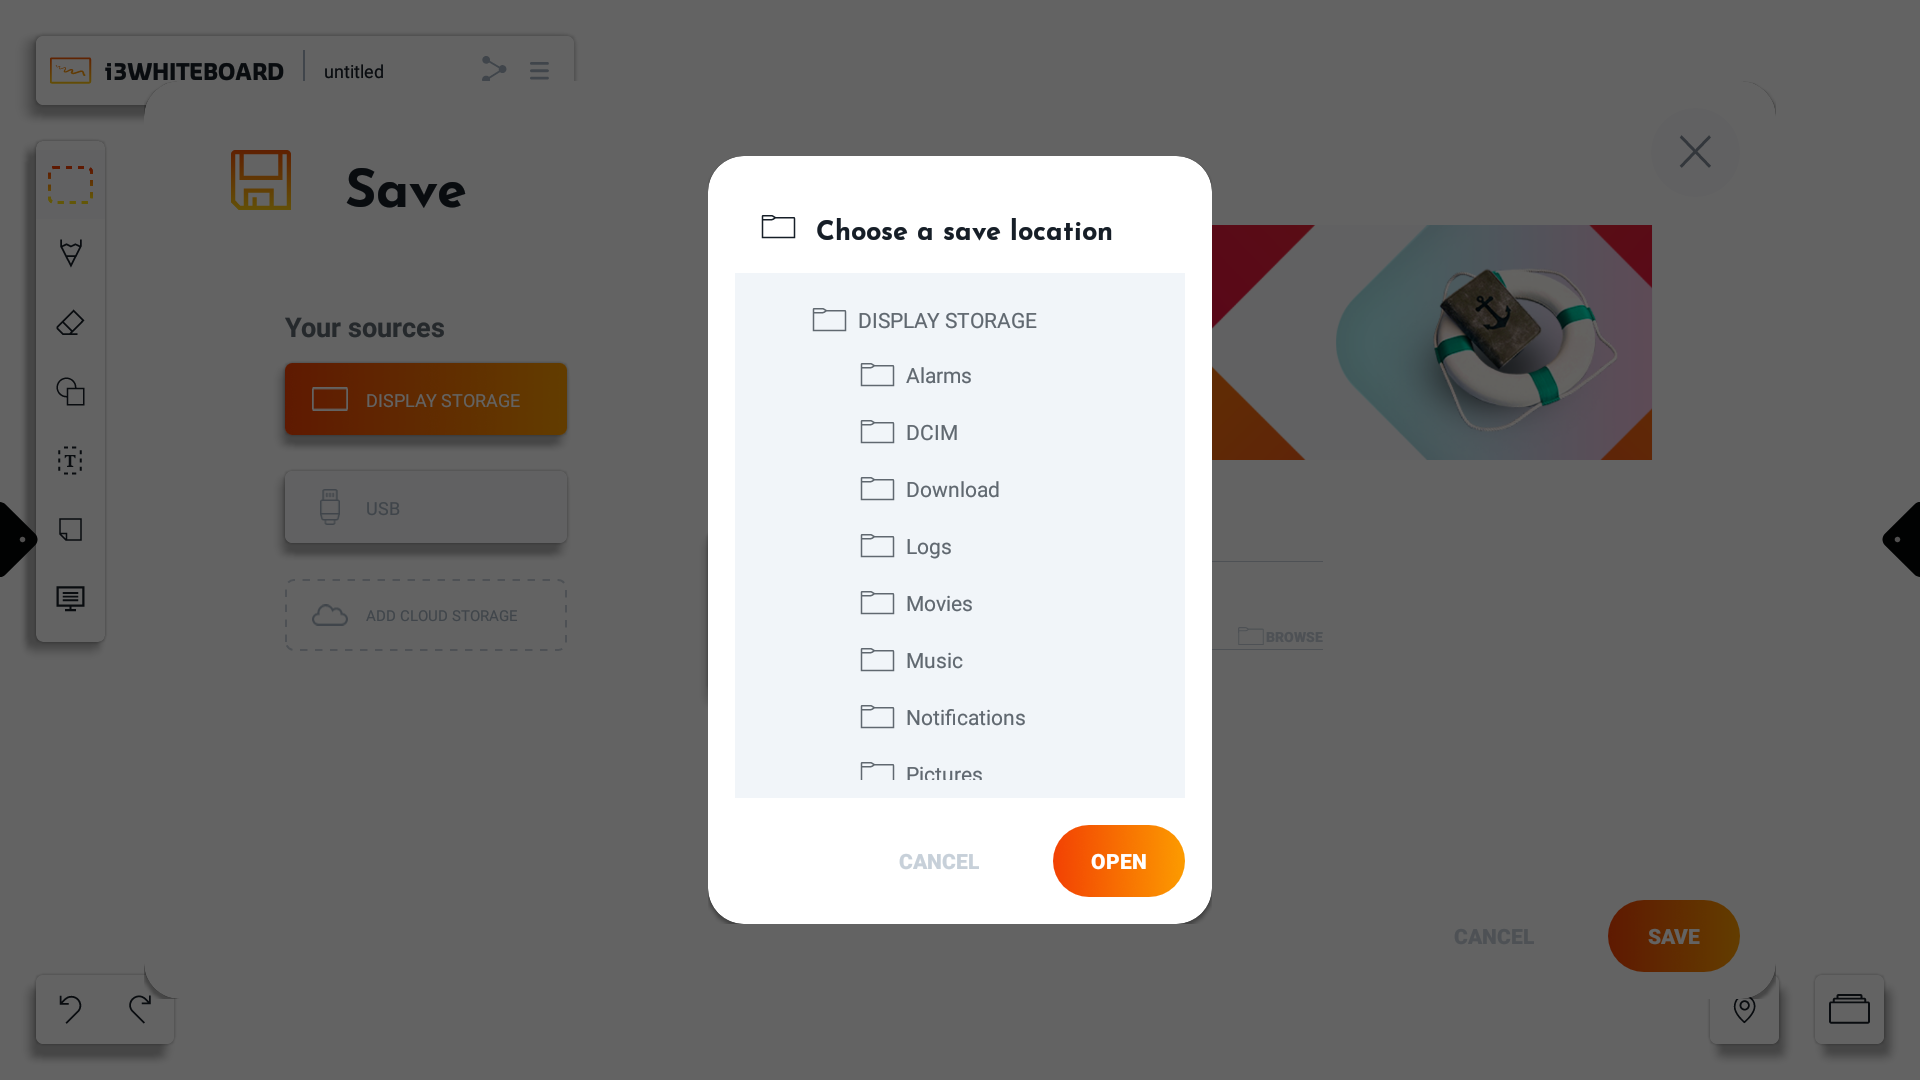
And choose a different folder.
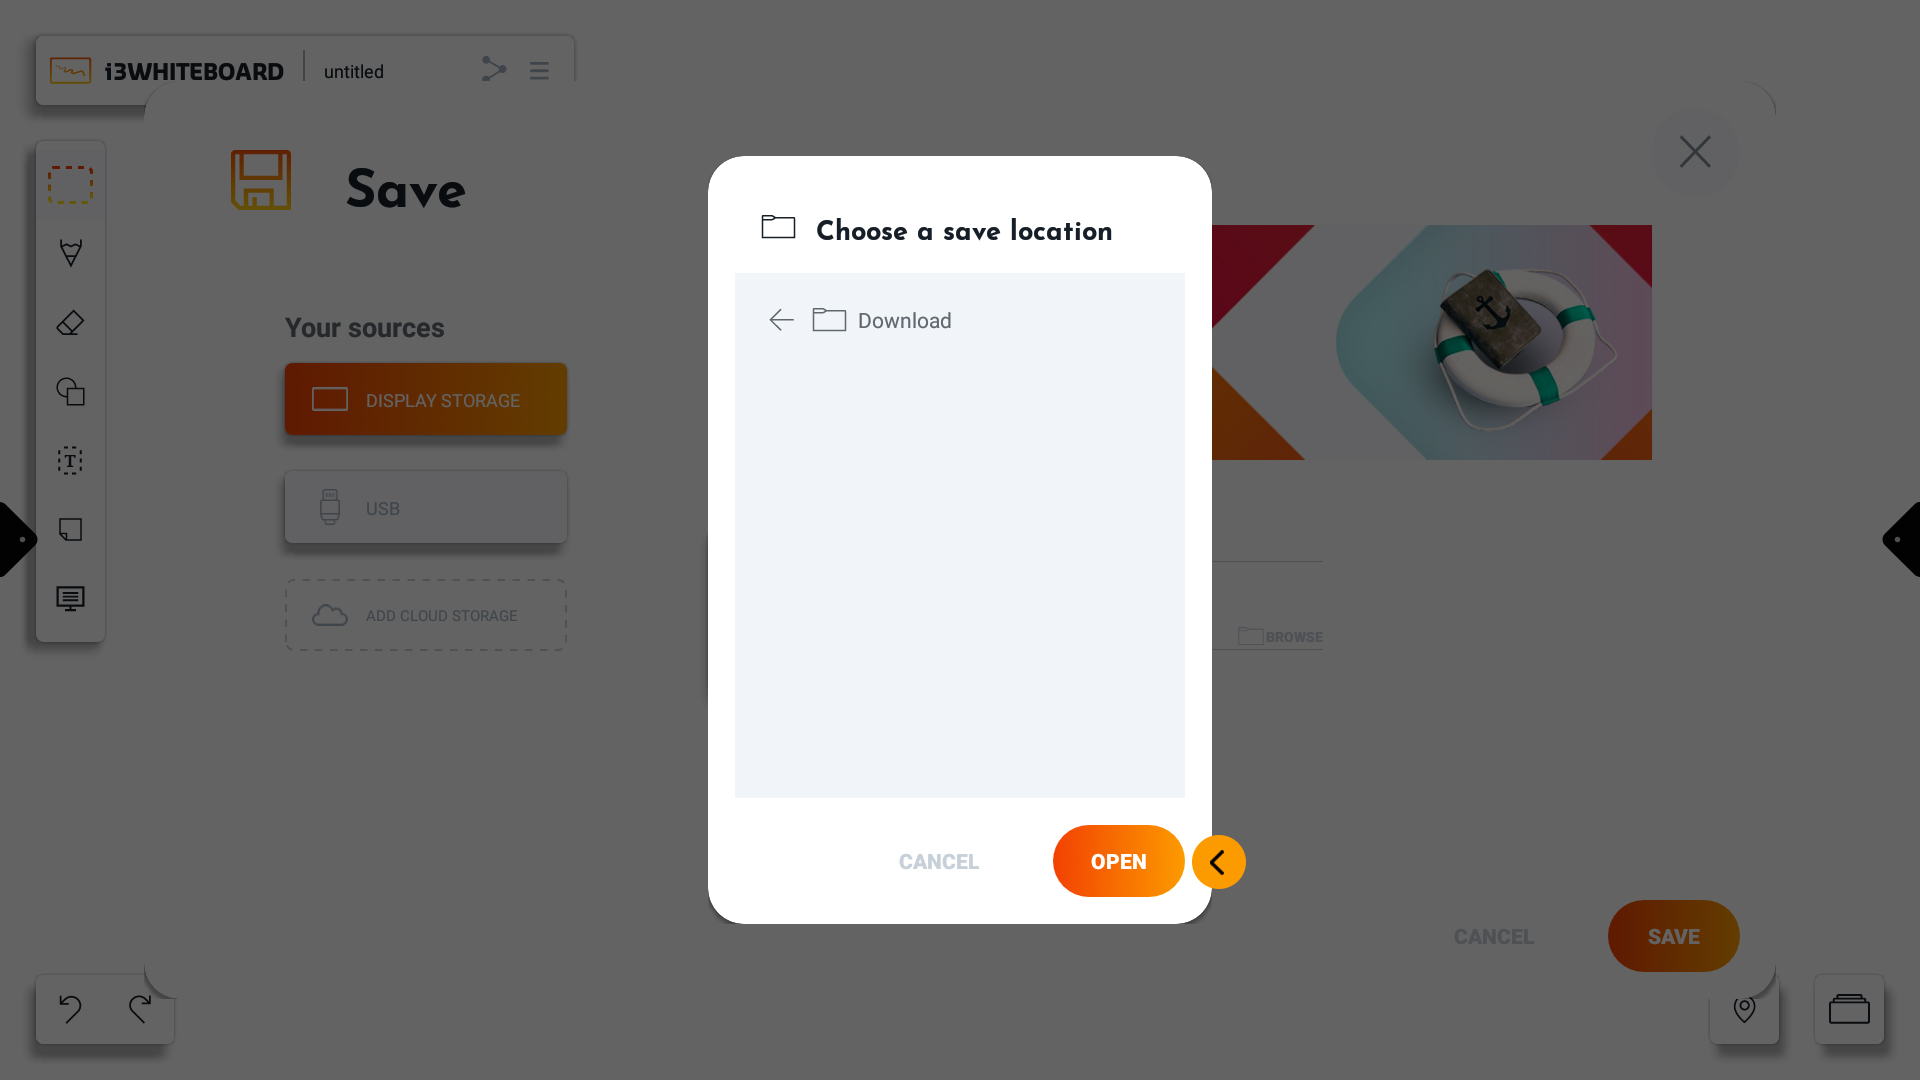
Press open when you have chosen your preferred folder.
Besides saving your i3WHITEBOARD file on the display storage, you can also use another connected source like a USB stick.
Press “Save” to save your work to the final chosen location.
Password-protected files
When you need to protect a file with a password, you can do so when saving the file.
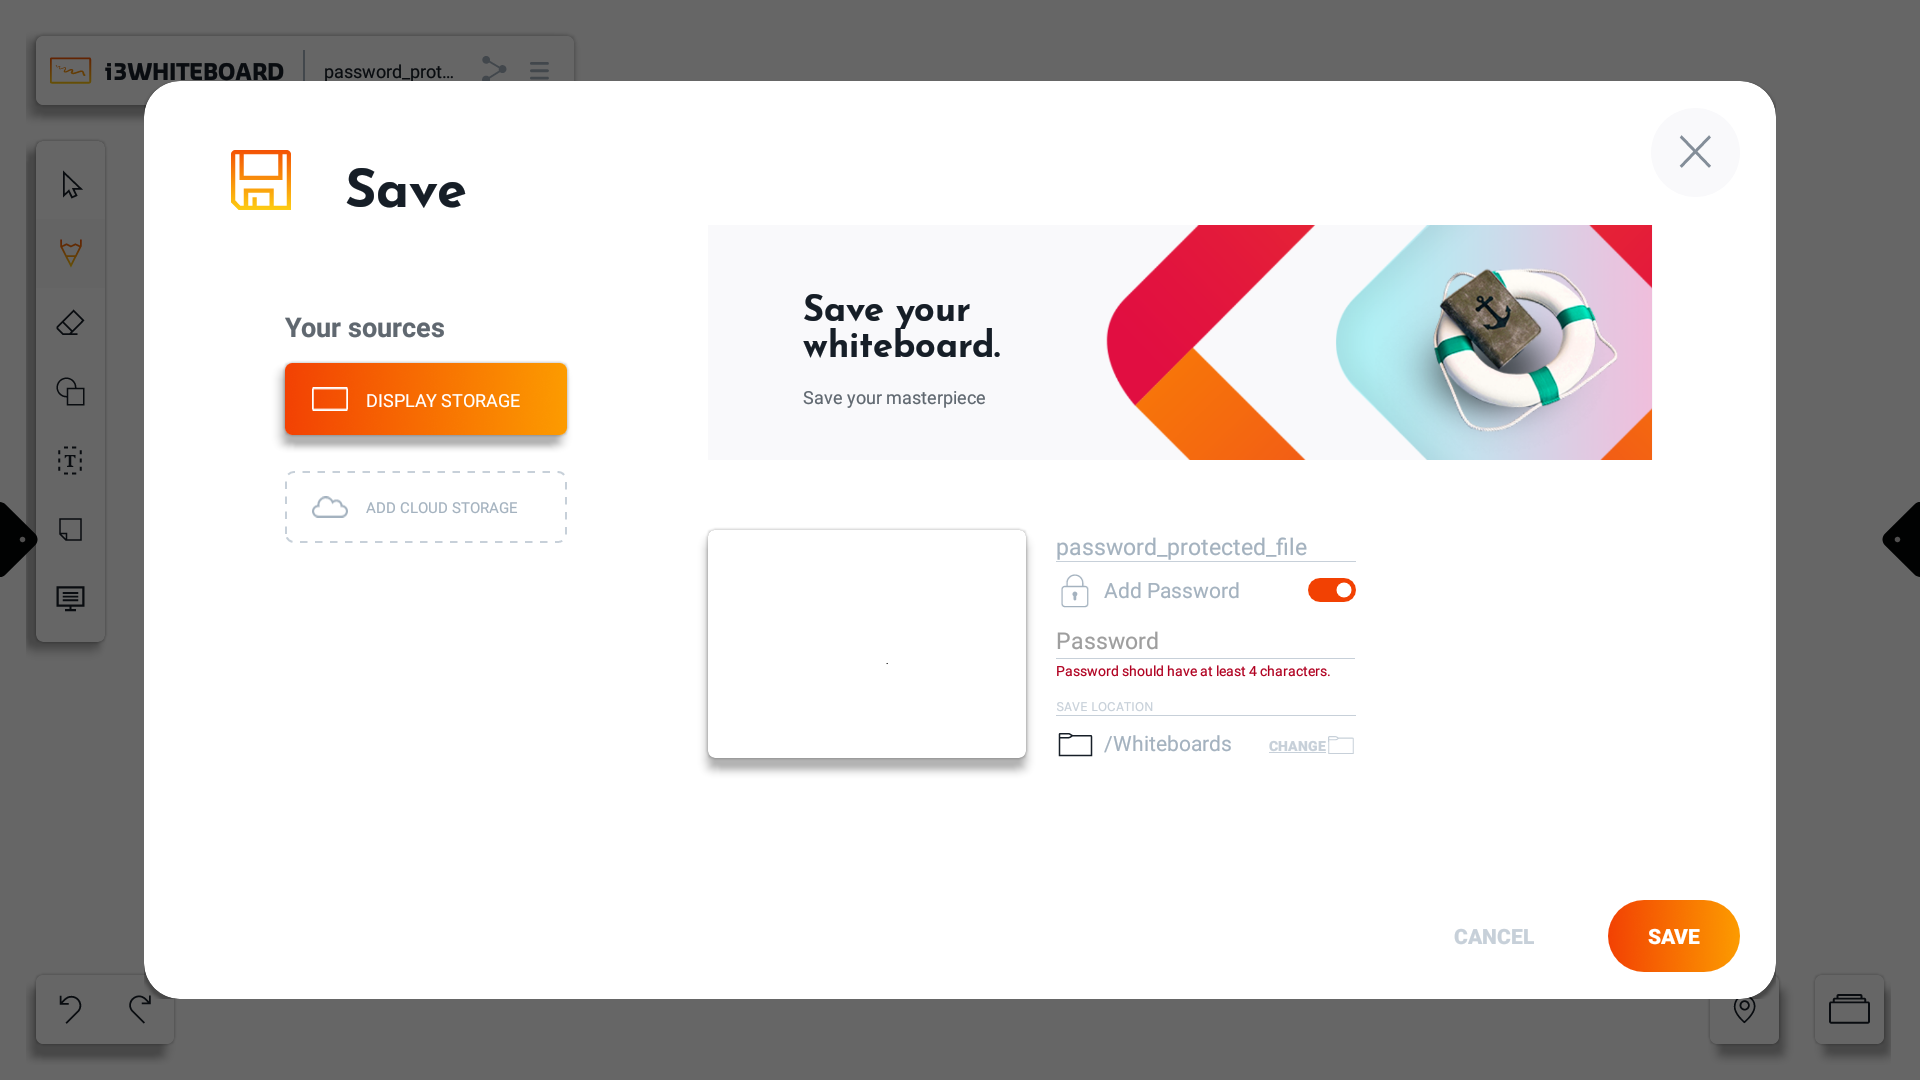
When saving a file, the toggle “Add Password“ is present, adding a field to the saving screen where the password can be inserted.
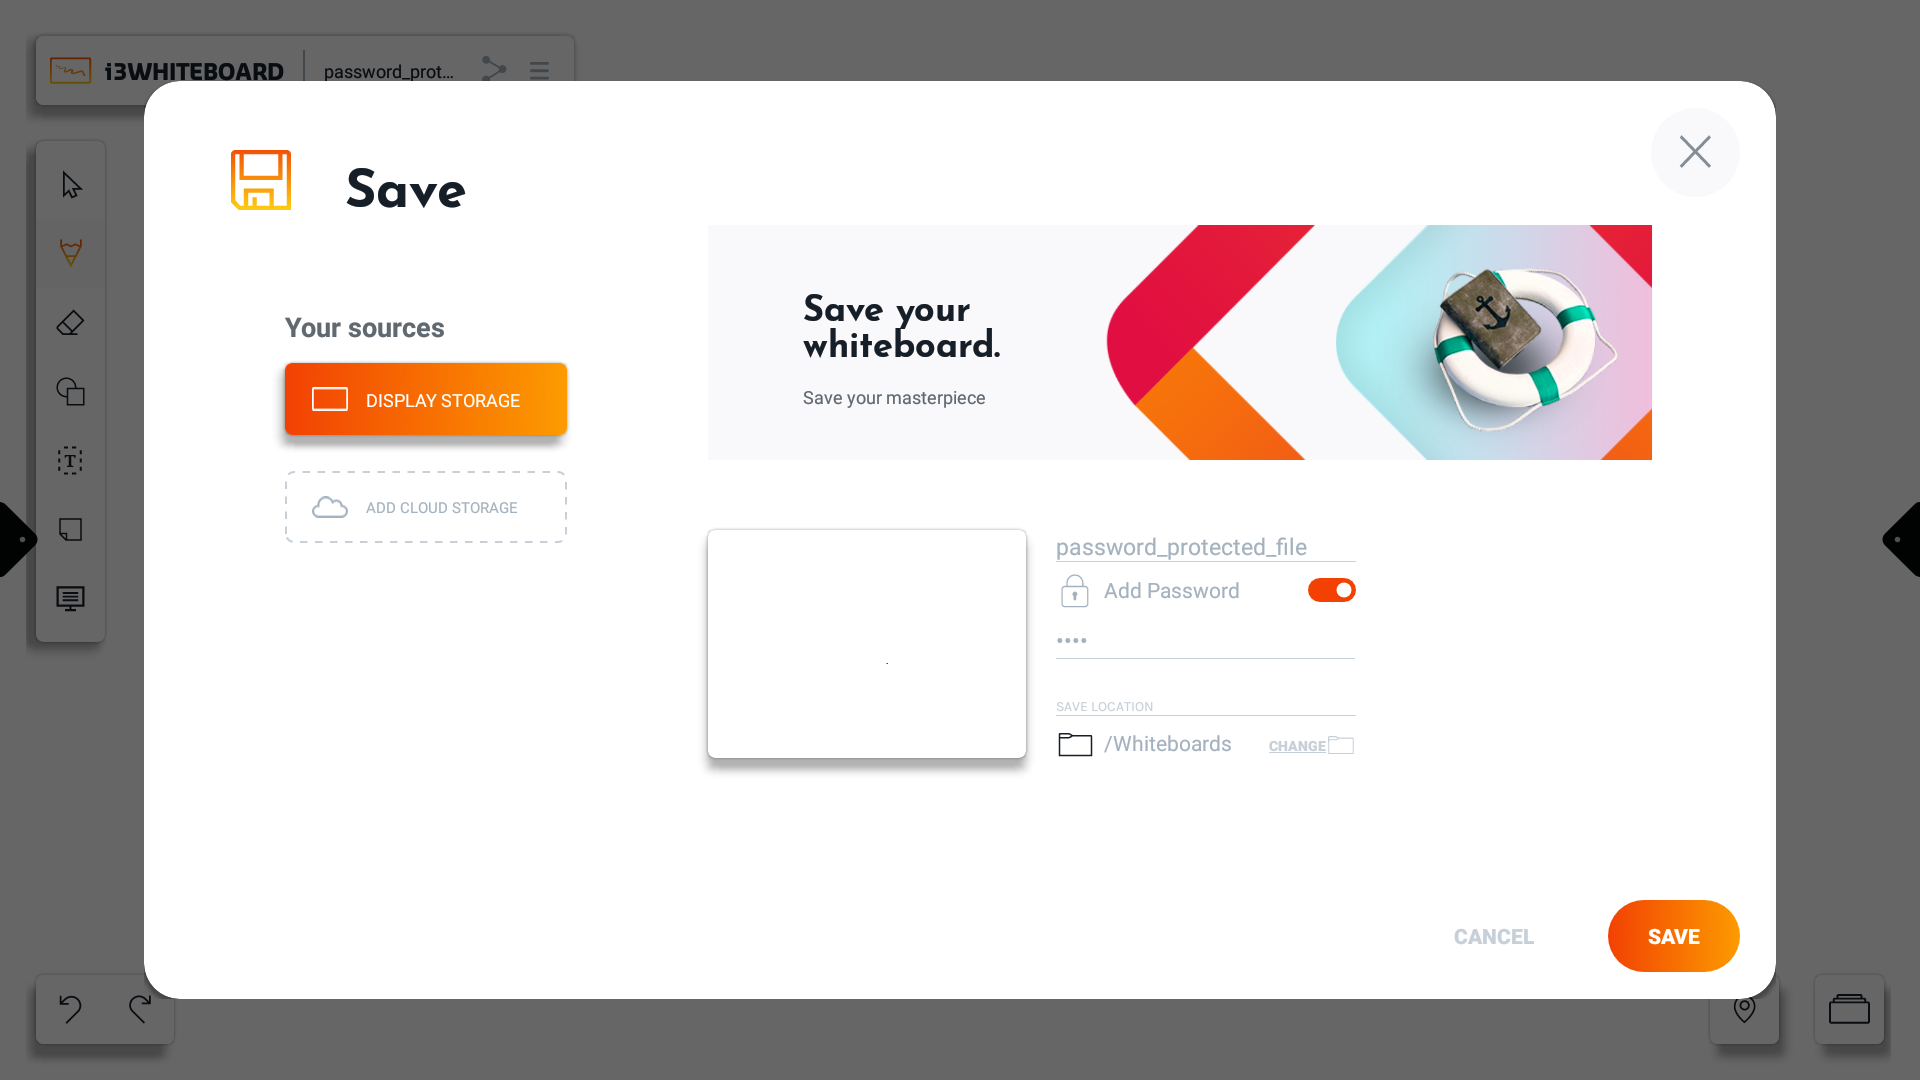
The password of the file has no restrictions in characters but in length. The password must be of 4 or more characters. Once the minimum length requirement is met, the error message about the password length will disappear.
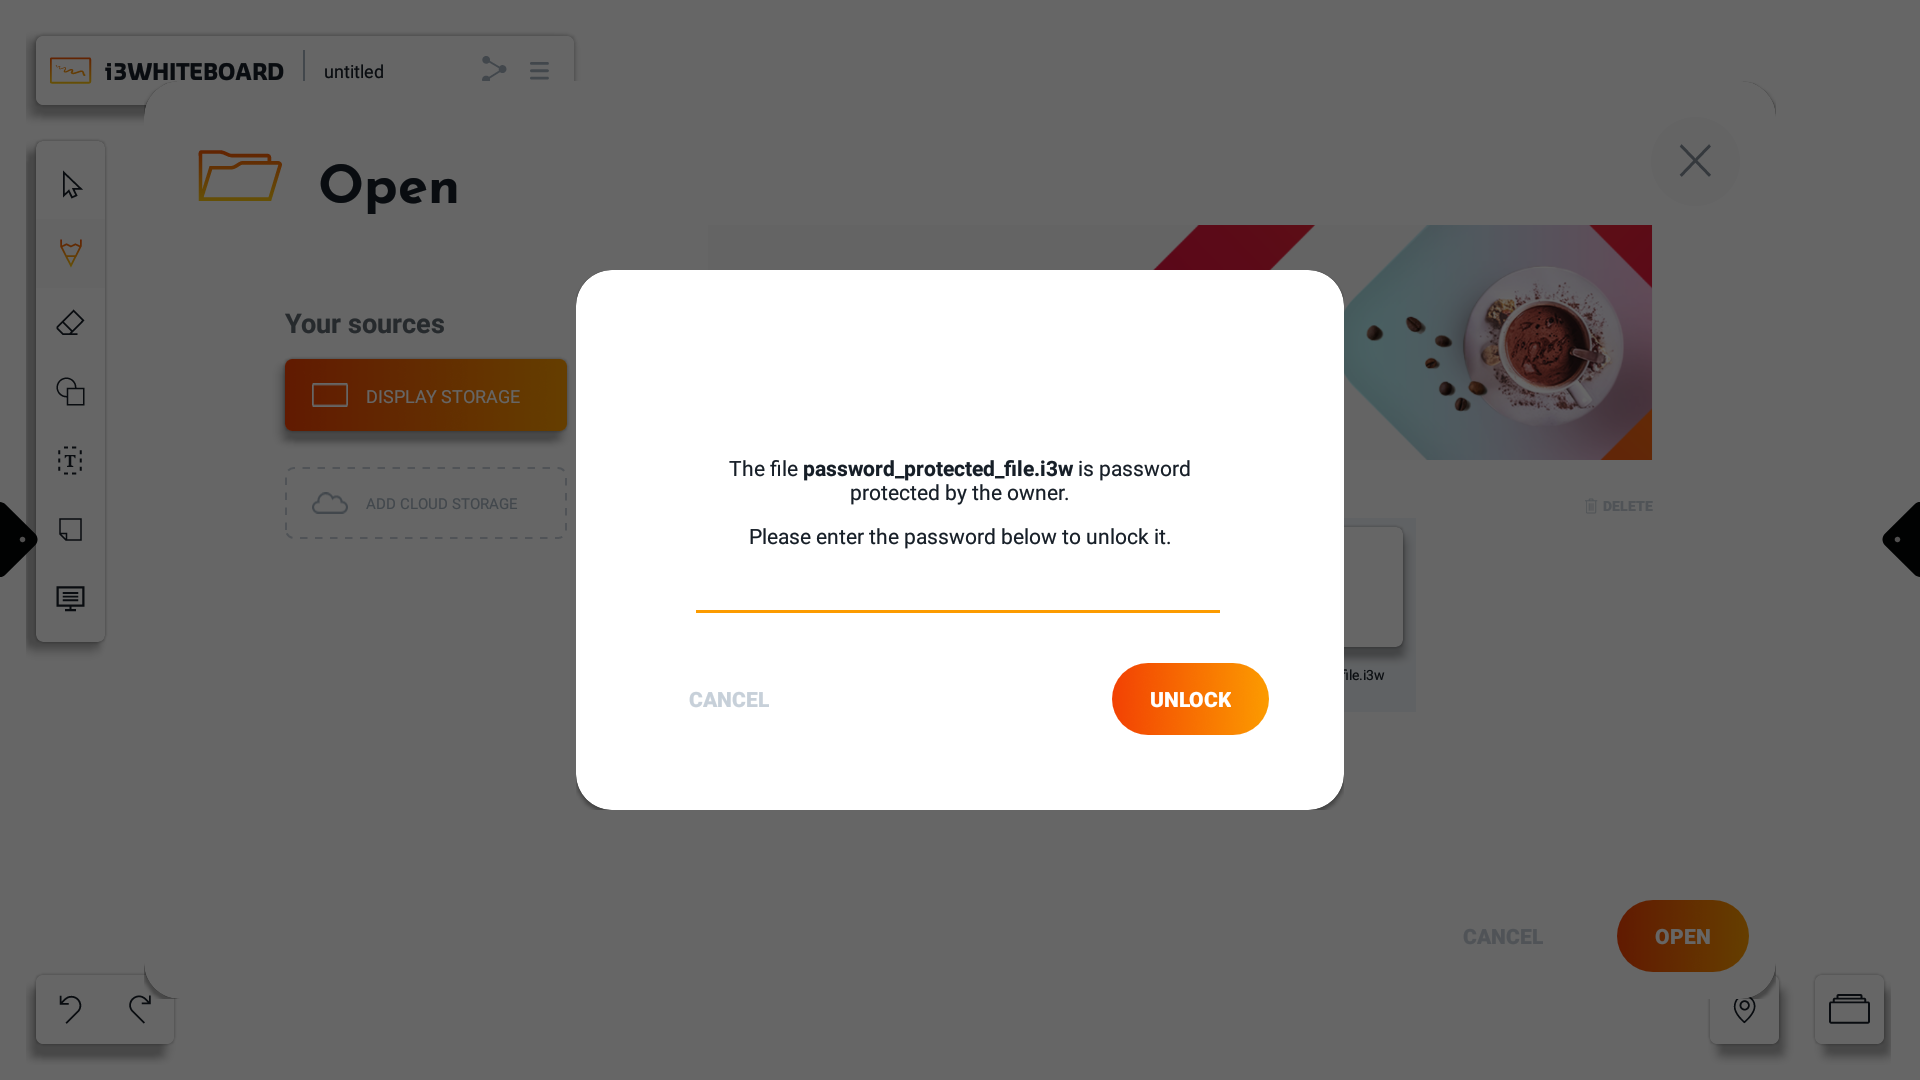
When opening a password-protected file, a prompt to insert the password will appear. To continue opening the file, the correct password must be inserted. In cases where a file was left open, the prompt will appear as soon as the application is loaded. A new workspace will be created when pressing the cancel button while the file is already opened in the background. Otherwise, pressing unlock with the right password will open the file normally.
Password-protected files will not show a preview as they are to be kept private in order not to display the content.
Password-protected files can be deleted without asking for password input from the Open screen found in the hamburger menu. When saving with a password, it is recommended to save it into a private directory or cloud drive in order to prevent deletion of the file from other users.
A password is not recoverable, in case of a lost password, the file cannot be accessed anymore.
Settings
You can customize various application settings and workspace settings via the “Settings” option in the main menu.
In addition, you can also see the version number of the application.
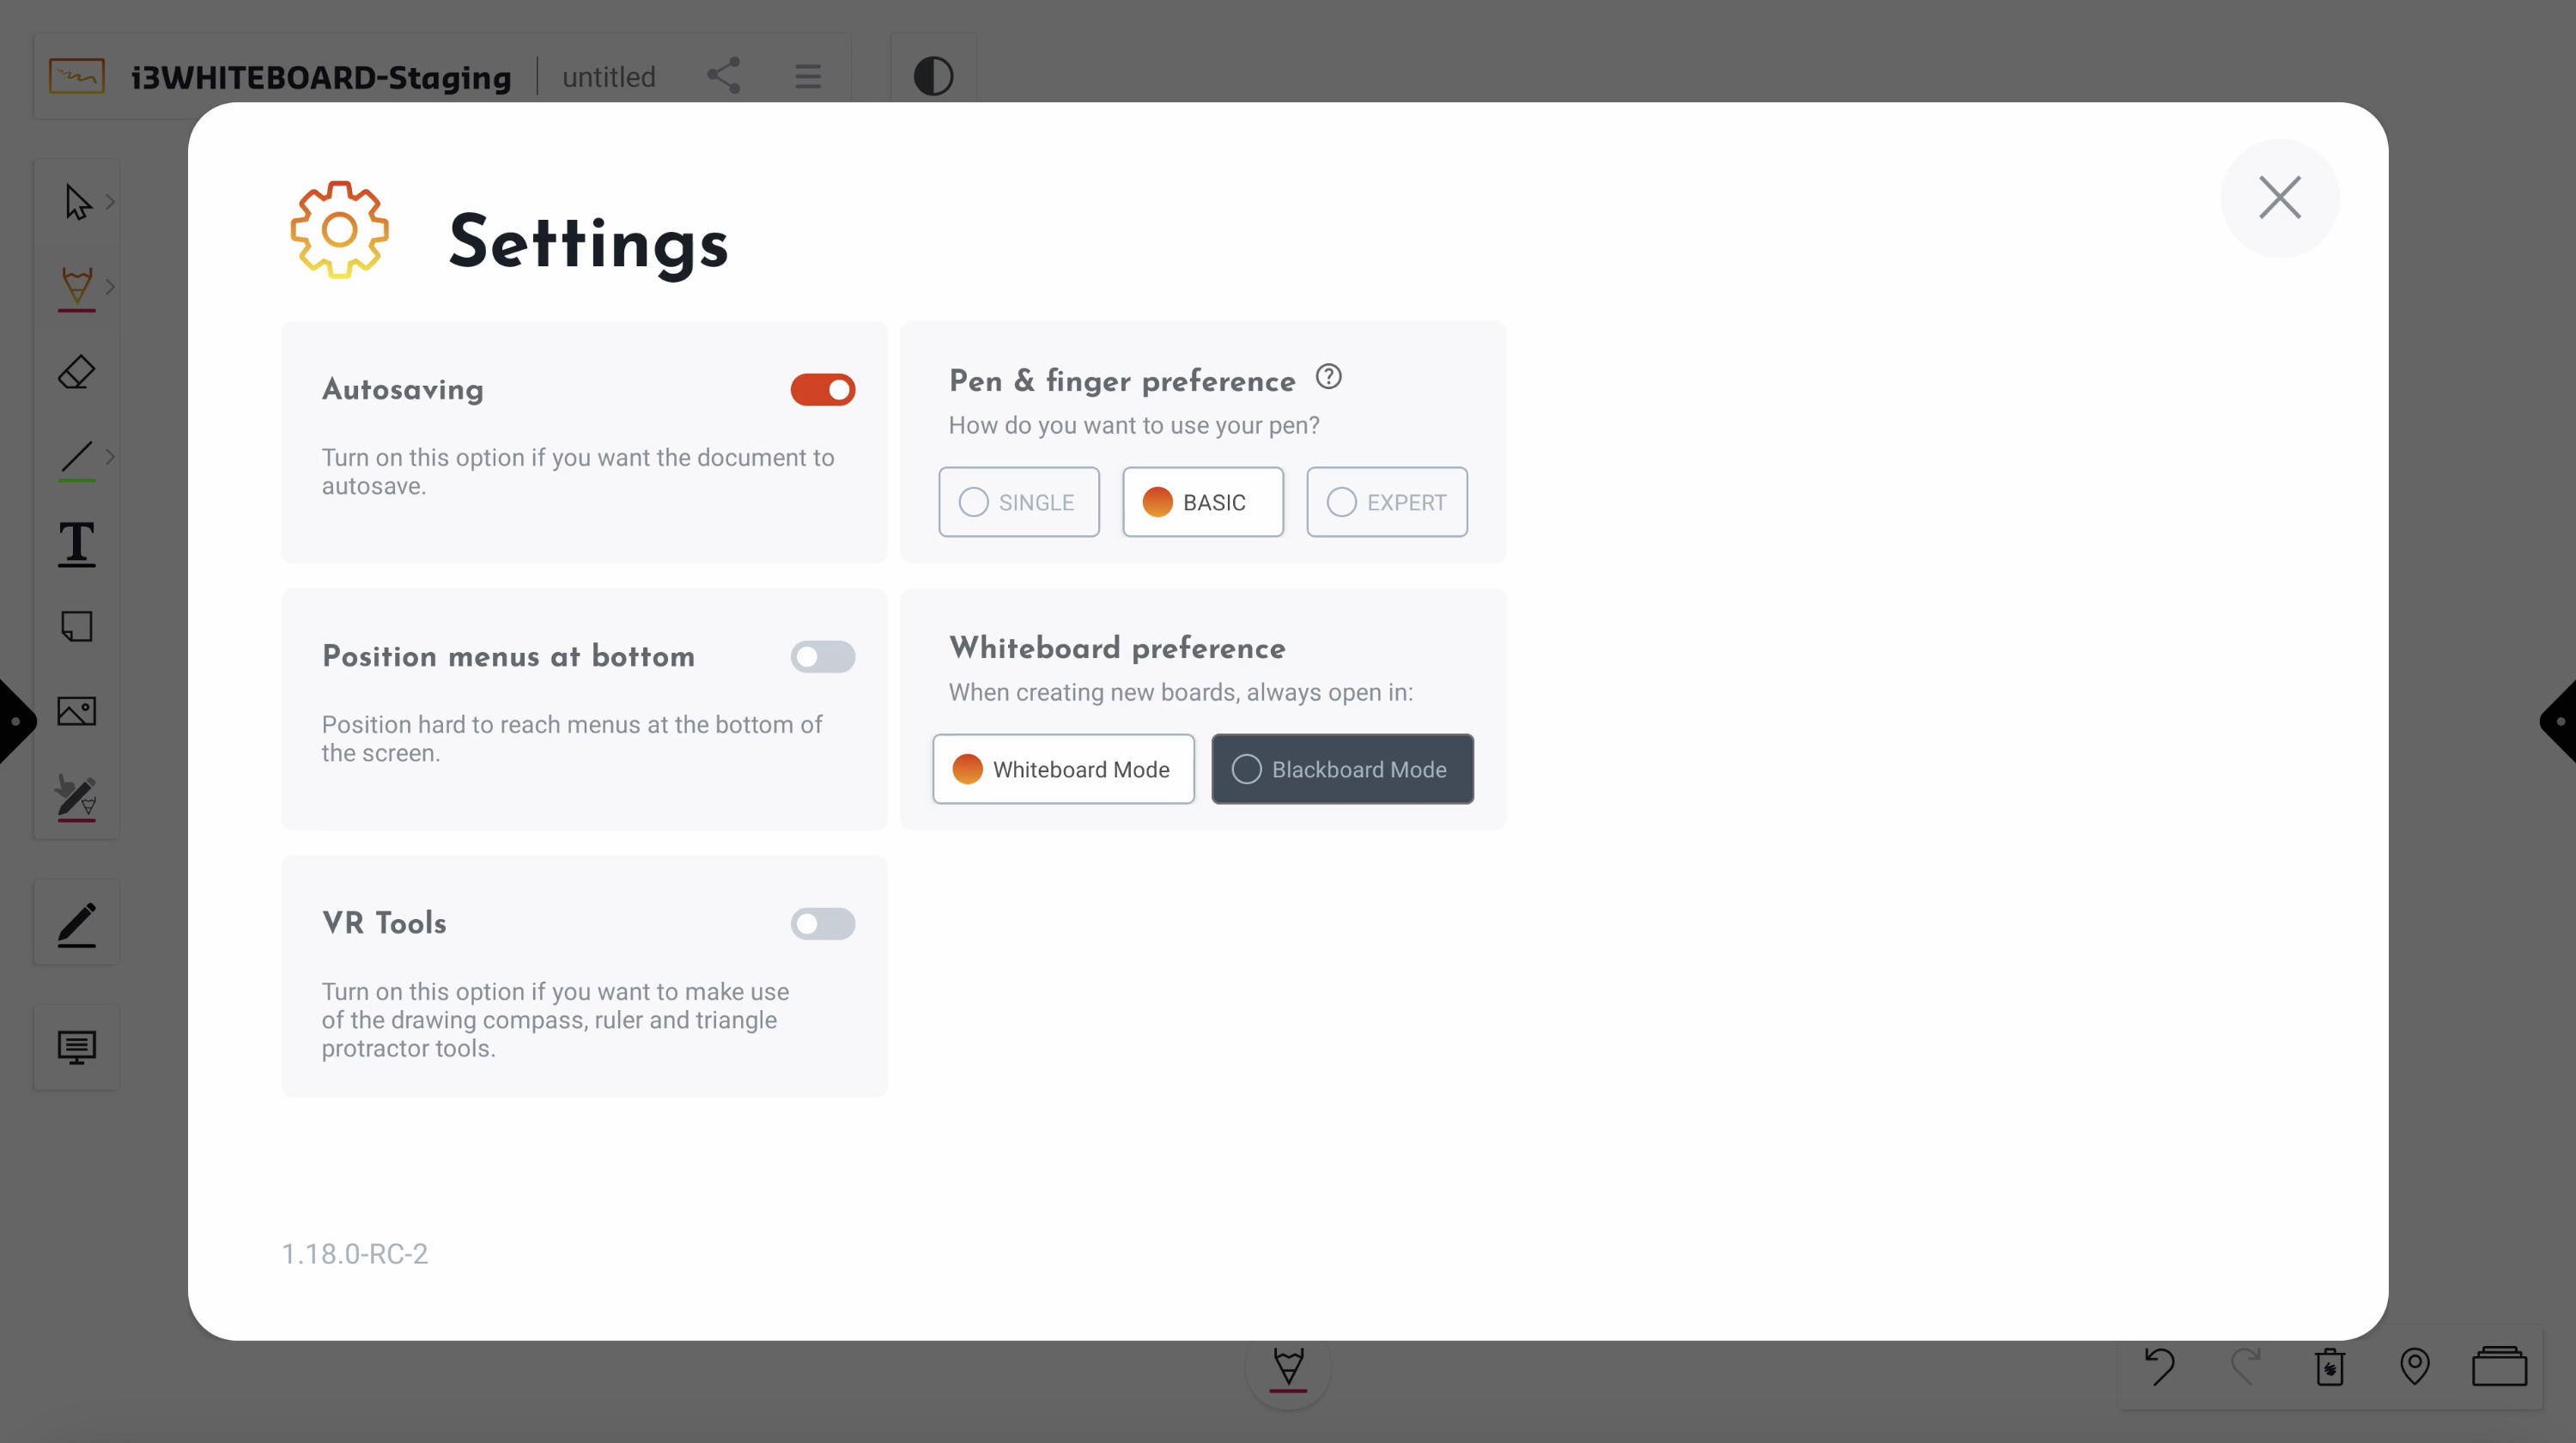
Autosave setting
For autosaving, the current whiteboard must be manually saved first on an available storage location. The autosave feature will continue to save your file whenever any changes are made.
Note: The autosave function will stop working if the medium to which it tries to save is removed or disconnected. This may happen when you remove a USB stick or disconnect cloud storage.
Position menus at the bottom
When turned on, the “Position menus at bottom” setting will position most menus that are normally high on the screen on the bottom instead.
VR Tools
The VR Tools (triangle, ruler, and compass) are now also available for i3TOUCH displays in Corporate Mode. To activate it, select the toggle in the Settings menu. An extra icon will appear on the canvas in which the tools are made available.
Pen & Finger preference
This setting allows you to customize how you want to use the pens, depending on your i3TOUCH display and the pen(s) that come with it.
Single Mode
This very easy-to-use setting is the fastest way for novice users to get up and running in i3WHITEBOARD as both finger and pen are considered the same. For this reason, the pen icon is not visible in the Tool menu.
Basic Mode
Limited, yet flexible, Basic Mode brings back how some more experienced users were used to working with the finger (or the back of the pen) as a different tool from the pen, only for writing. When activated, you will see the Pen icon is available for you to set its features independently. This is different on all our i3TOUCH displays, which we explain below.
For i3TOUCH E-ONE and X-ONE displays
Basic Mode will allow you to set the front of the pen with the Pen tool. The back of the pen will do the same as the finger, allowing you to use a different tool.
For i3TOUCH X2 and X3 displays
Basic Mode will combine all pens, apart from the grey pen, into one. The grey pen always acts as the finger, which can use a different tool.
For i3TOUCH ULTRA and P2 displays
Basic Mode will combine all pens while the finger can use a different tool.
Expert Mode
Expert Mode is the most advanced setting and has dedicated features for your finger and each pen that comes with the display.
How does Expert Mode work?
Go to Settings via the Main menu and under “Pen & finger preference”, select Expert Mode if not already selected. Each pen, available for your i3TOUCH display, and the finger will have its own color and line thickness features.
For i3TOUCH X2 and X3, the grey pen will always act the same way as the finger.
Whiteboard preference
This mode allows you to choose between Whiteboard Mode and Blackboard Mode, effectively next time you create a new file. Blackboard Mode will apply the following:
-
Dark application theme
-
Dark canvas background
-
Separate color presets for use on a dark background
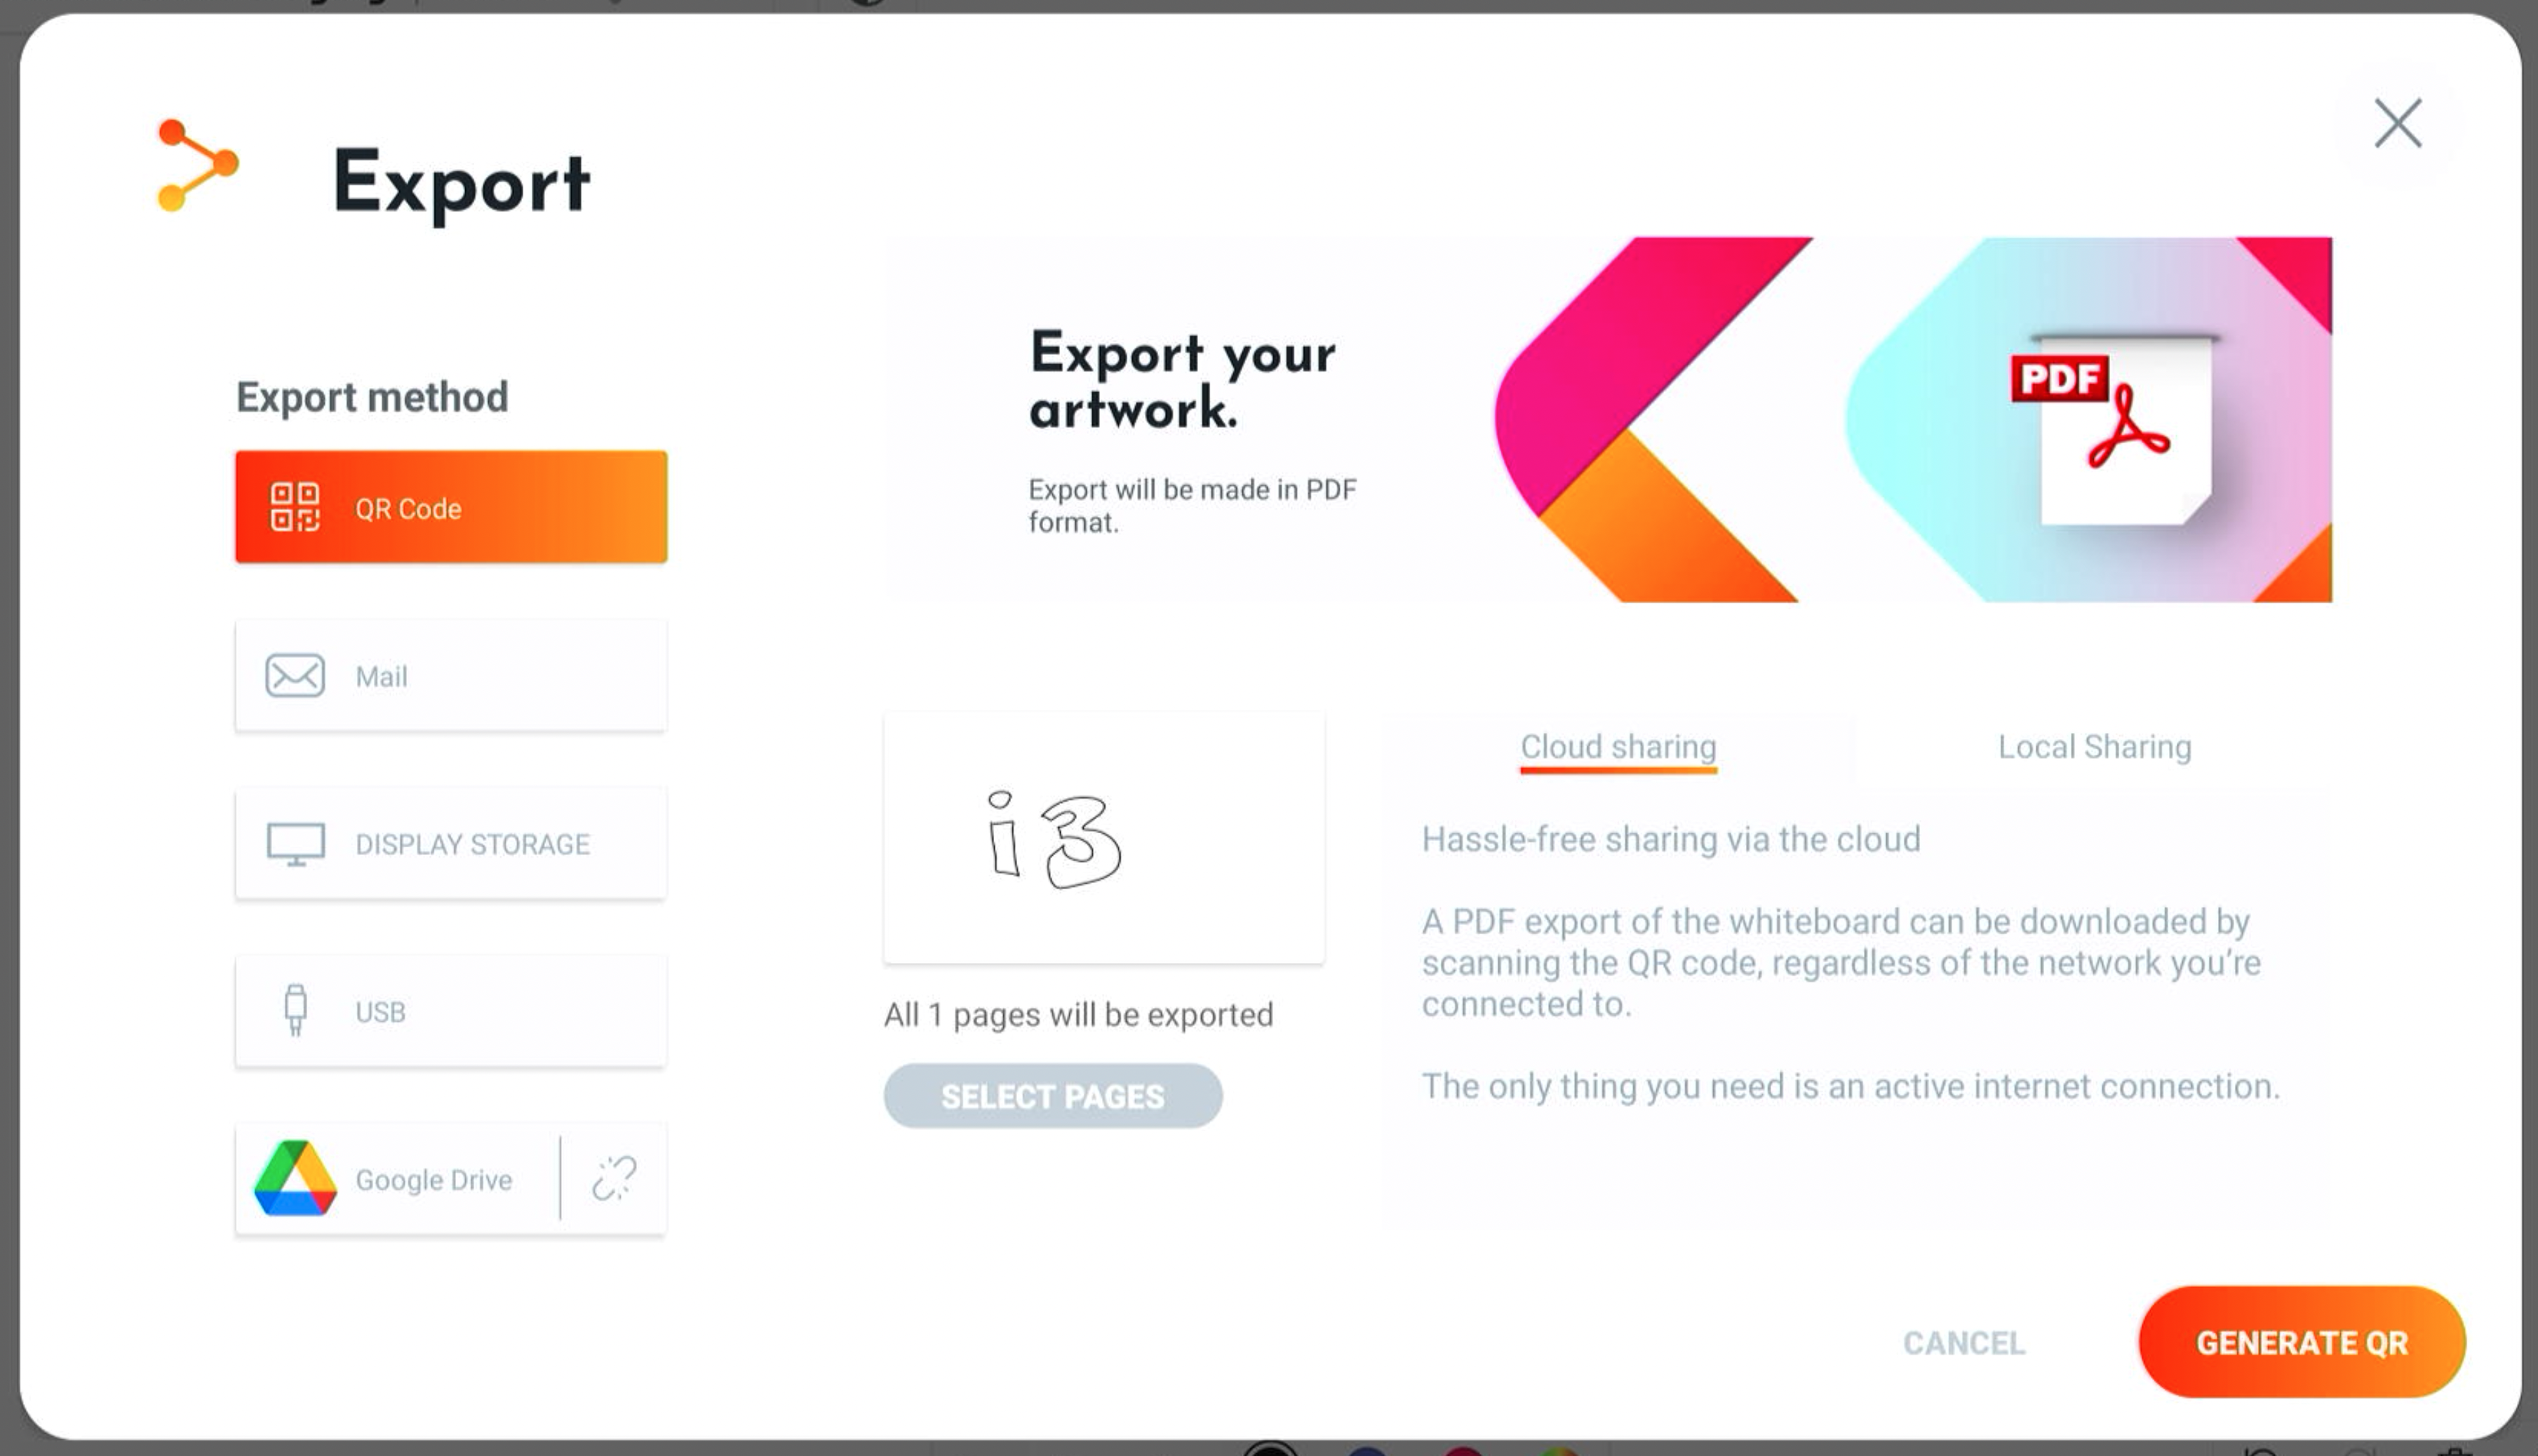
Export
You can export your work via the export function in the main menu.
There are a few export methods available:
-
PDF export via QR code
-
Via cloud
-
Via local network
-
-
PDF export via email
-
PDF export to the i3TOUCH display storage
-
PDF export to your Cloud drive
Export selected or all pages
You can choose to only export one or several pages to PDF. This is useful if you have many pages in your i3WHITEBOARD file but only need a specific page. By default, all pages will be exported.

If you want to reduce that number, select the “Select pages” button. You’ll see an overview with thumbnails of all the pages within your file.

Select the pages that you need and select “Apply”.
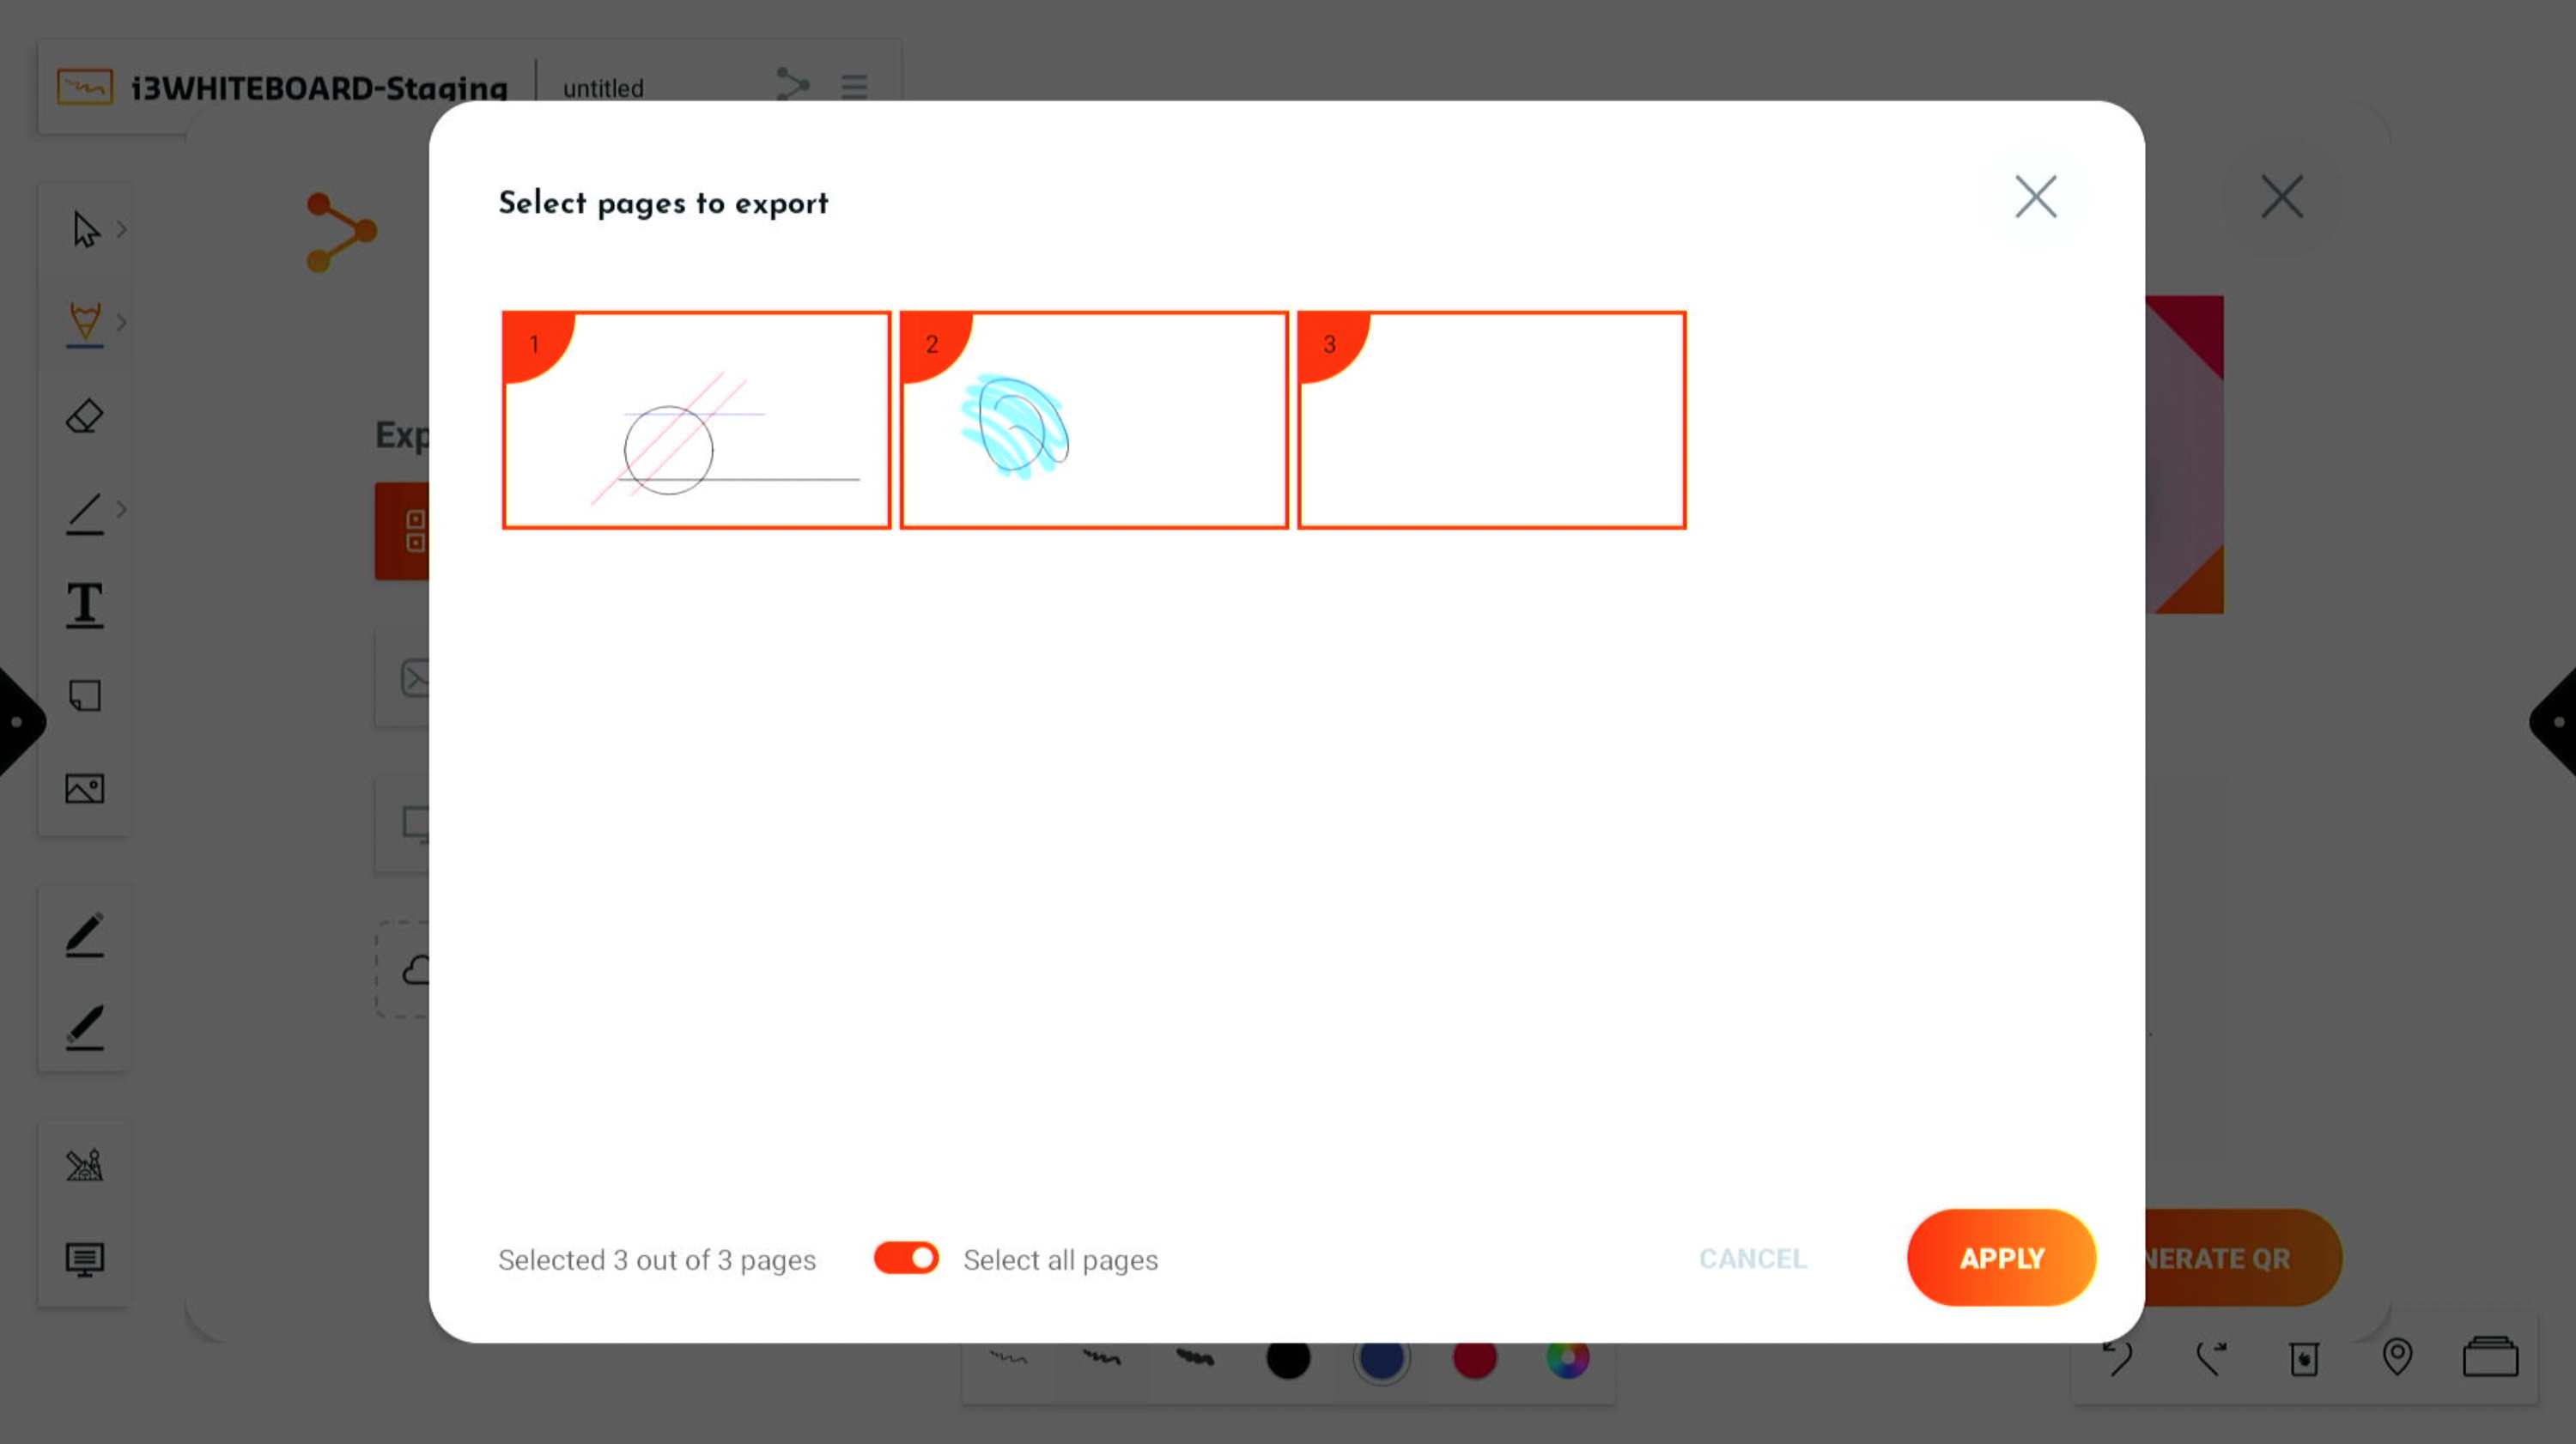
If you still want to go ahead and export all pages, a toggle at the bottom of the modal will select all the pages.
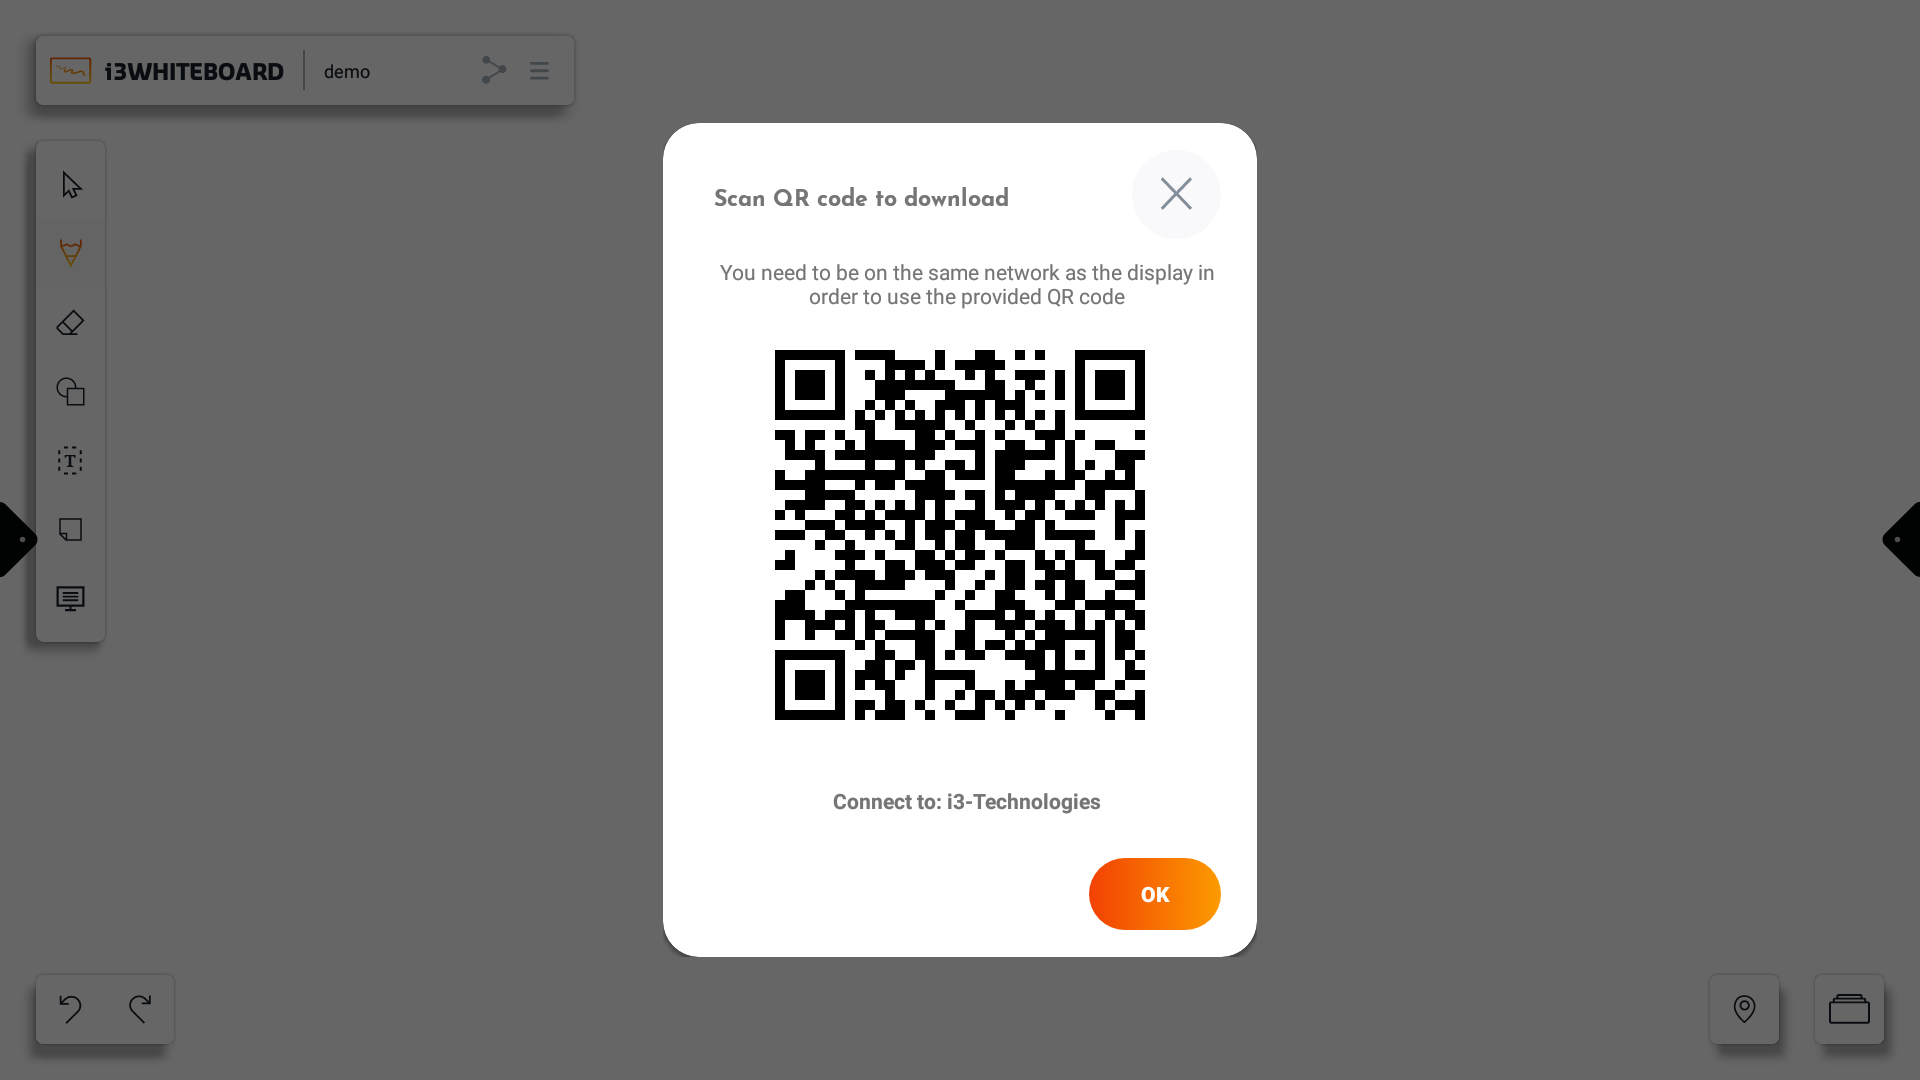
PDF export via QR code
The export via QR code has two options:
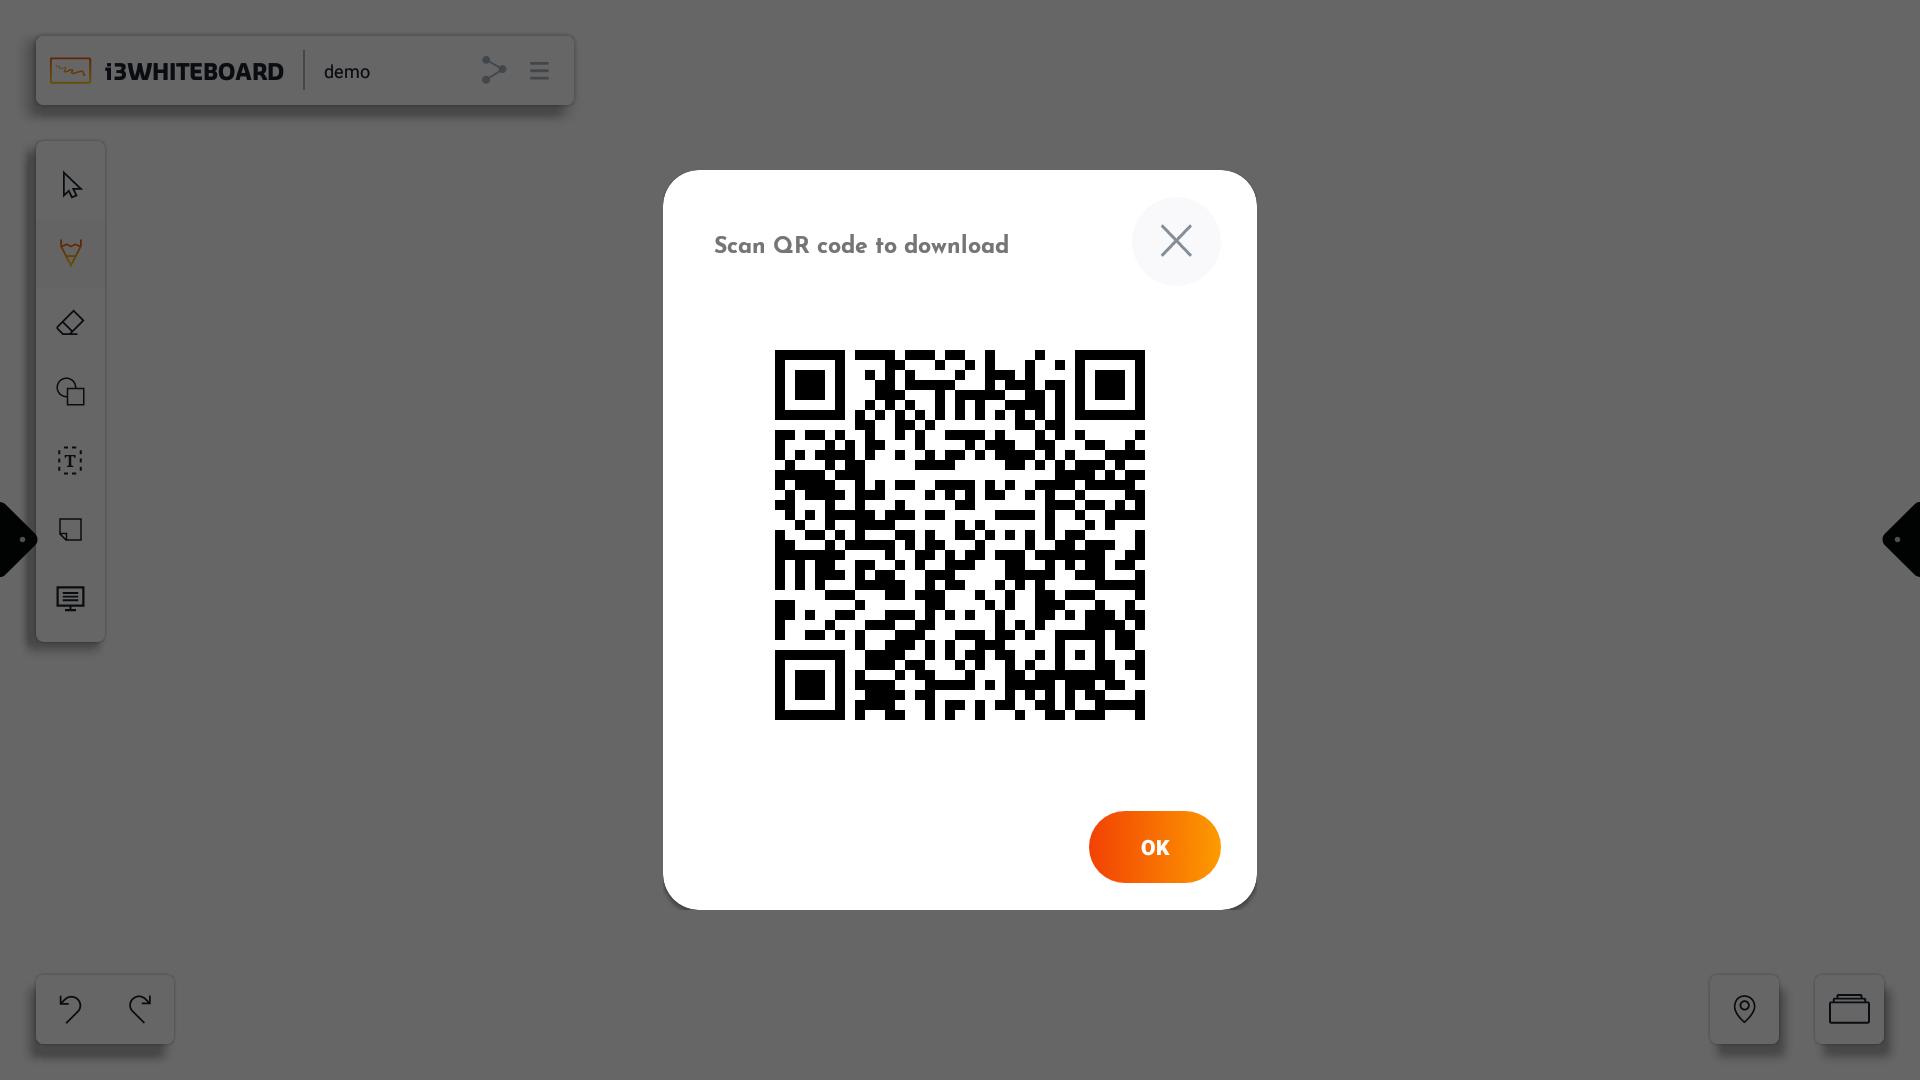
Exporting via the cloud is easy and simple but requires both the display and your mobile device to be connected to the internet.
Simply scan the QR code with your mobile device to download your PDF export.
Note: The PDF file will remain available for download for one hour
Exporting via the local network does not require an internet connection. Instead, the display and your mobile device must be on the same network.
The QR code popup will assist you with the network you need to connect to.
The PDF file will remain available for as long as the QR code is visible on the screen
PDF export via email
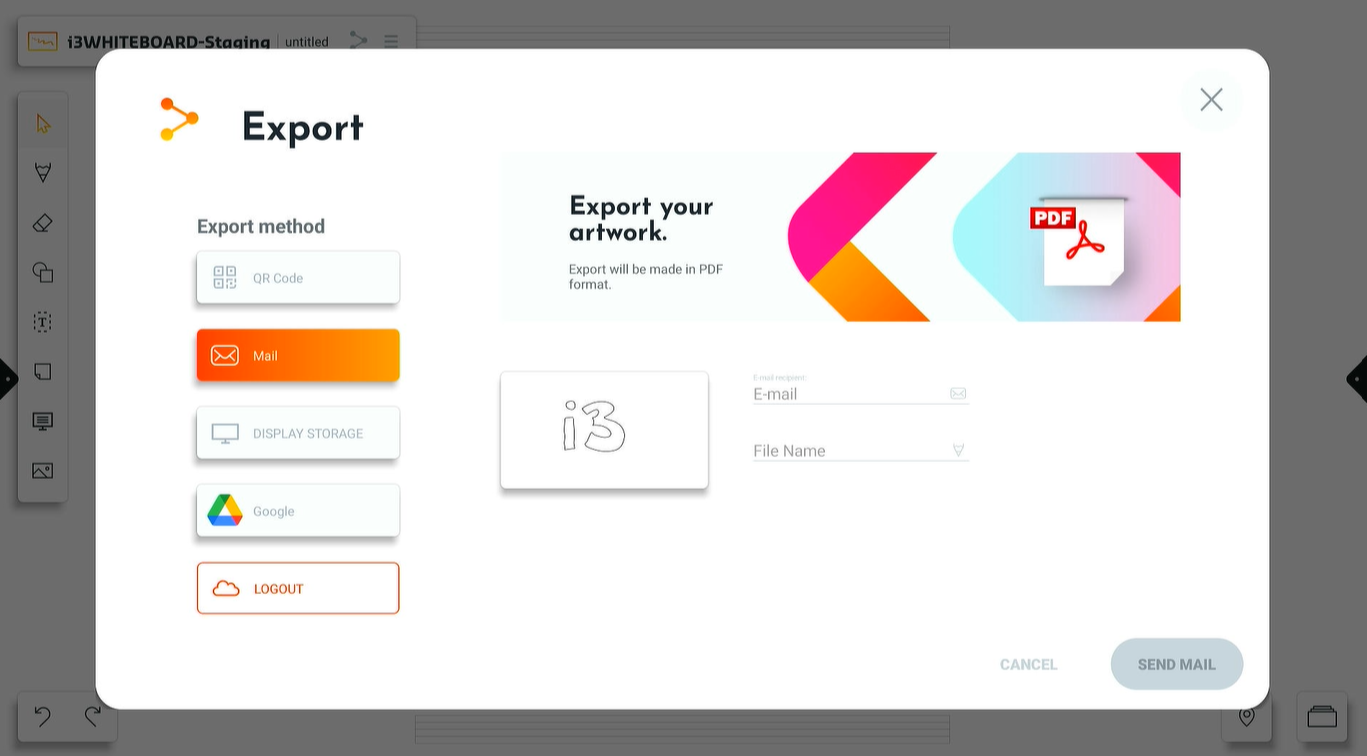
Exporting via email requires you to fill in the recipient’s email address. Optionally, you can also provide a name for the PDF file.
The display must be connected to the internet.
You can provide multiple email addresses to send to. To do this, separate all email addresses with a space, comma, or semicolon.
-
“ “
-
“,”
-
“;”
PDF export to display storage or USB
This feature can be handy if you want the PDF to be available on the i3TOUCH display or on your connected USB drive. Choose a name and select a folder to which you want to export the file to.
PDF export to Cloud storage
This feature allows you to save your PDF to your Cloud drive so that you can open it on your computer. Connect your Cloud drive if you haven’t yet. Choose a name and select a folder to which you want to export the file to.

Help
Selecting this will lead you to the documentation.
Exit
Select this if you want to exit i3WHITEBOARD.