
What's new in i3WHITEBOARD 1.14.1
What’s new in i3WHITEBOARD 1.14.1?
i3WHITEBOARD has seen some major UI changes in version 1.14.1. Below you’ll find a detailed list:
The improved tool menu
The Features menu
Improved UX for users who prefer the menus at the bottom of the screen
Changing the features of an object on the canvas
The navigation menu
Export selected pages
The improved tool menu
The tool menu is now separated into three sections.
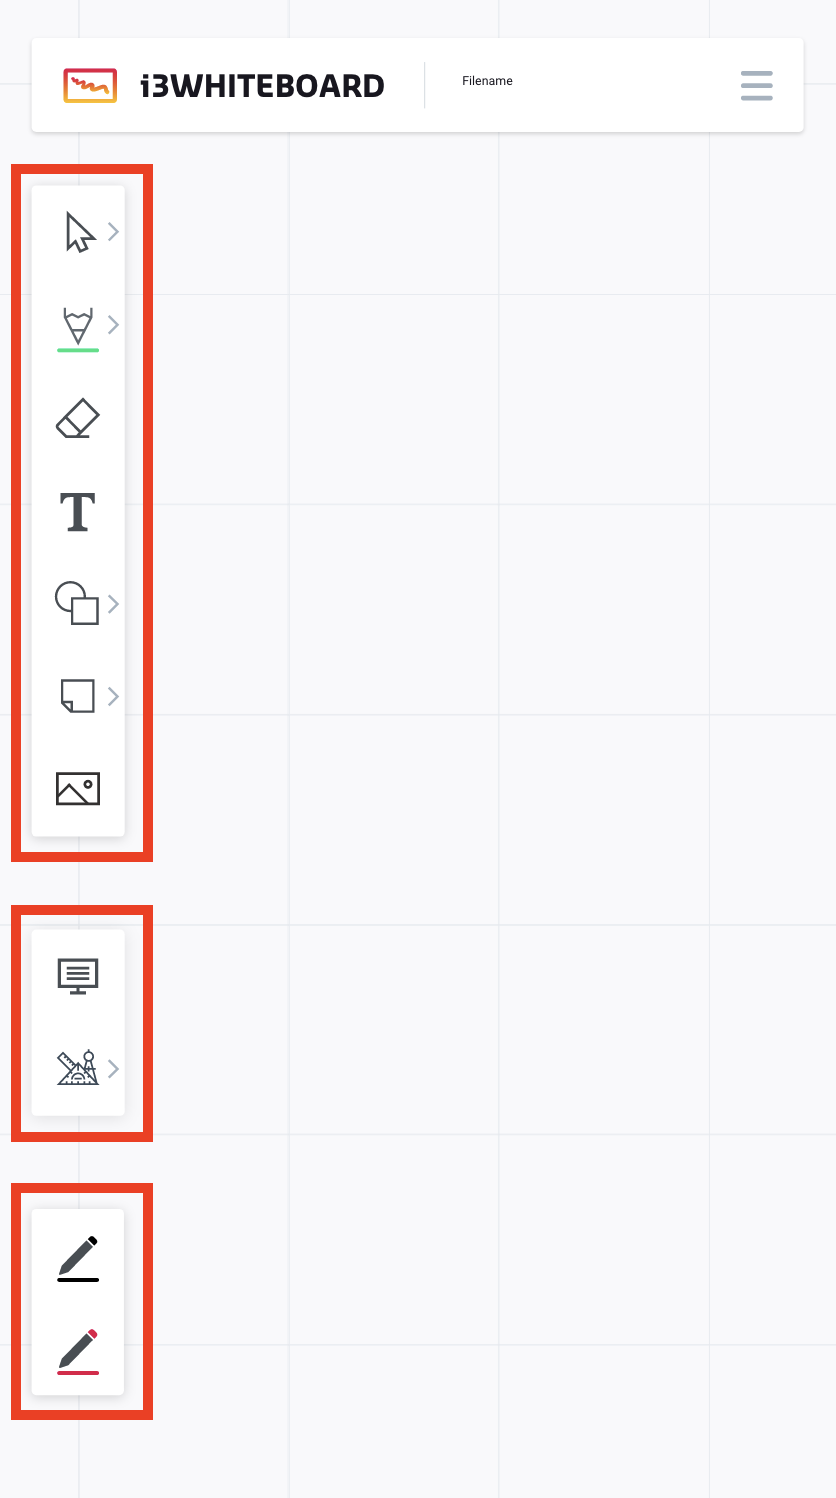
These sections are:
the main tool menu, which can be activated by finger touch
the (physical) pen tool menu, for displays that come with physical pens
VR tool menu, available if the i3TOUCH display is configured to be in Education Mode
The main tools

Color indicator

We added a color indicator underneath the drawing tools. This thin line will quickly show you the color you’re working with without the need to open the menu.
Sub menus visualized
In earlier versions sub menus would open by default, taking up a lot of space on the canvas. Starting 1.14.1, this menu remains a lot more low profile, opening only when you need it and closing when you’re drawing. To show new users that there is a sub menu present, we added the sub menu indicator; a triangle to the side of the tool icon.
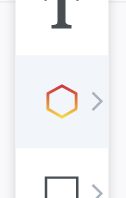
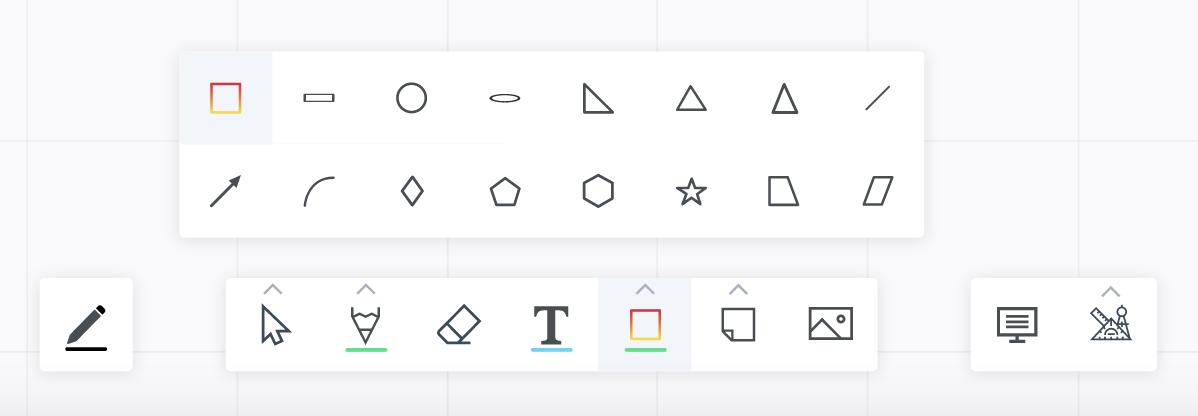
Selected shape tool visualized
i3WHITEBOARD now shows the selected shape tool. This is very handy when you’re constantly switching between the pen and the shape tool. No need to open the shape menu to remind you which shape is active.
(Physical) Pen tools
For i3TOUCH displays that come with one or more physical pens, we now show those pens in their own separate menu. This will allow you to quickly switch between the pens and other tools without the need for menu diving.
Depending on your i3TOUCH display, the menu might look something like this:
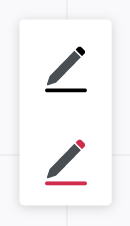
For each pen, the user can configure their preferred pen thickness and colour.
The physical pens will always act similarly to the pencil tool, while the user can use their finger to use any of the other main tools available in i3WHITEBOARD.
The Features menu
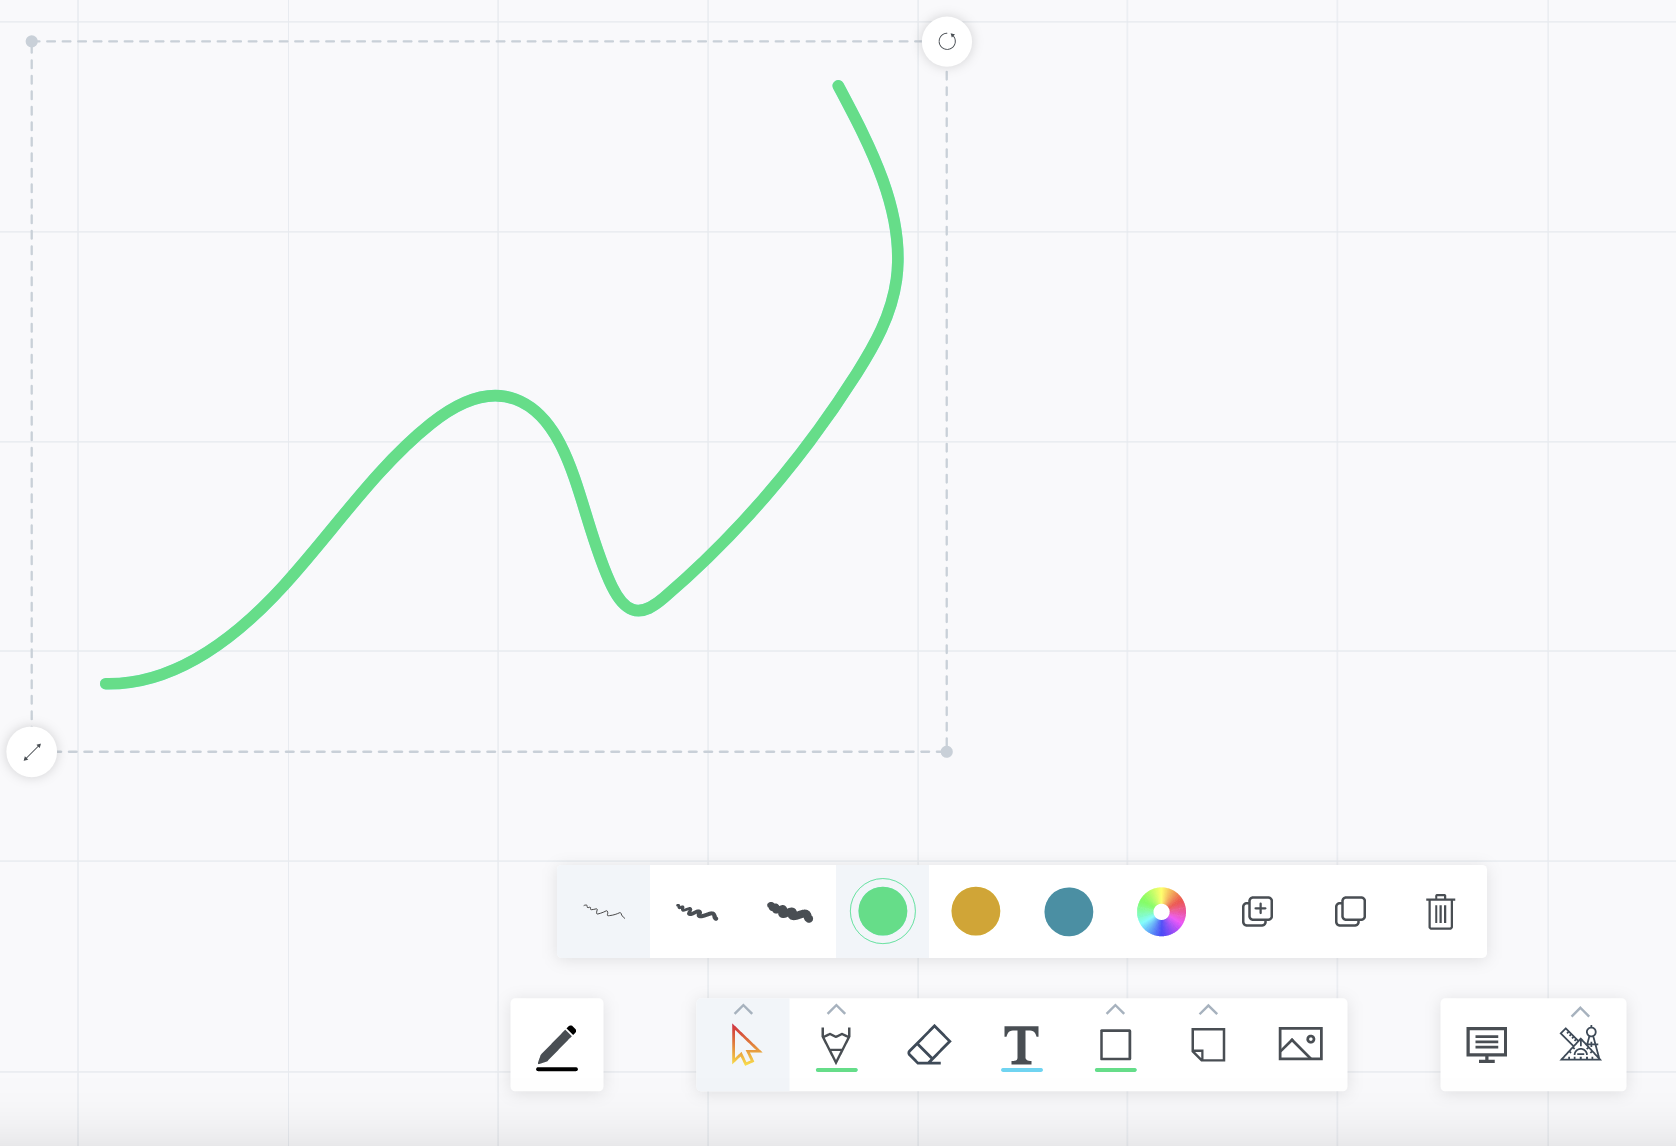
We moved color and line thickness features out of the tool menu and into a dedicated menu called the Features menu. This menu appears as soon as you select a tool and will depend on the tool selected. Thanks to this, you’ll be able to work faster without the need for menu diving. And by adding this features menu to the select tool, you can now finally change color and line thickness of existing objects on the canvas!
For all drawing tools:
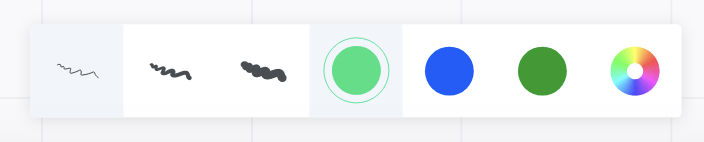
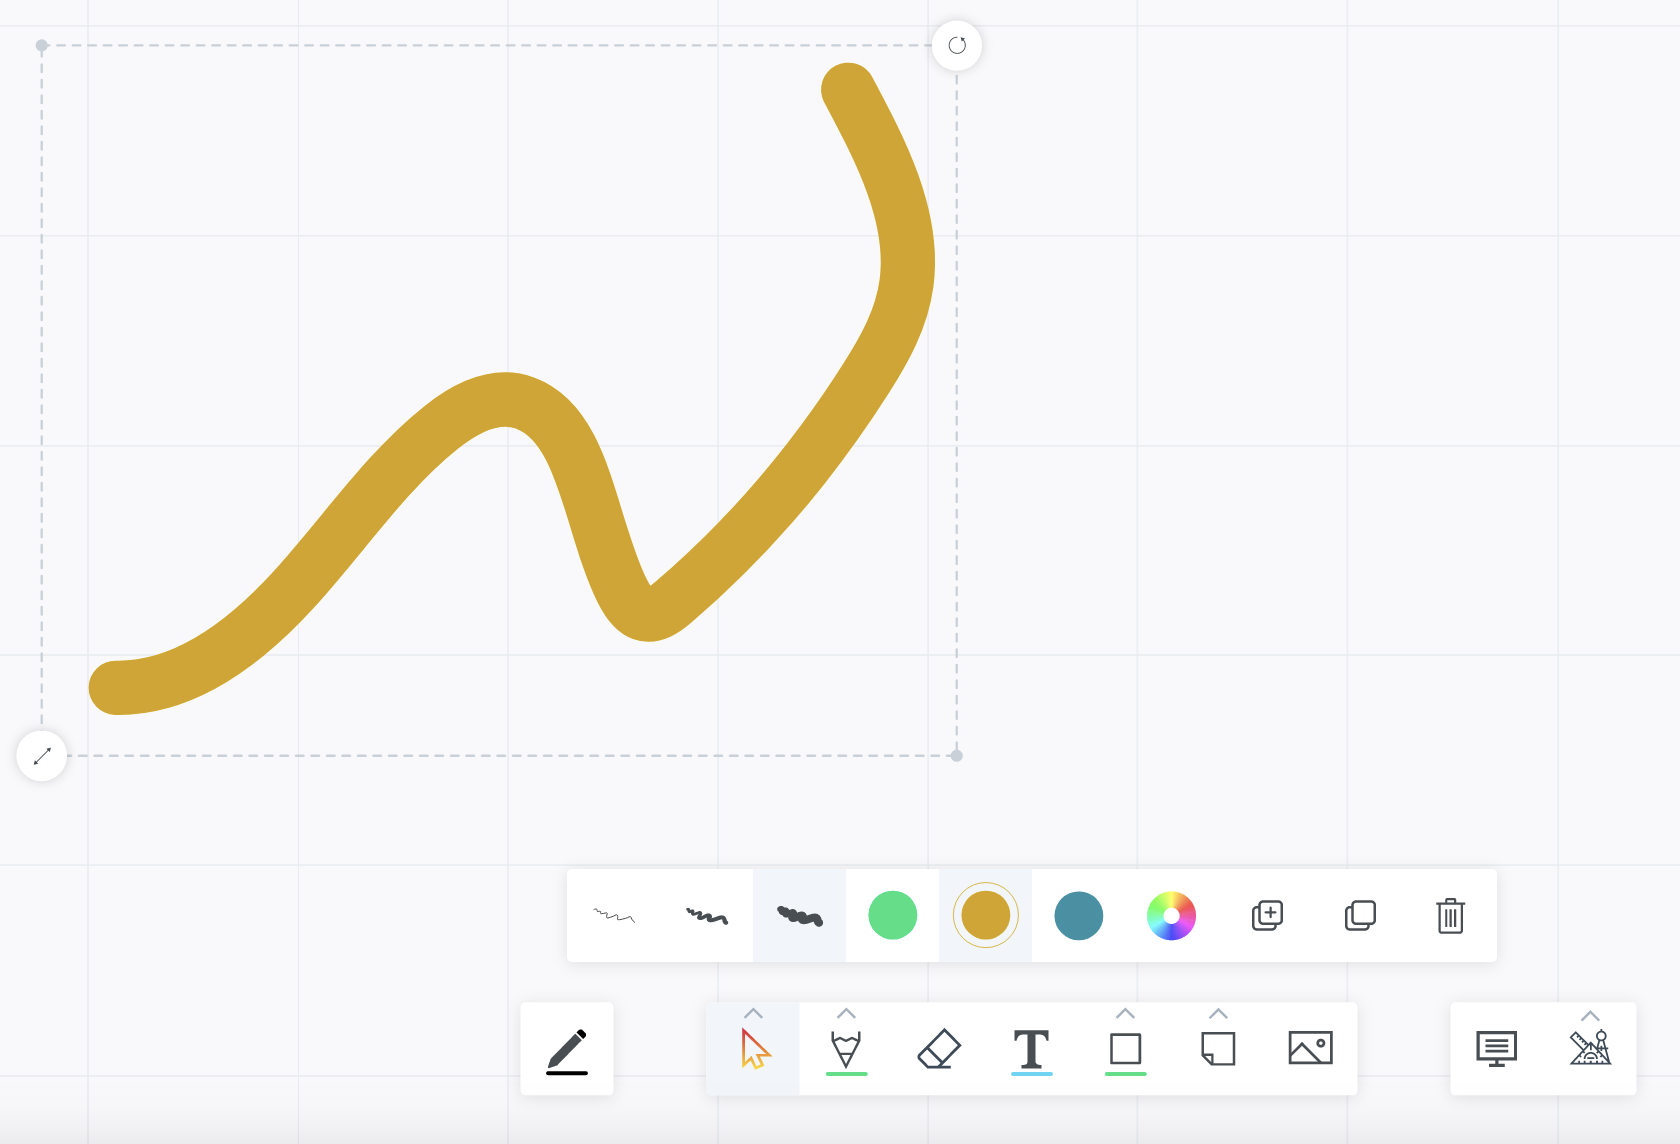
A three-way toggle allows you to change the line thickness of the object, along with choosing from the three most recent colors. The color that you’ve set will be represented with an outer circle and a grey background. If you need a new color, or need an older color, you can open the color picker icon which gives you more options:
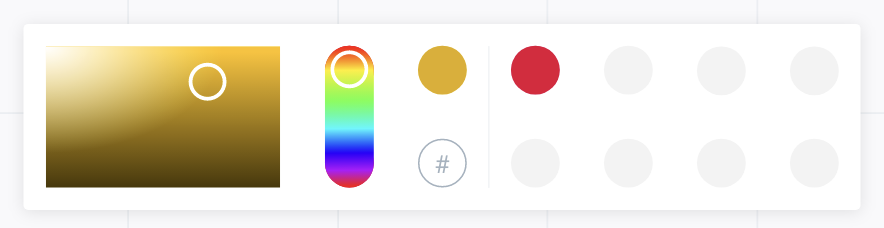
To the left, you’ll find the color picker where you can add a new color.
To the right, you can find an archive of older colors. If you keep adding new colors to the canvas, the Features menu will automatically be updated with these new colors. The archive can keep track of up to 8 recently used colors.
For the select tool (when an object is selected):

This Features menu not only allows you to change the objects' features, it also allows you to duplicate, copy, or delete the object.
Improved UX for users who prefer the menus at the bottom of the screen
On our larger i3TOUCH displays, some users find it more difficult to select menu items higher up on the screen. Therefore a setting was introduced to move critical menus to the bottom of the screen. We gave a lot of attention to this setting when we redesigned the Tool and Features menus.
Activate the feature by going to Settings and selecting “Position menus at bottom”:

You’ll now find the Tool menu at the bottom of the screen, below the Features menu:
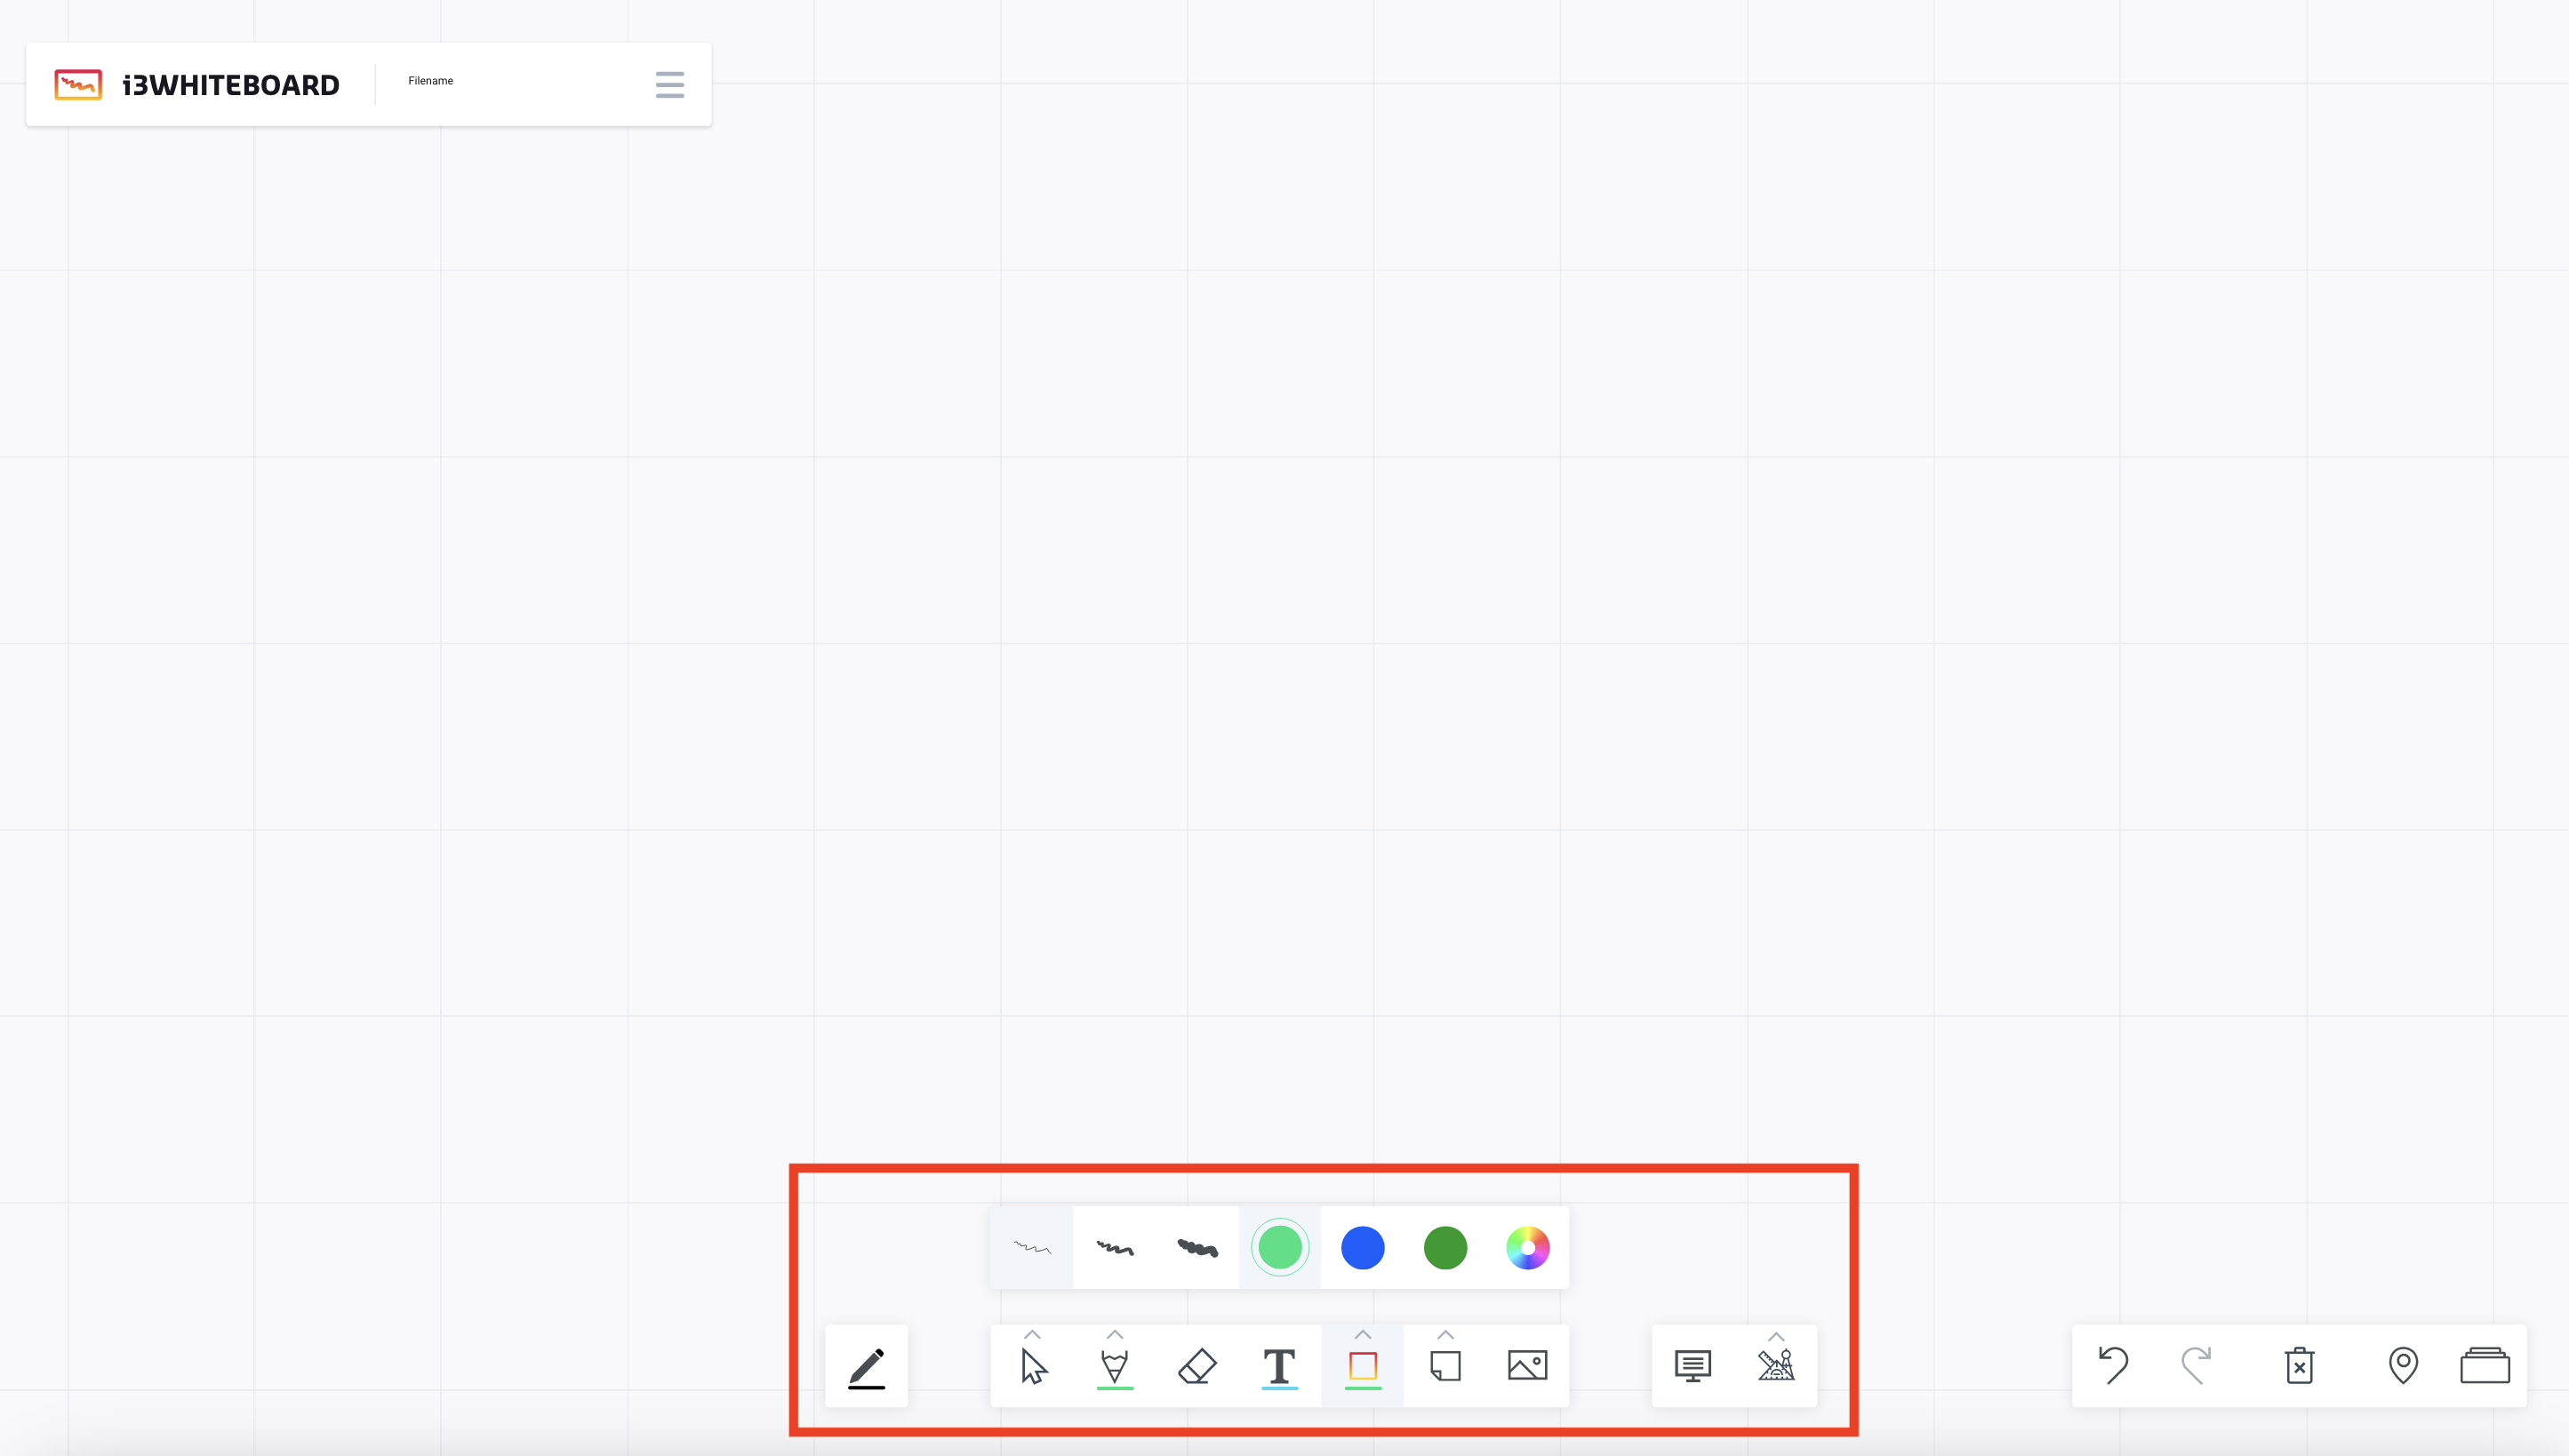
The Features menu will appear above the Tool menu when a tool is selected. While drawing, it will temporarily disappear to give you space. When you release again, the Features menu will reappear.
Activating the sub menu when positioned at the bottom
Sub menus can be opened by tapping an active tool or long pressing the tool. The Features menu will move out of the way to make space for the sub menu, allowing you to select another tool:
Once you select another tool, the sub menu will disappear and the Features menu will reappear. This way you can change a new color or line thickness if you’d like.
Changing the features of an object on the canvas
An exciting advantage of the new Features menu is the ability to change the color or line thickness of objects that are already placed on the canvas. This can be done by individually selecting the objects, but you can also change multiple objects at once!
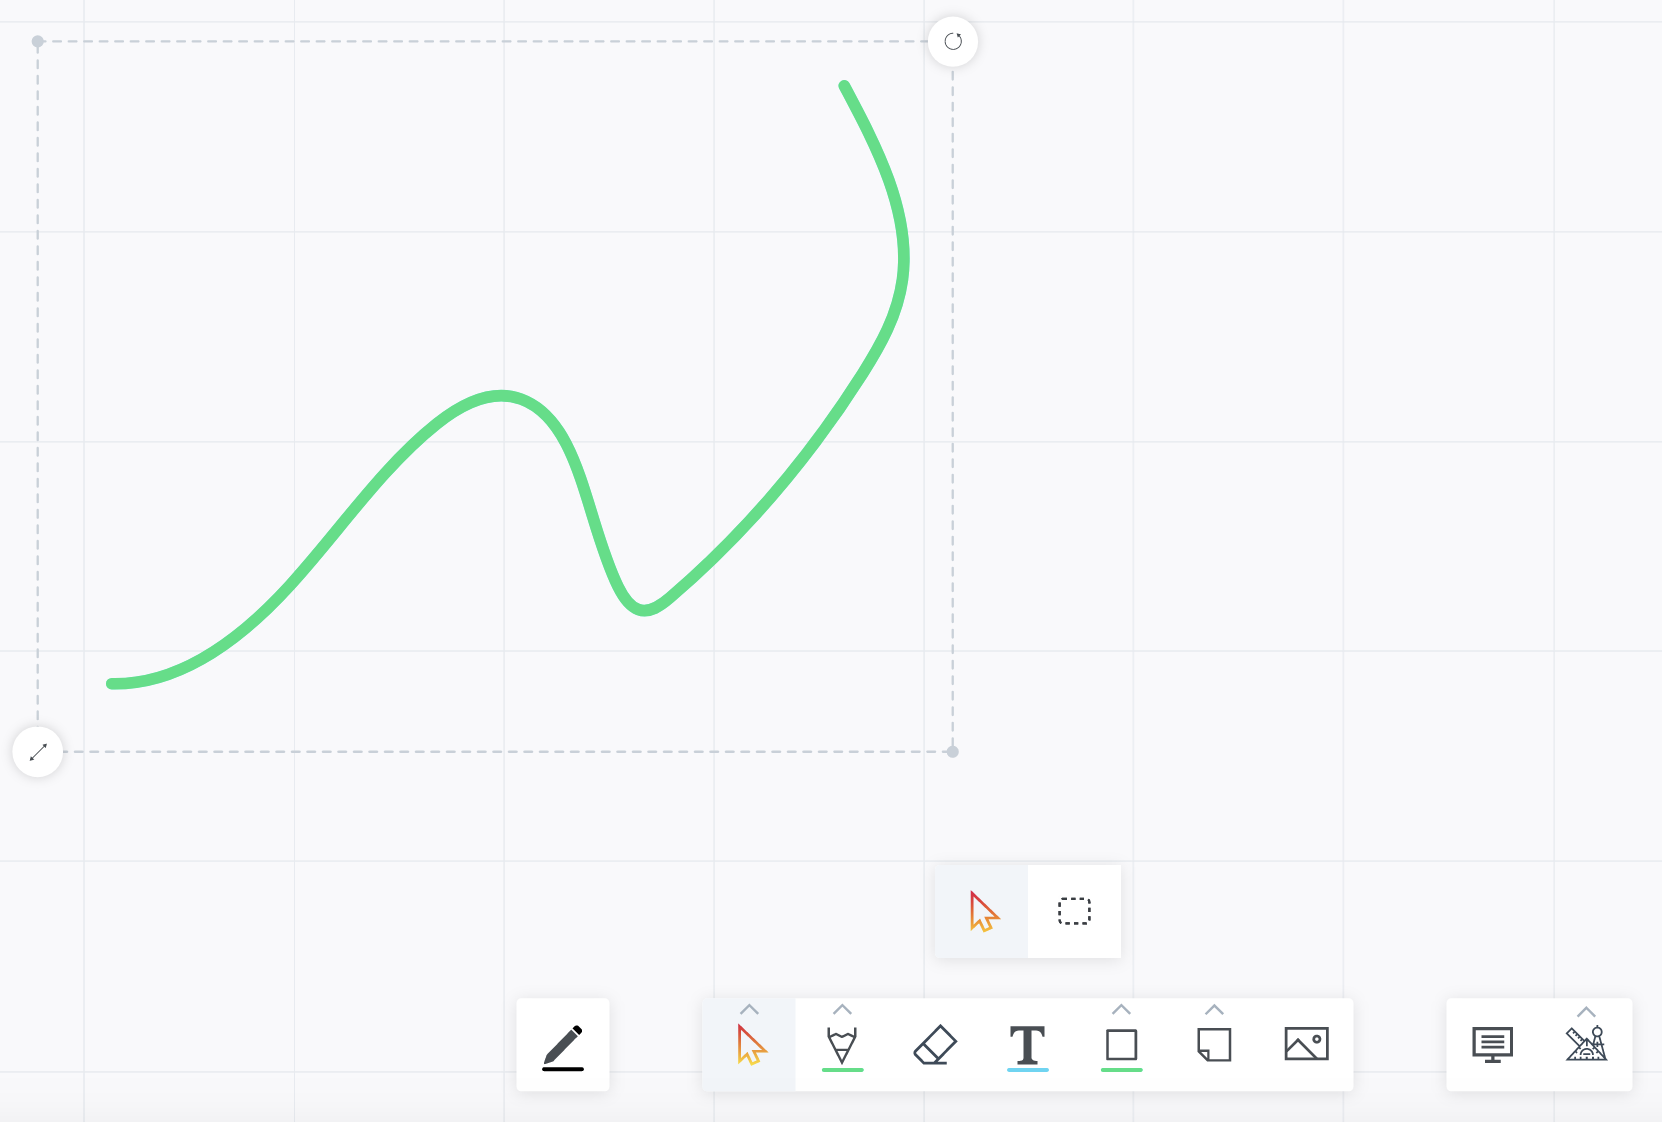
To do this, first select the object that you want to change. You can do this with either the Pointer Select tool or the Box Select tool.
The Features menu appears to show the color and line thickness. If the color is in the archive, open the color picker to see it active in the archive.
Select any of the other features and the object will be updated.
The navigation menu
We combined several menu items into one so you no longer need to look around the canvas where that specific button is.
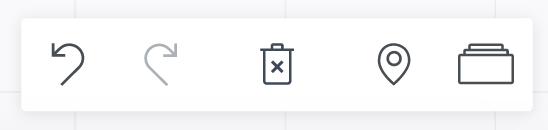
This includes:
Undo
Redo (the last action)
Delete, which removes all objects from the active page
Navigation, pan your way across the page or zoom in and out
Pages menu
The pages menu redesigned
We made it easier to use the Pages menu with the following features:
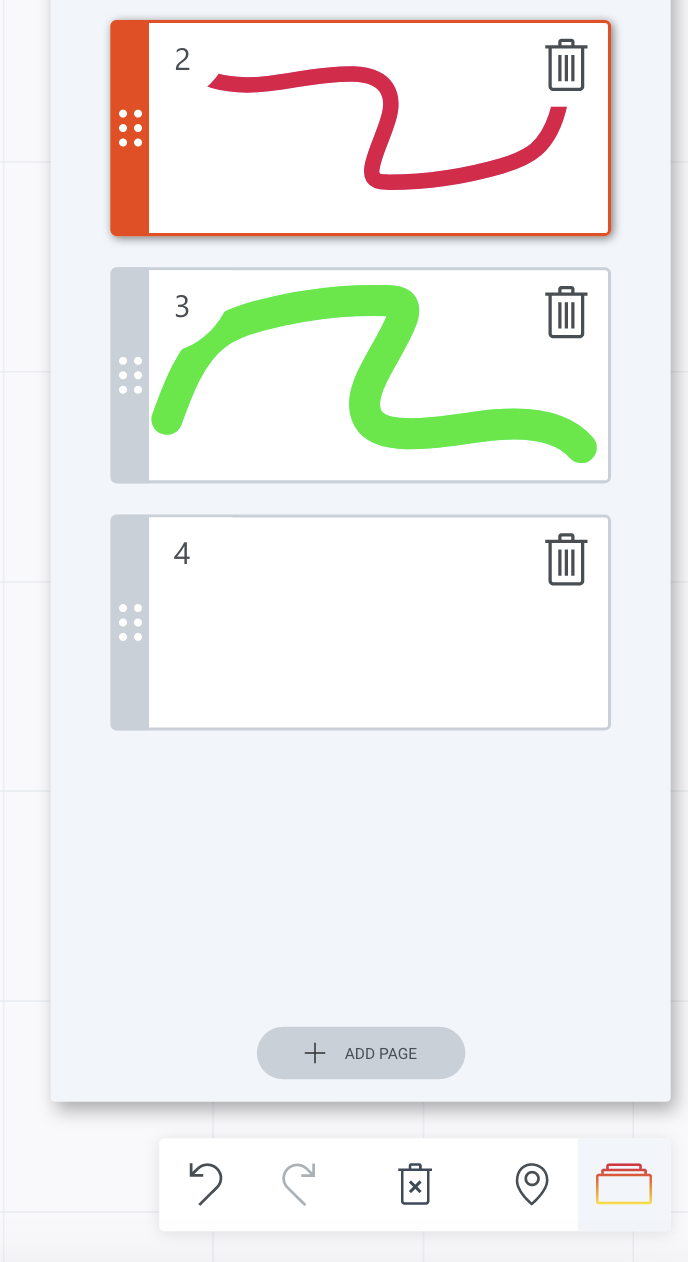
The “Add page” button is now fixed to the bottom of the Pages menu so you no longer need to look for it when you have a lot of pages on your board.
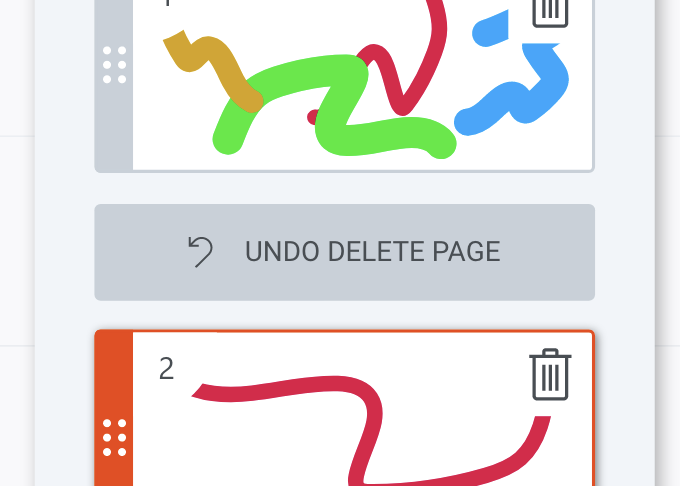
Removing a page is now done by clicking on the trashcan in the top right corner of the thumbnail
When a page is removed, a place holder appears where the thumbnail used to be, allowing you to easily undo the action if it was a mistake:
Export selected pages
You can now choose which pages you want to export.
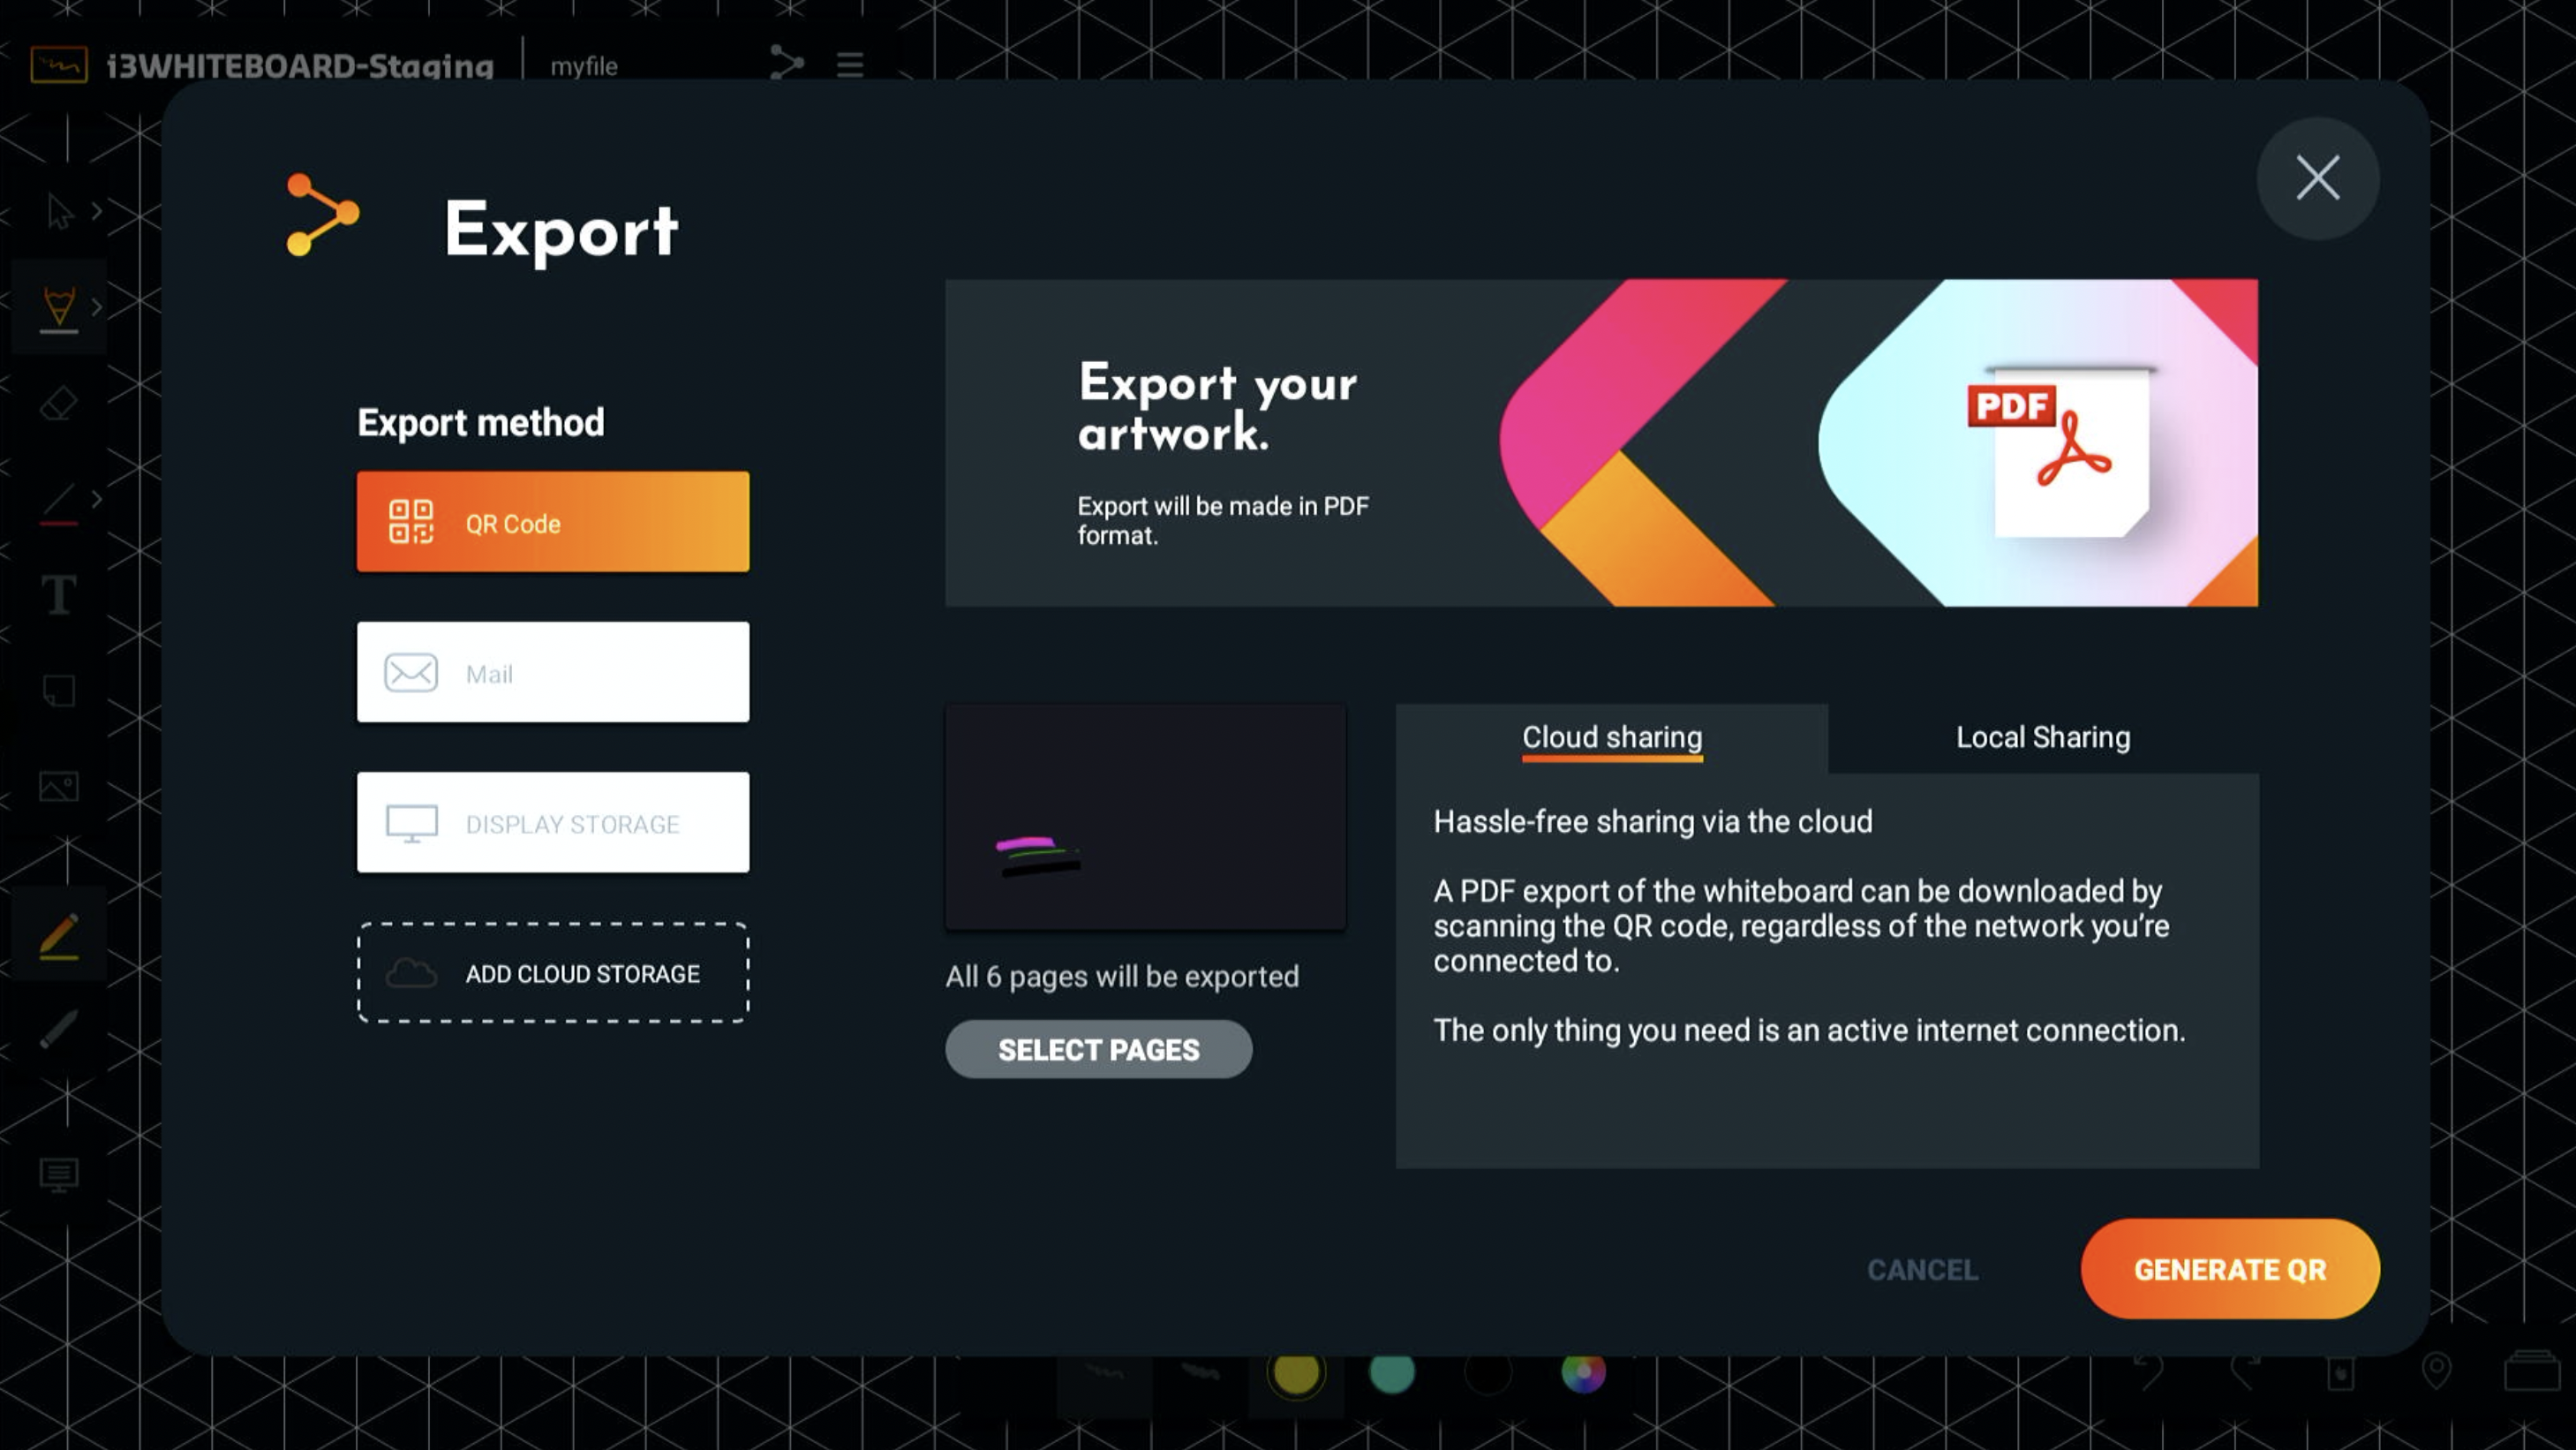
In Settings, under Export, you’ll now see a button saying “Select pages”. When you select it, you’ll see an overview with thumbnails of all the pages in your document:
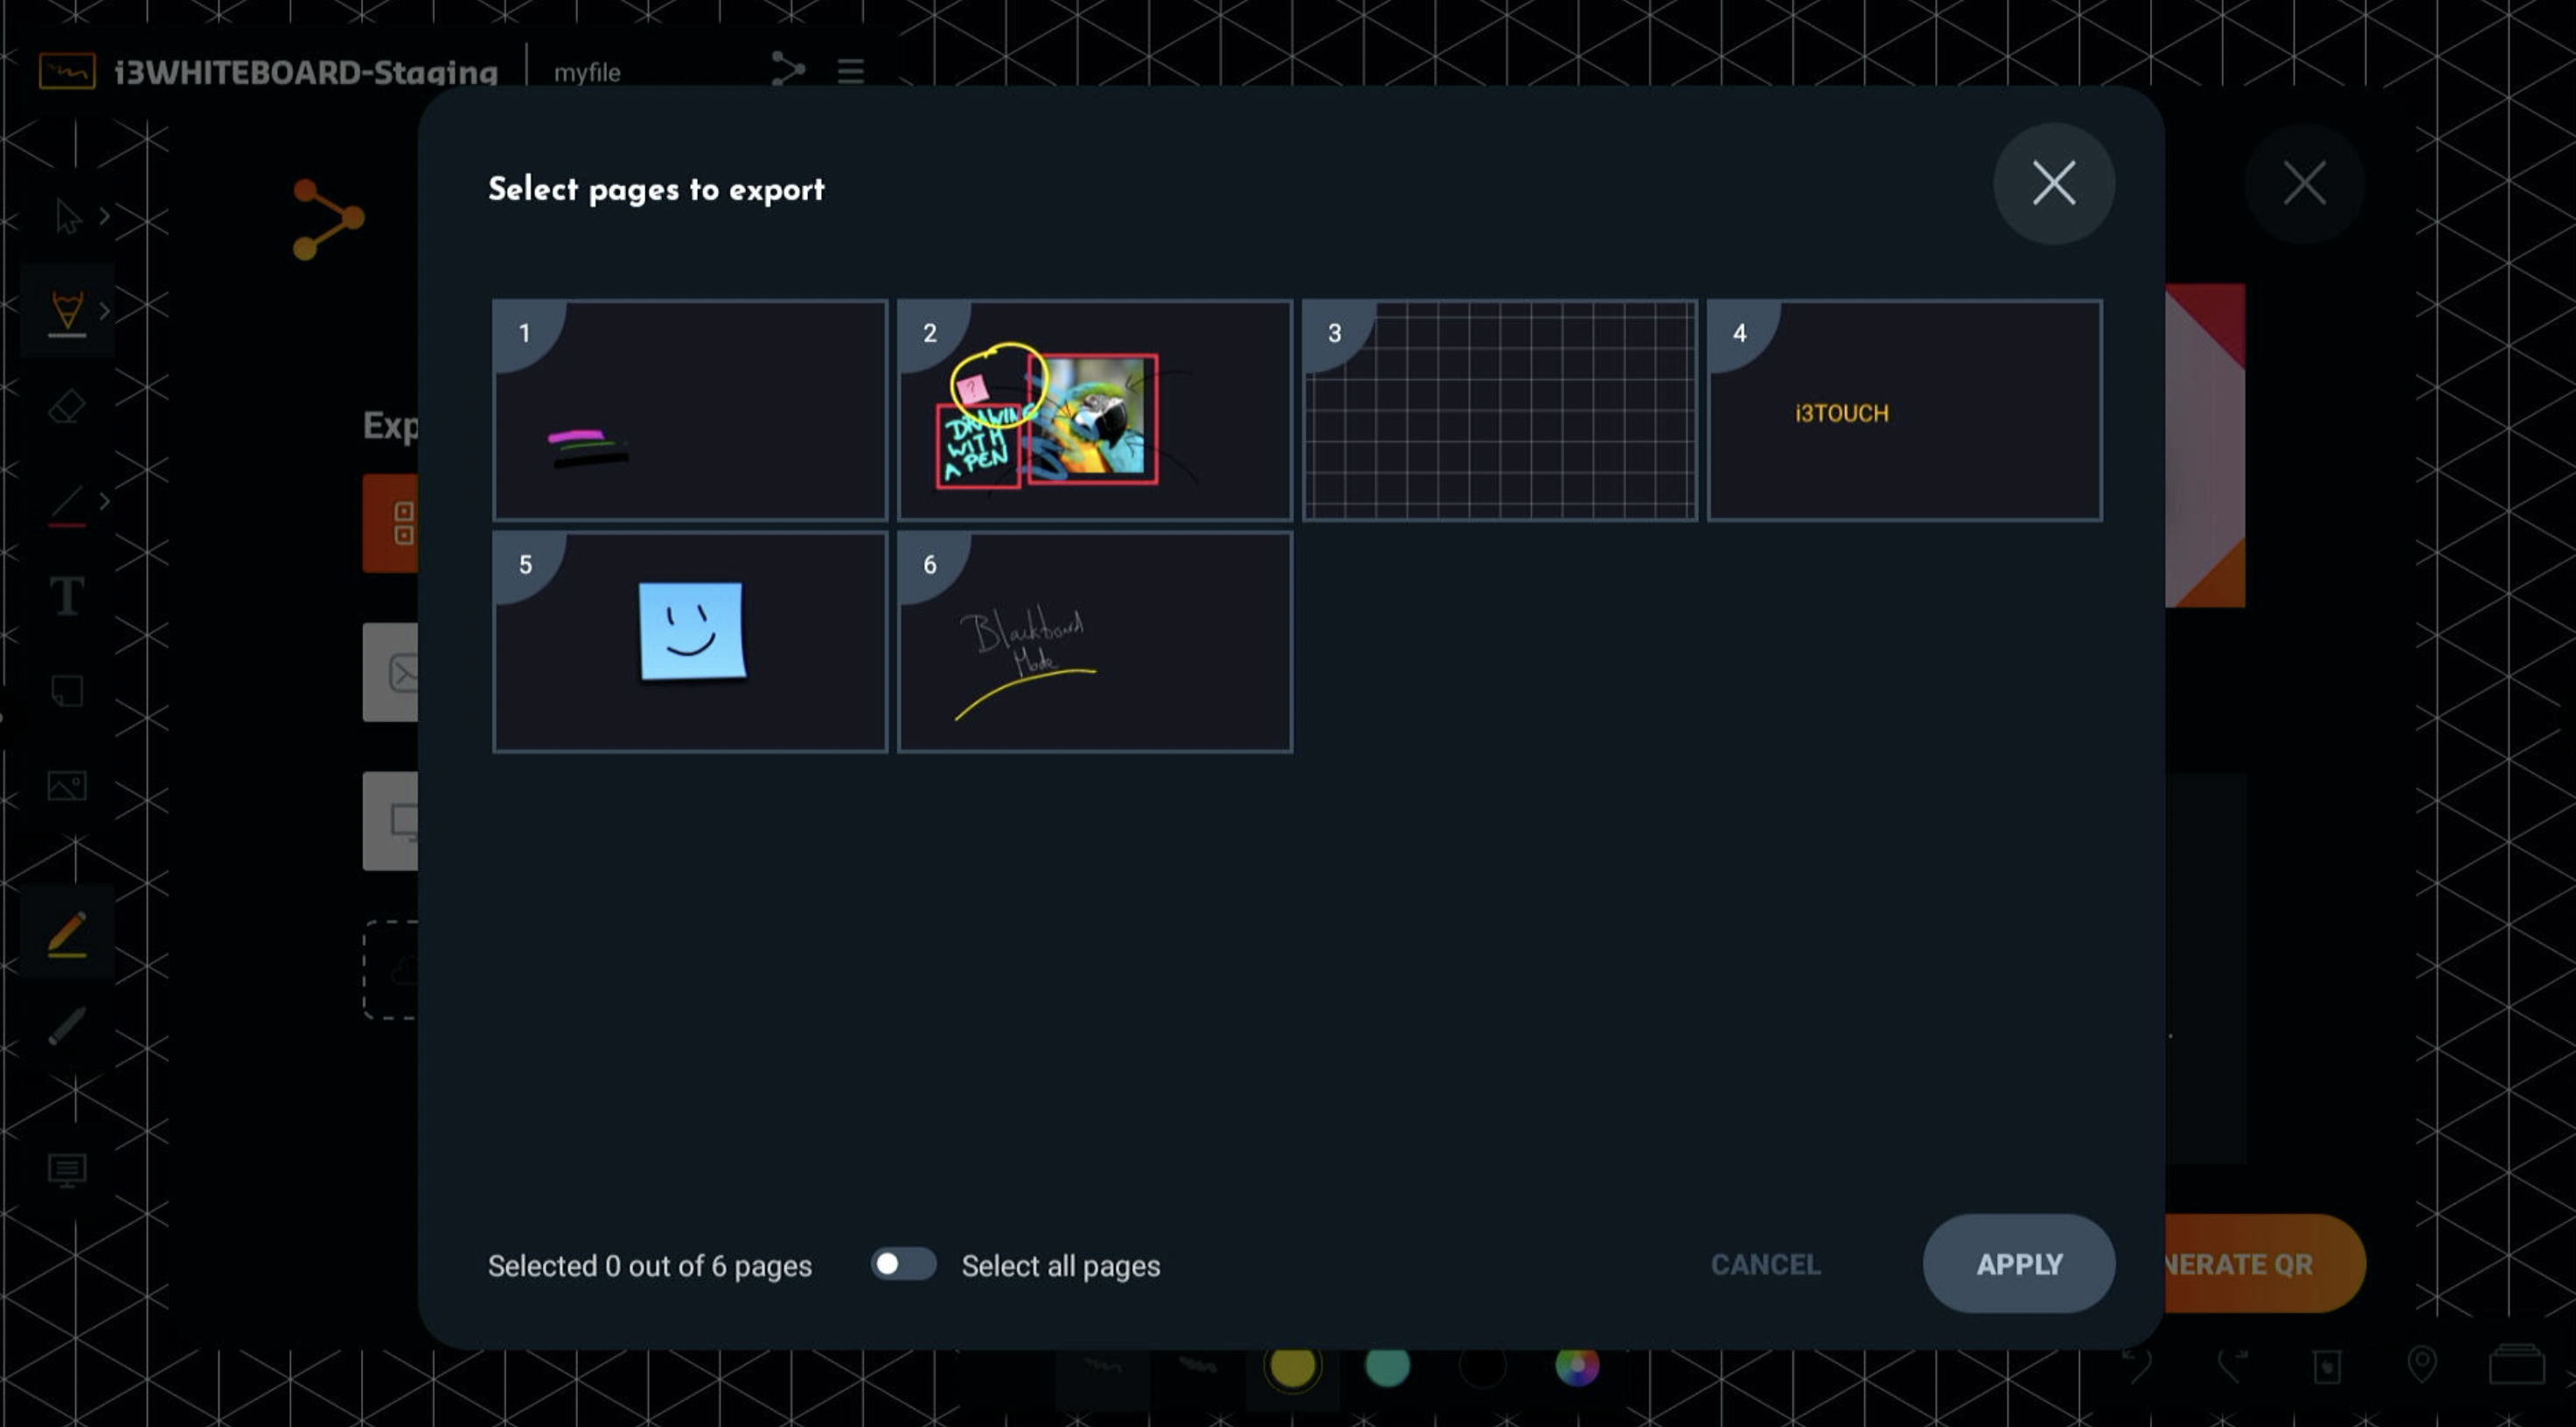
Here you can select the pages that you want to export. Still prefer to export all pages? Use the toggle at the bottom and set it to “Select all pages”.