Device detail page widgets
Device info widget
This widget allows you to change the Device name as well as retrieve basic info and change device settings.
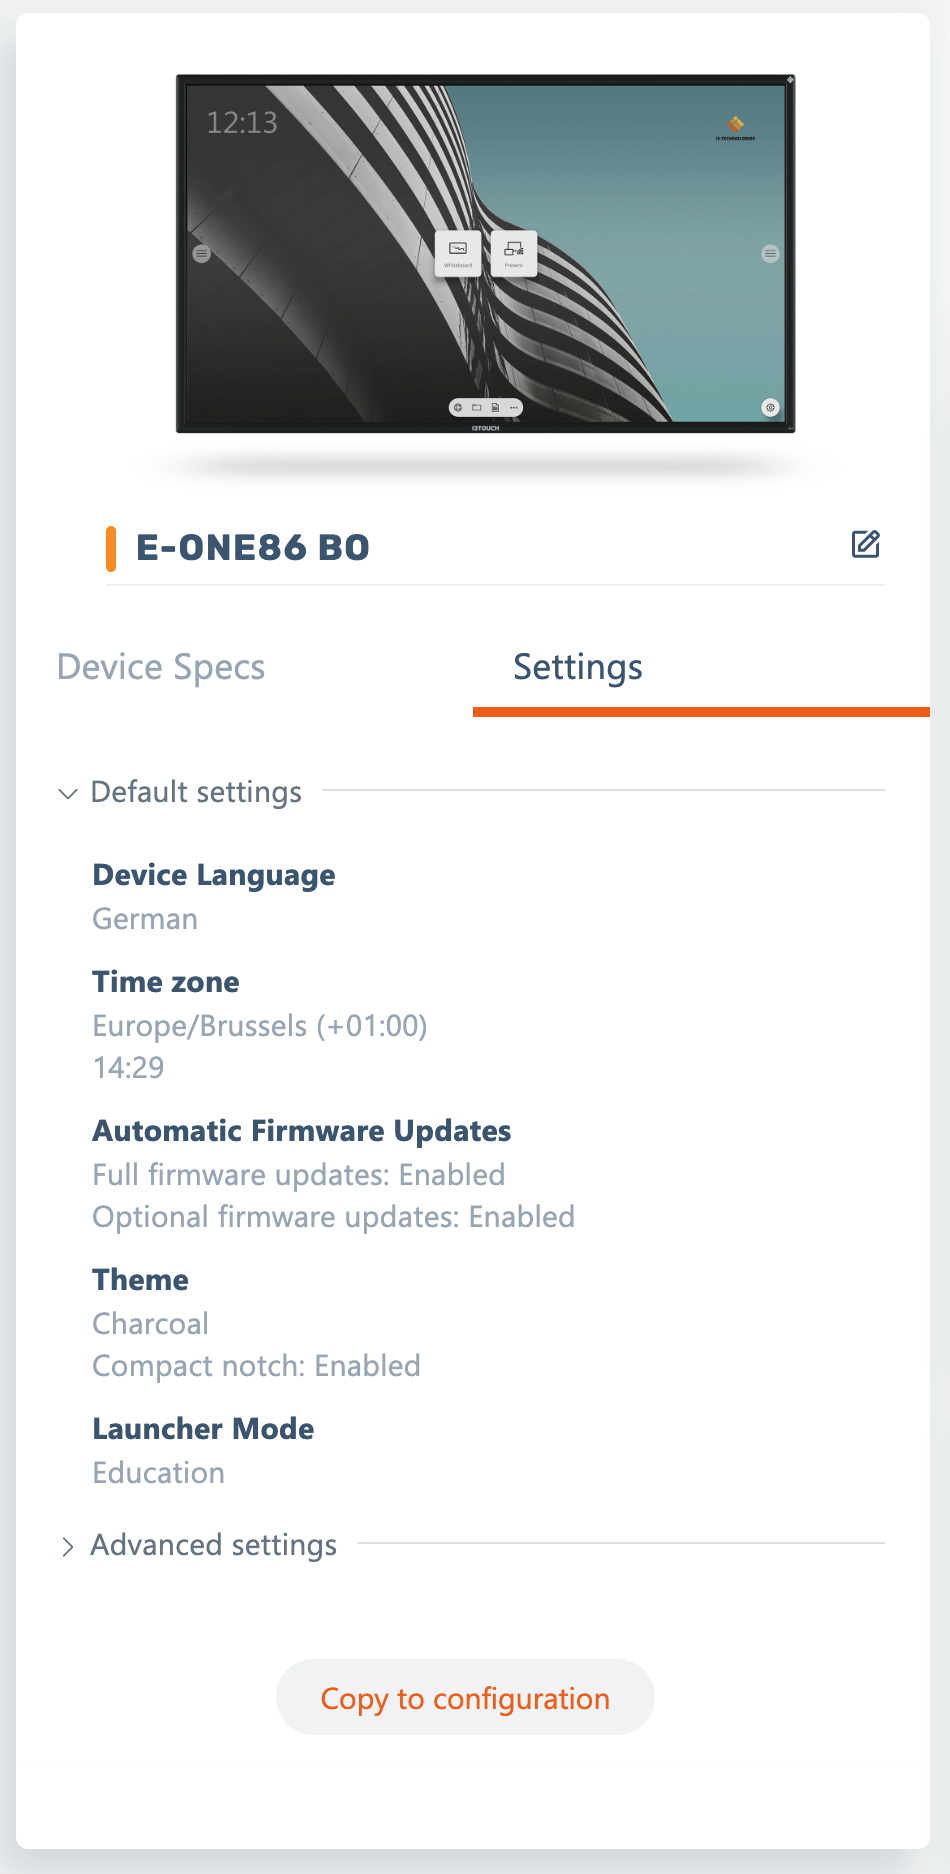 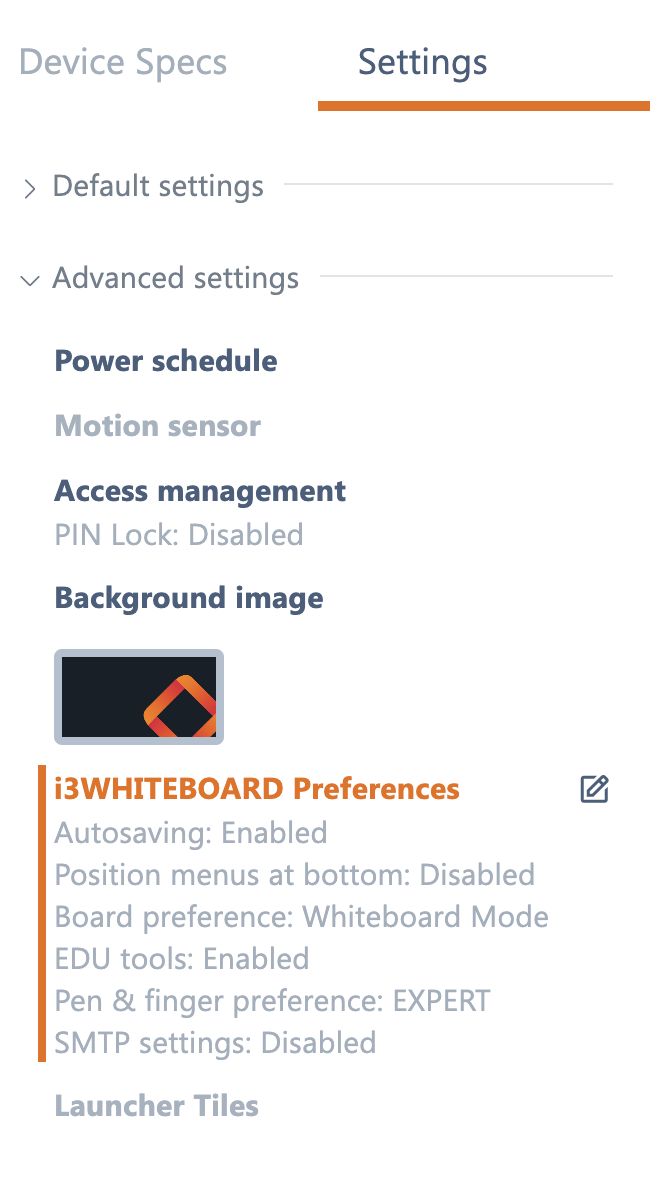
| Device nameThis section displays the device name. Selecting it allows you to change the name. Device SpecsThis section gives you an overview of basic specifications:
SettingsSimilar to Remote configurations, you can change the same settings that you can configure on the device, right from within i3RDM. They’re divided between default and advanced settings. Default settingsHere you can change the basic settings:
Advanced settingsThe more configurable settings are listed here:
Please contact your email administrator if you need help filling in the required fields. They will be able to provide the necessary support in configuring or troubleshooting your advanced email settings.
|
Updating a setting
 | move your mouse over a setting until the edit icon appears. If you select it, it will trigger the fly-out menu to the right of the screen. |
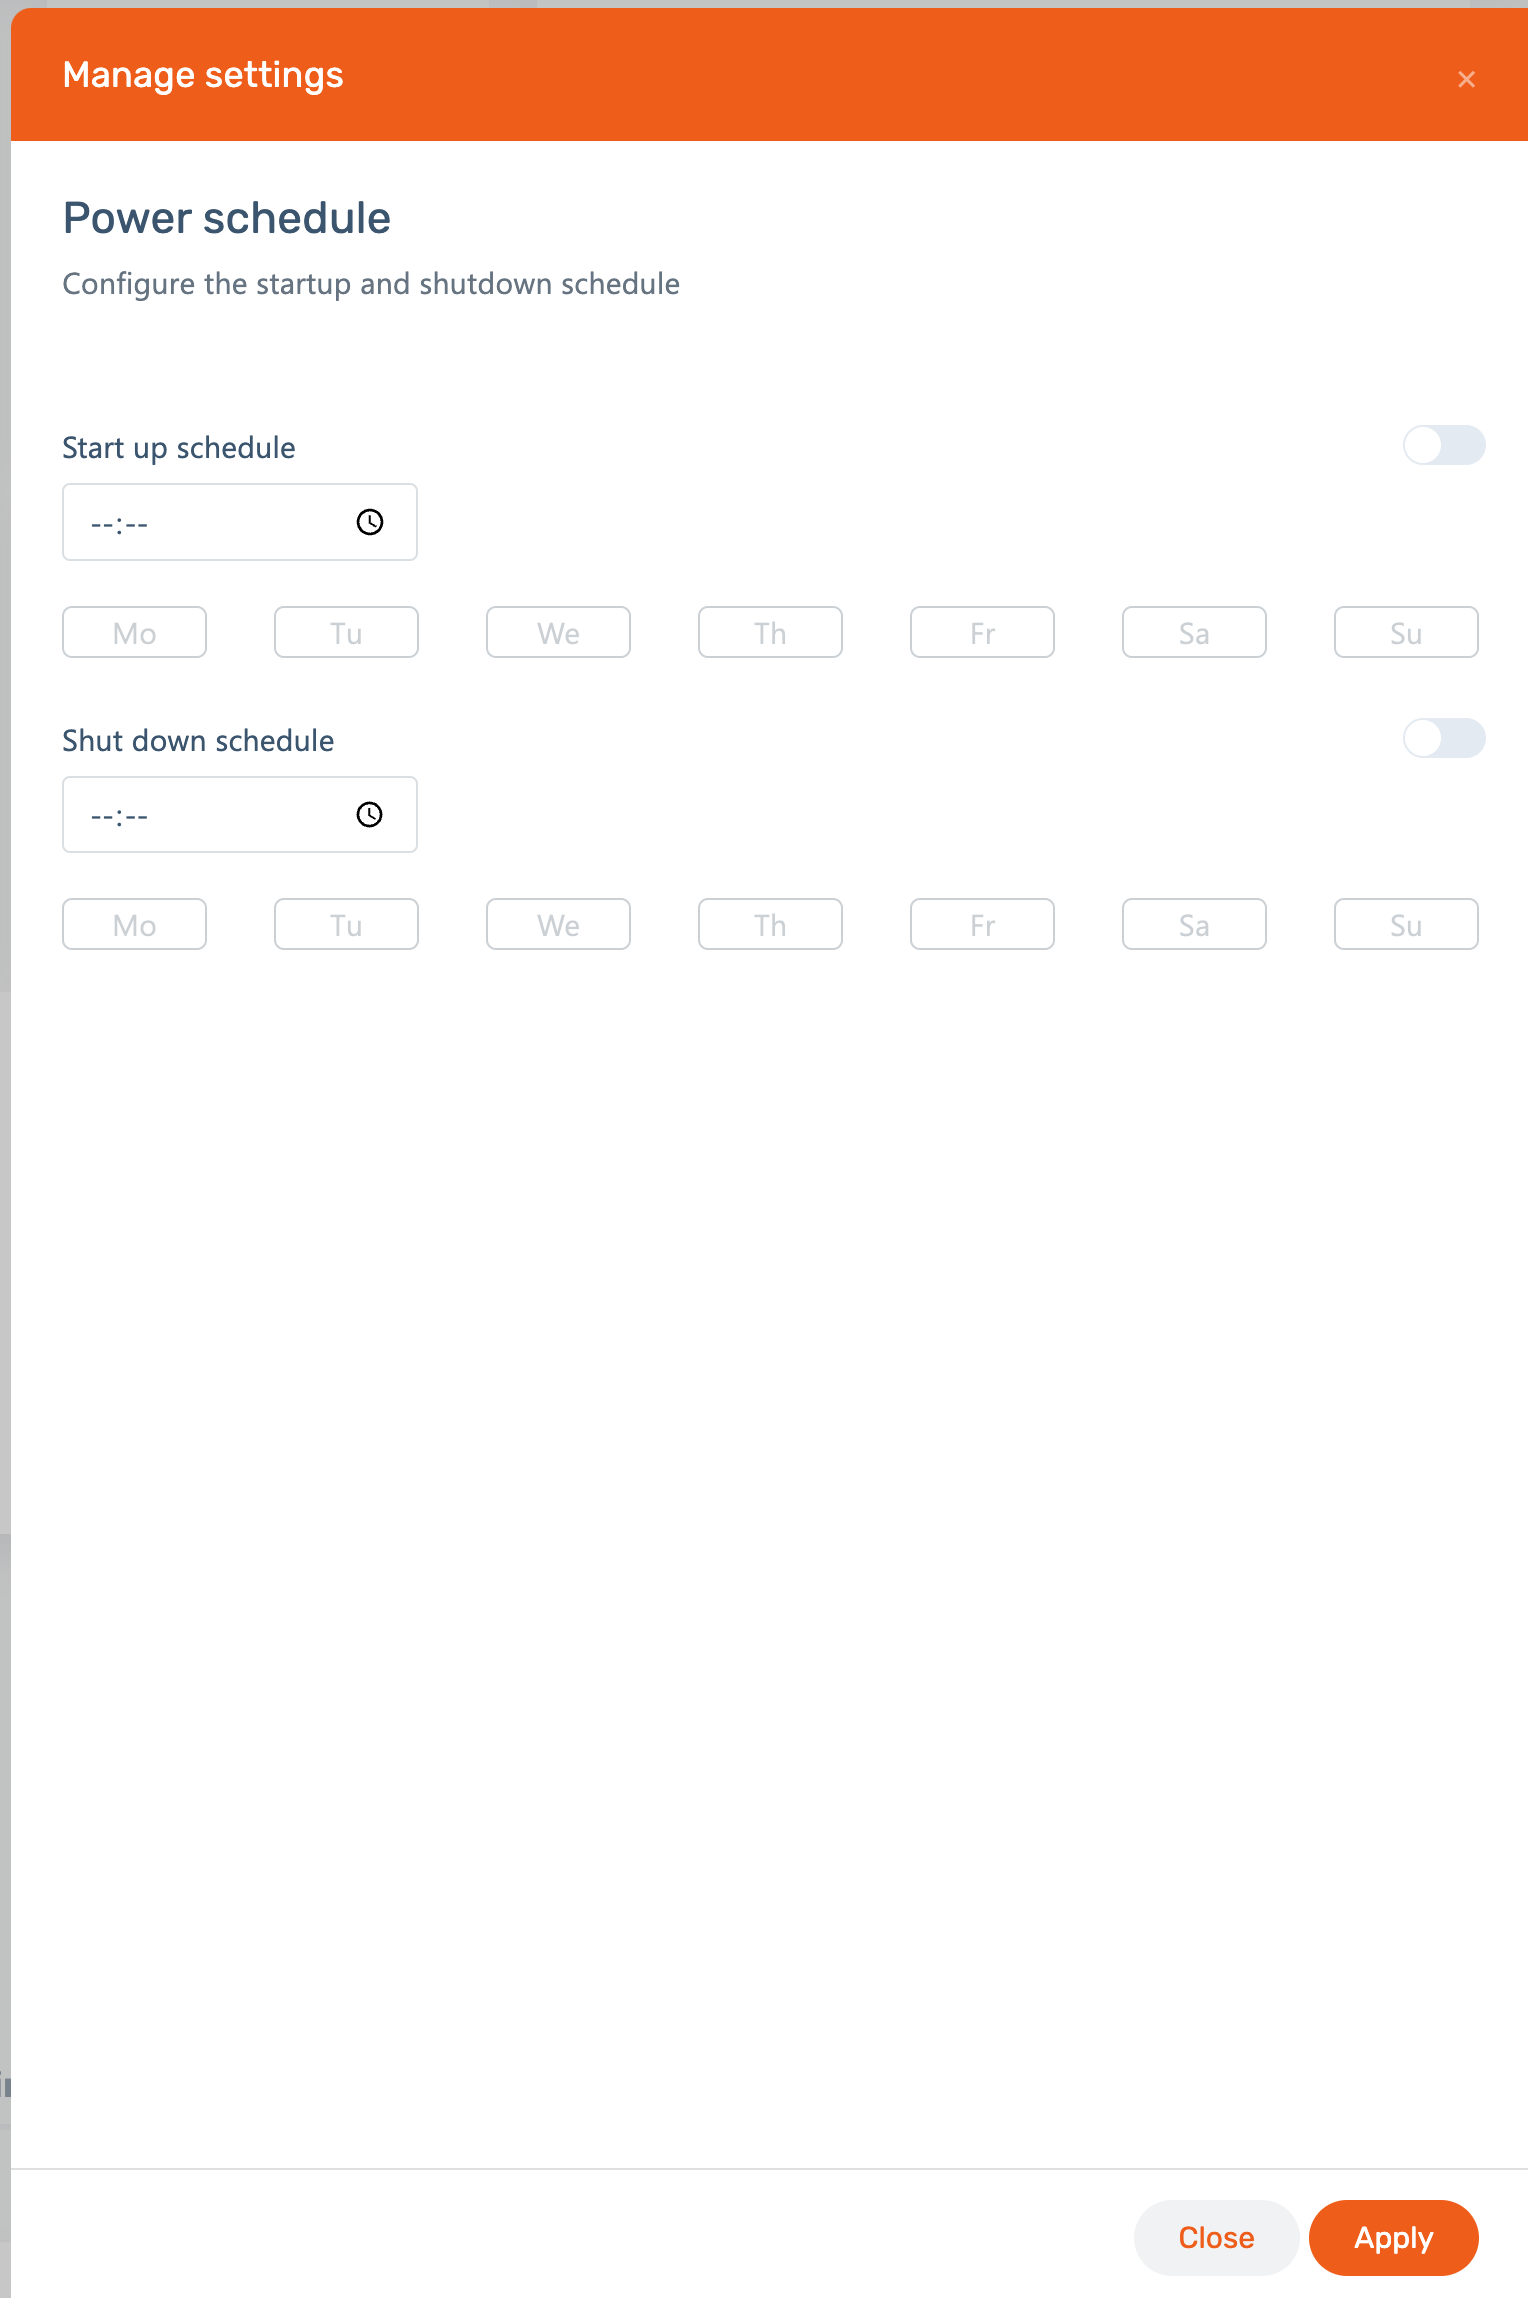 | In this menu, you can make the necessary changes and apply them by selecting “Apply”. Select the close icon “x” at the top right, the “Close” button at the bottom or tap out of the fly-out menu to cancel. |
Pending settings
 | As soon as you apply a setting, it is sent to the device. An icon may appear next to the Device setting, indicating that it is currently busy deploying the action, or that the action is pending if the device is unavailable. This icon will disappear once the setting is fully deployed on the device. |
Copy to configuration
All the device settings can be copied to a configuration (like the snapshots in earlier versions, but with the advantage that you can change them remotely), to be applied on other devices.
Once created, they will be available to you in the Configurations overview.
App usage widget and app widgets
Most used apps
Total usage
Total apps
Active apps
Storage widget
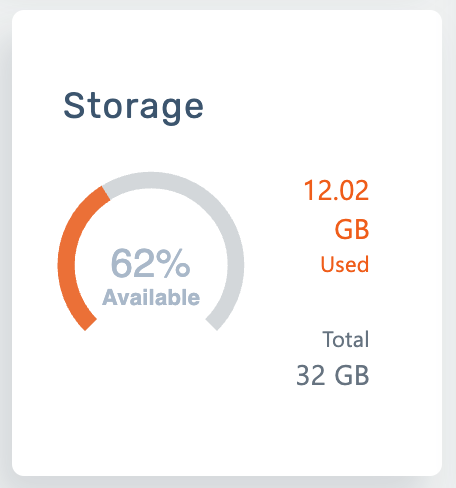 | The Storage widget gives you a visual overview of how much storage space is used up on the device and how much is left. |
Activity history widget
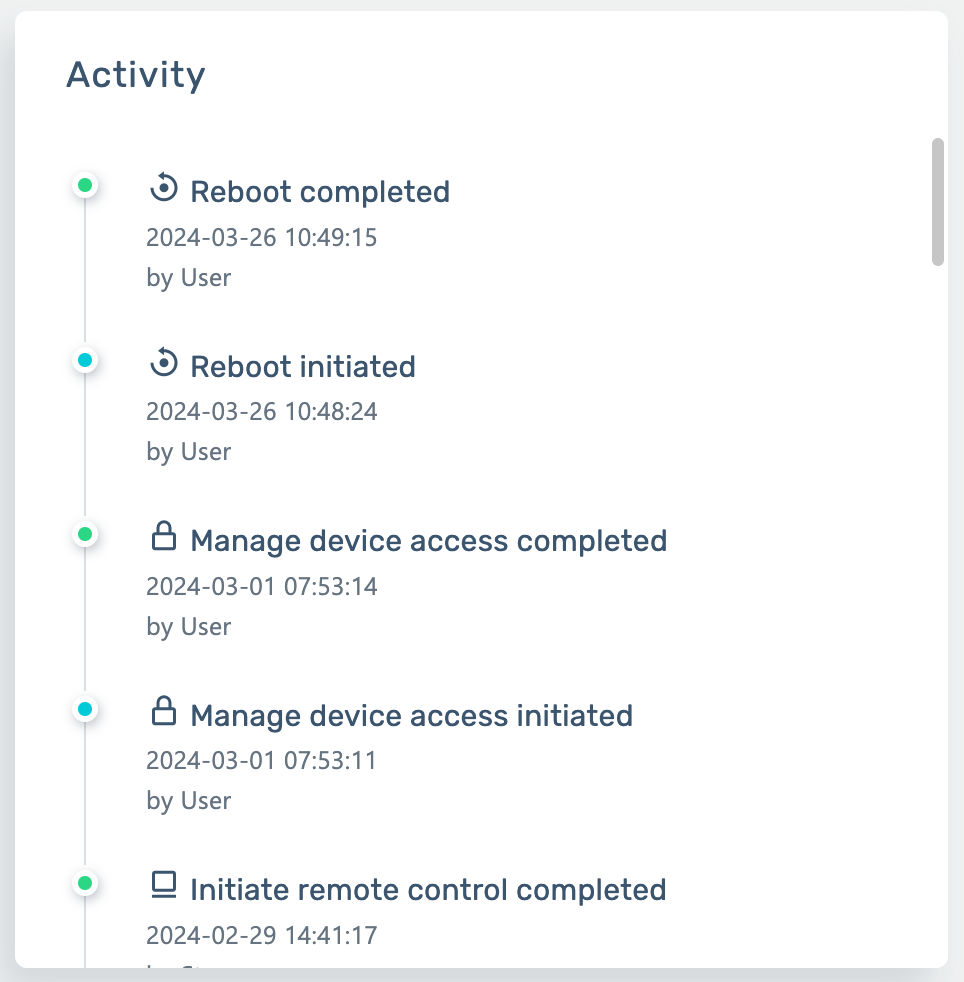
This widget shares real time information concerning activity relating to quick actions, access management, applied configurations and others
Connectivity widget

The Connectivity widget digs a little bit deeper into the device’s connection status. While quickly showing if the device is connected to the i3RDM server, it also shares important details such as:
Connection type
network name and IP
Signal strength
Downstream/ Upstream link speed
and others
Quick actions widget
At the bottom right corner of your dashboard, you’ll find the Quick actions widget. With the Lock/ unlock the i3TOUCH display. With this widget, you’re now able to, as the name suggests, perform some quick actions on the selected i3TOUCH display*:
Lock/ Unlock display
Lock and unlock the i3TOUCH display from i3RDM is back. Remotely locking is available as soon as the i3TOUCH display has a PIN code set.
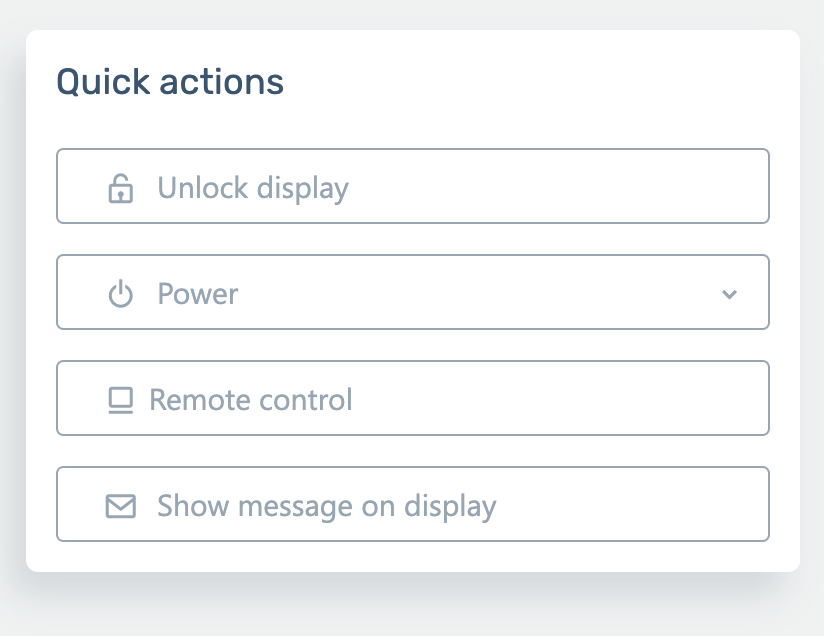
If the i3TOUCH display is locked, you’ll now see a button to unlock the display.
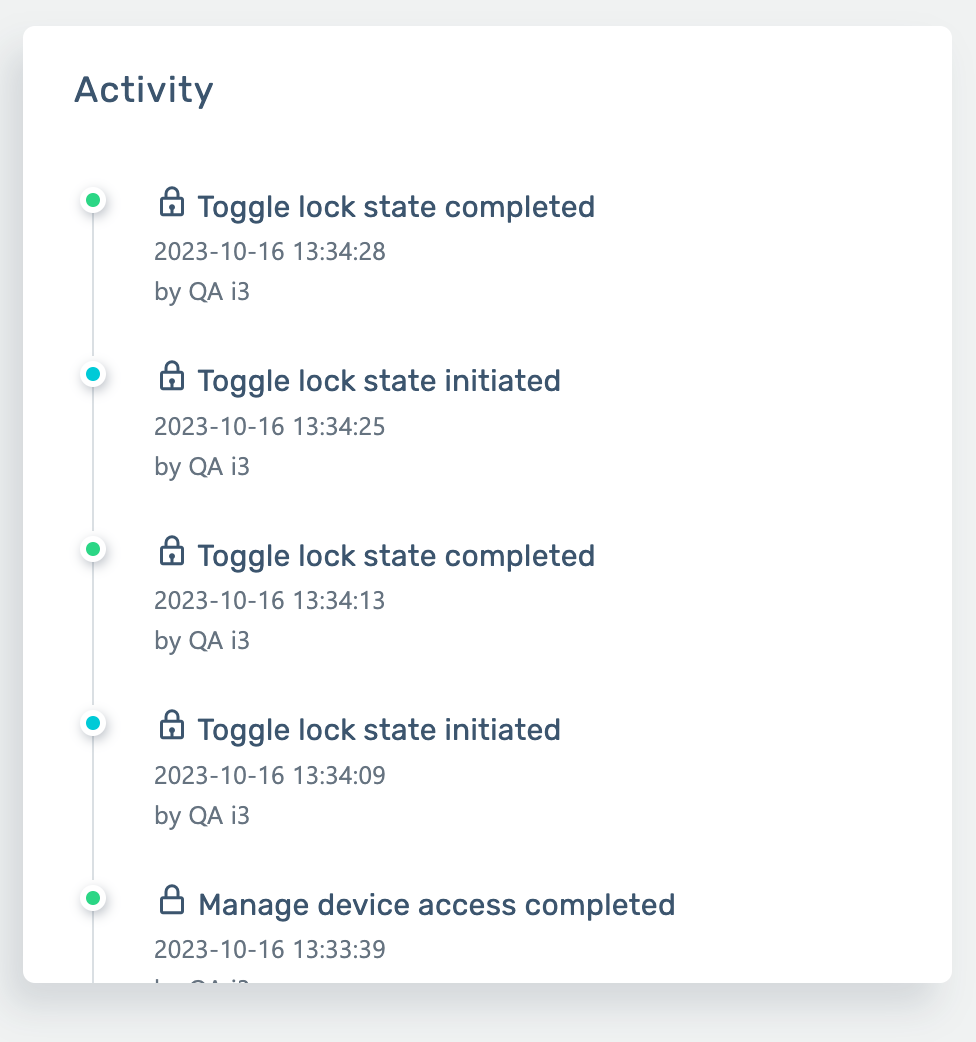
You’ll also see visual feedback of the display lock state in the Activity widget.
Reboot/ Sleep/ Shutdown
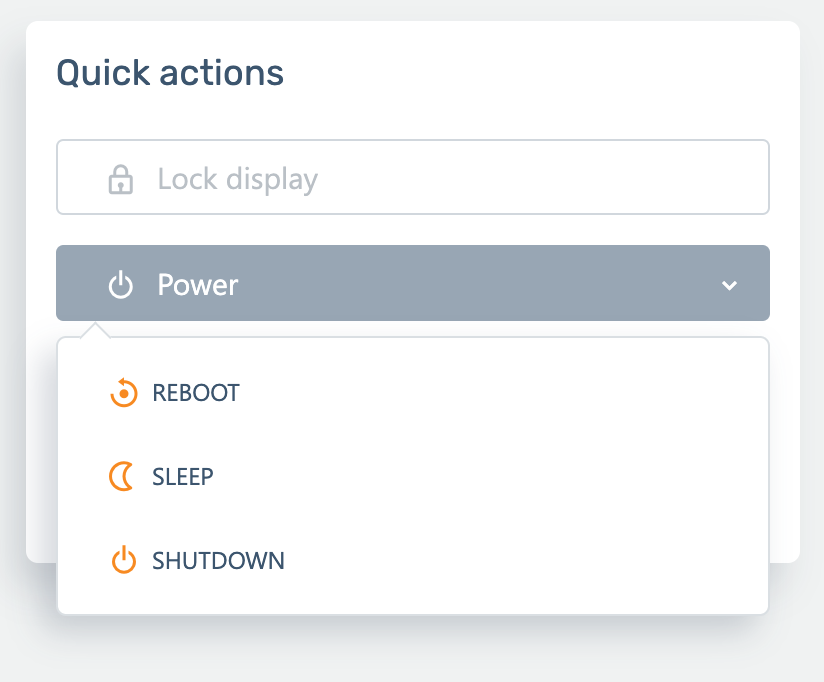
This drop down button gives you the option to turn off, reboot or turn the i3TOUCH display to sleep mode.
Reboot device
Navigate to the device detail page of the device you wish to reboot.
In the quick actions section click on power
Next click reboot
The device will now perform a reboot.
Please use this functionality with caution as the user operating the display will not be notified about the pending reboot and any progress might be lost.
Shutdown device
Navigate to the device detail page of the device you wish to shut down.
In the quick actions section click on power
Next click shutdown
Confirm the action
Performing a shutdown will break the connection with the device to the server. A manual power on has to be performed to restore the connection with the server.
Please use this functionality with caution as the user operating the display will not be notified about the device shutting down.
Remote Control
Remote Control gives you visual access to the i3TOUCH display.
Show message on display
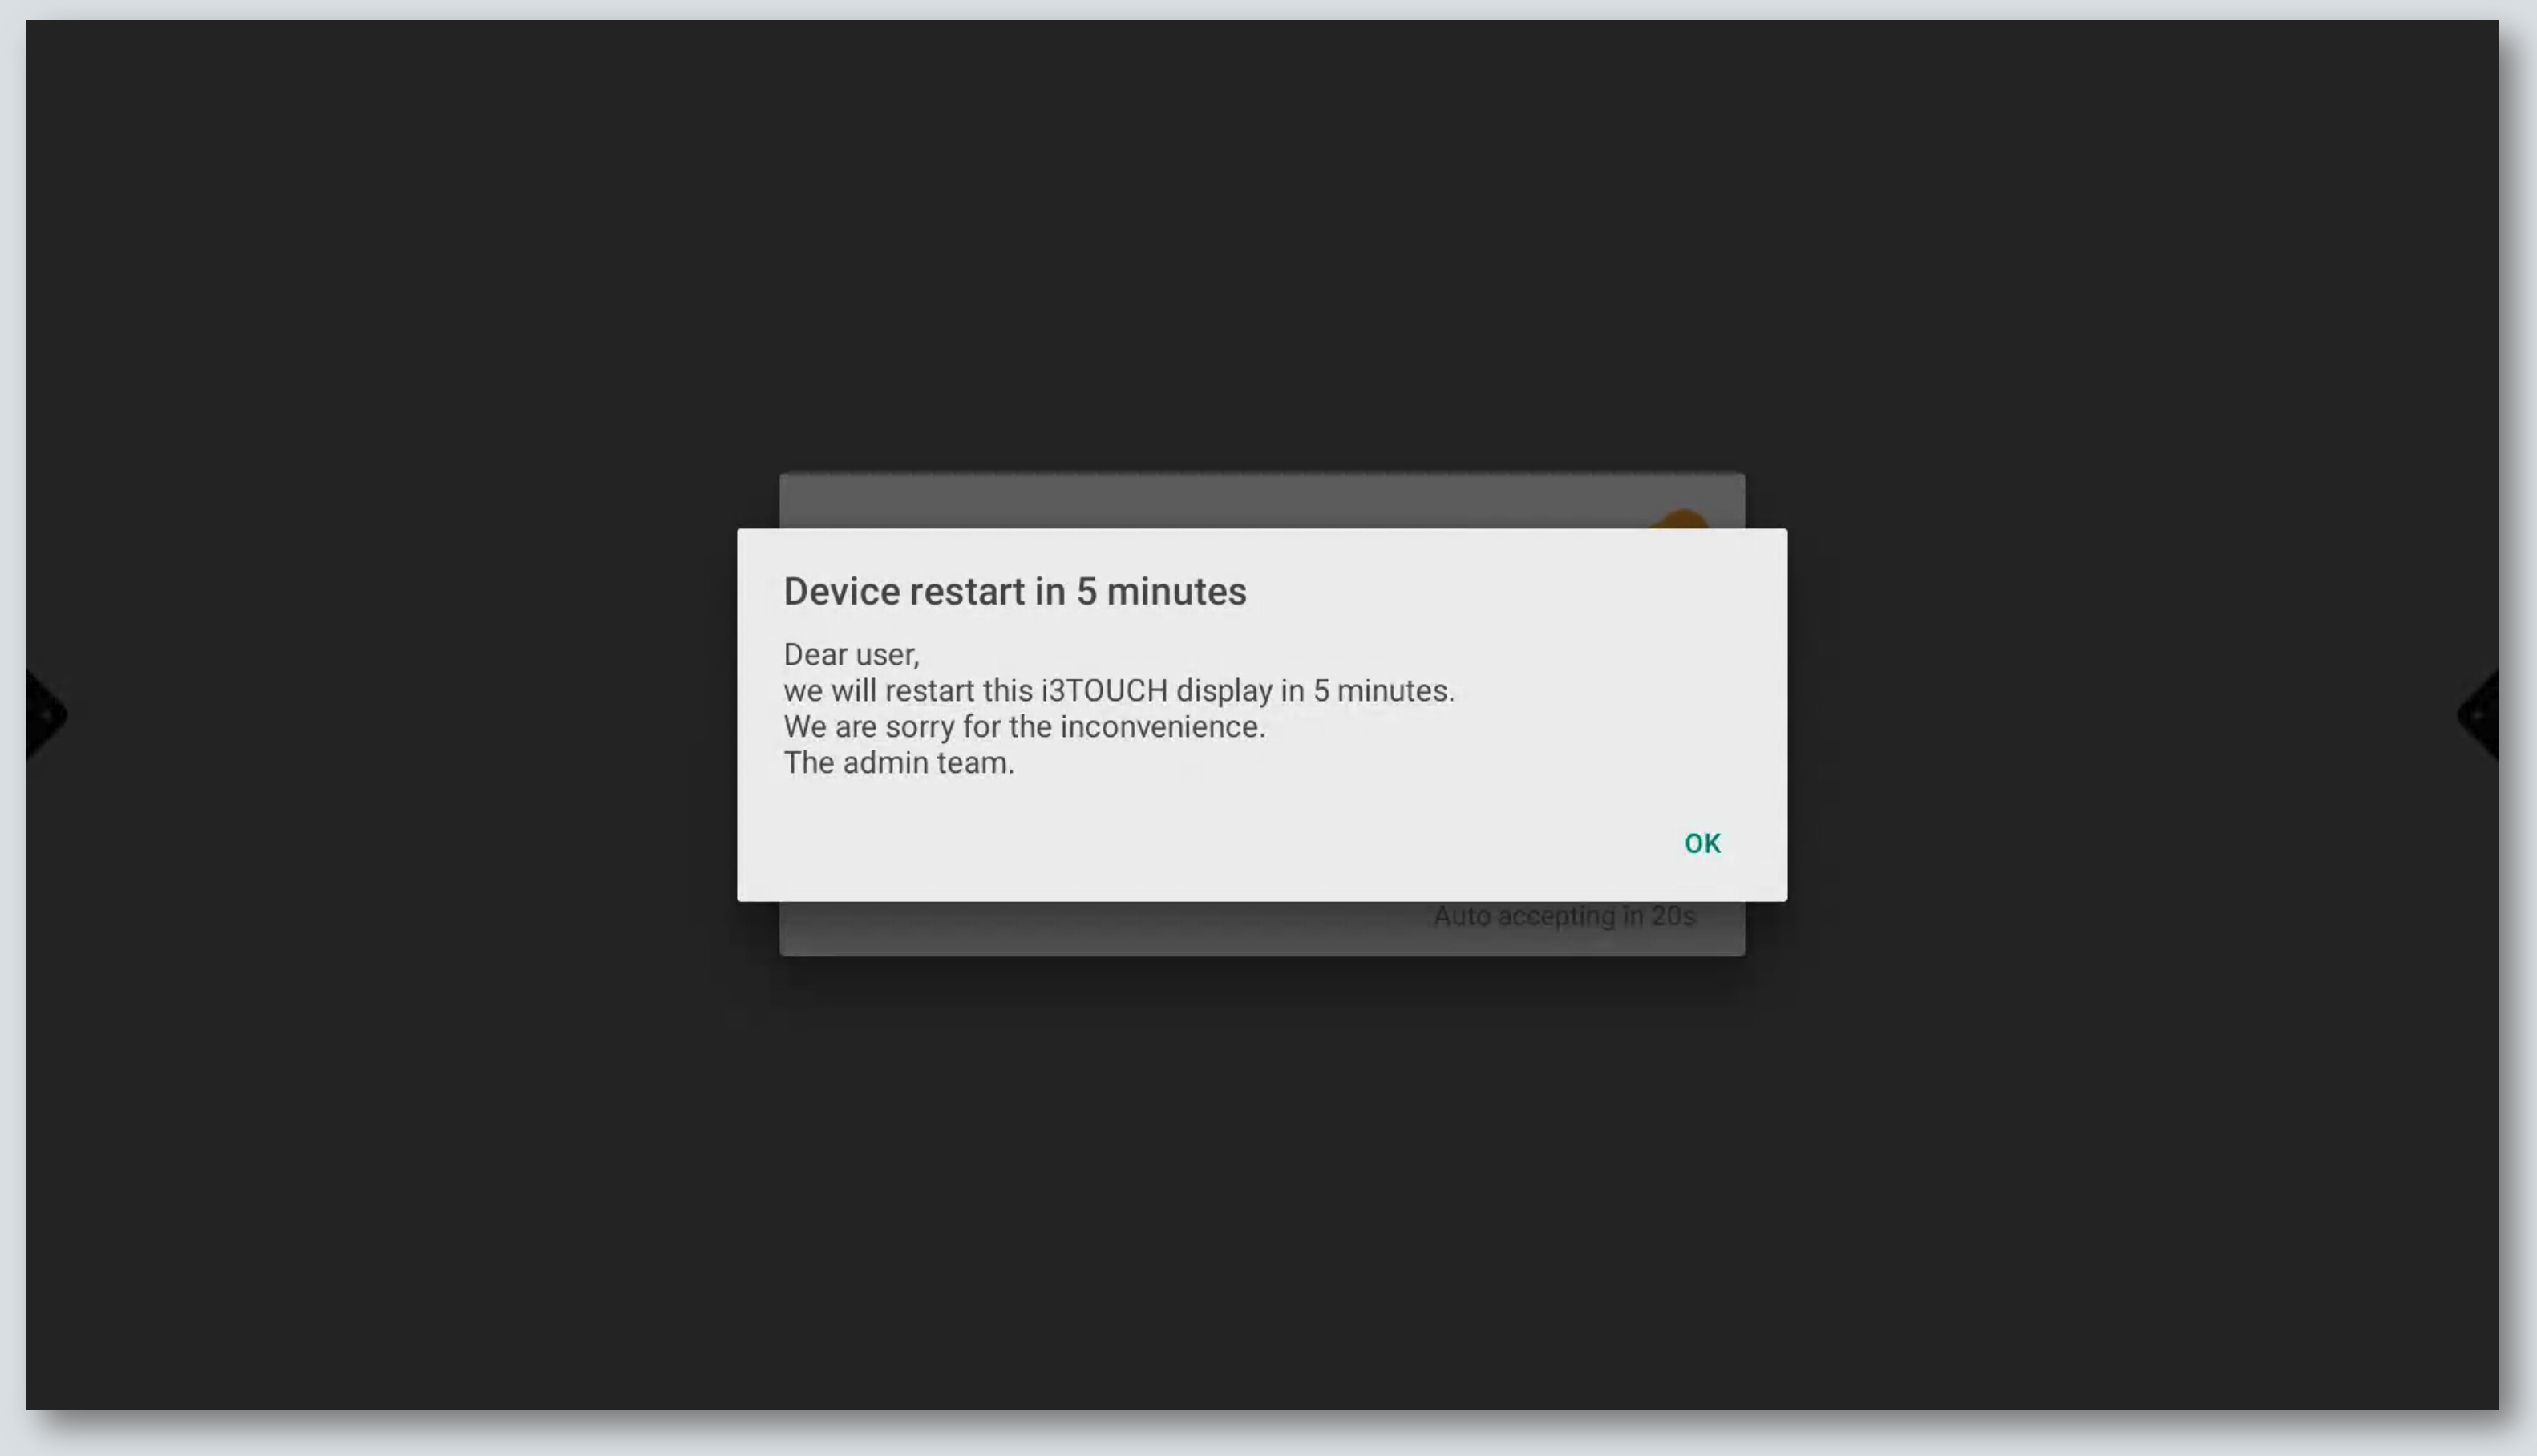
Want to send a message to the i3TOUCH display to notify your users of an upcoming action, like the need to restart the display? You can do that easily with this functionality.
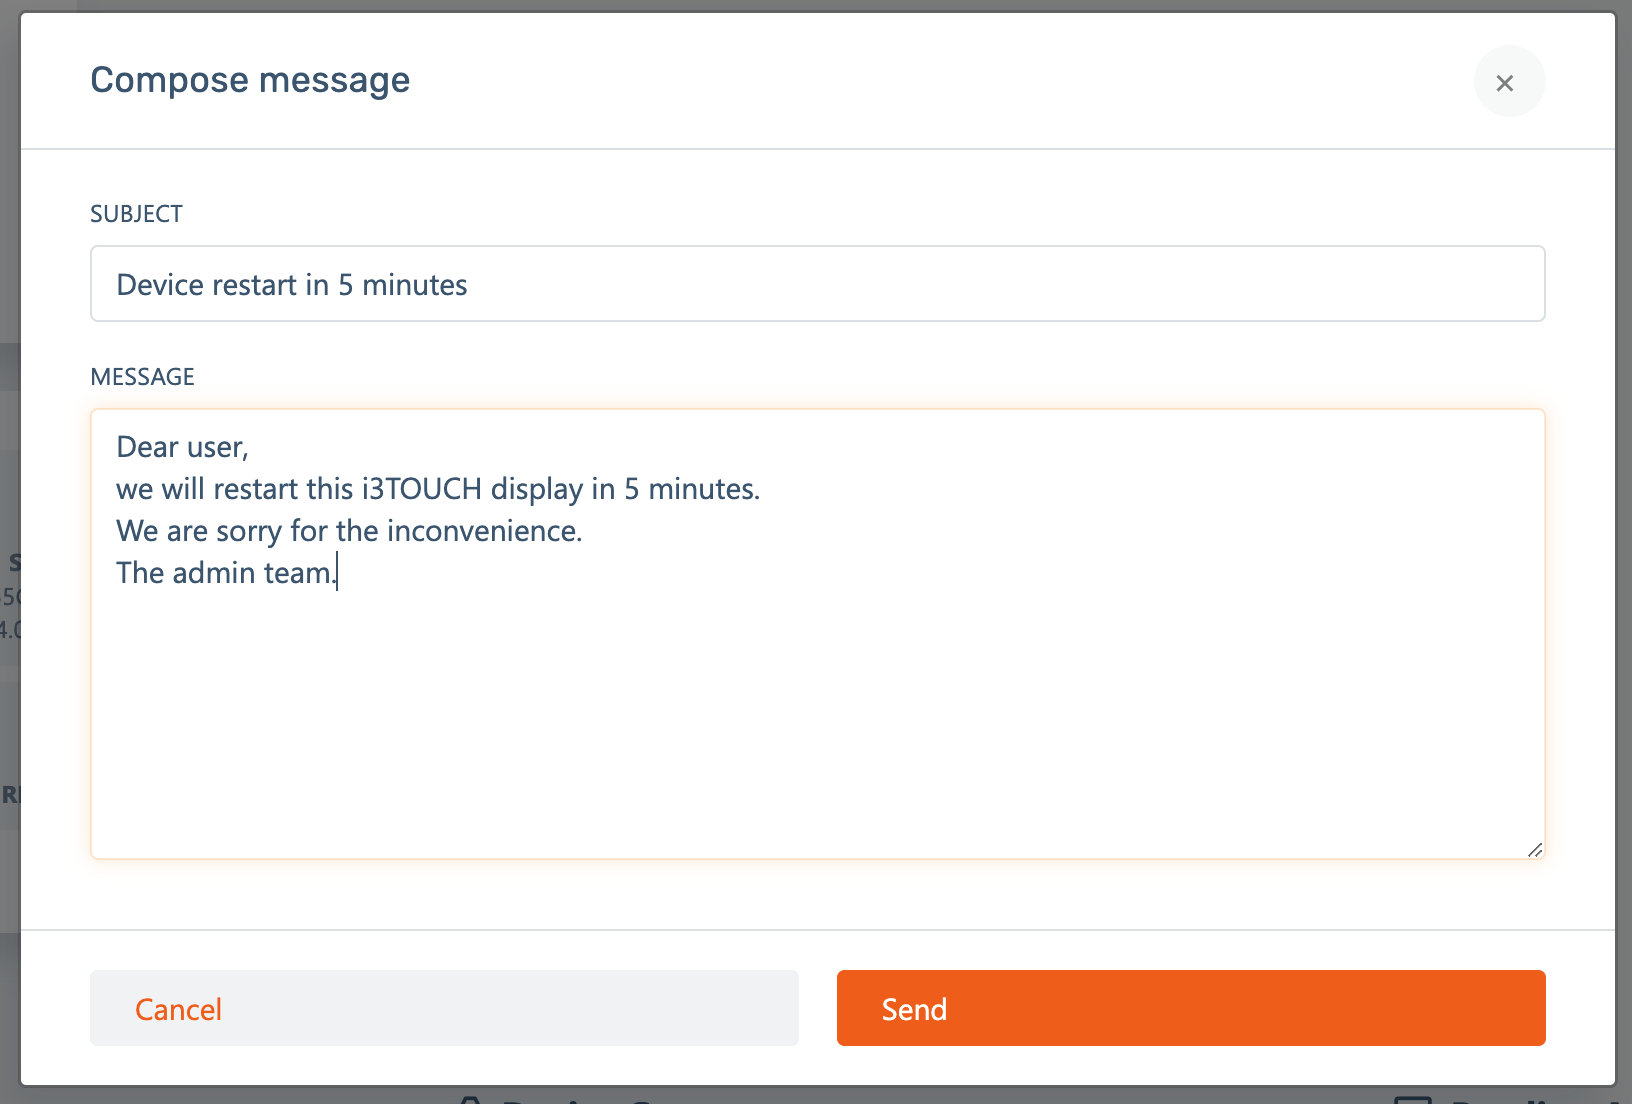
Selecting this functionality, will display a dialog which requires you to enter a message subject and content. As soon as you hit Send, it will be shown to the display. Both the Quick actions widget and the Action History widget will tell you if sending the message was successful.
Some quick actions are not compatible with all i3TOUCH displays. See below for the full compatibility chart:
EX | ES | PX | E-ONE | X-ONE | X2 | Sixty | ULTRA | |
|---|---|---|---|---|---|---|---|---|
Lock/ Unlock | YES | YES | YES | YES | YES | YES | YES | YES |
Reboot | YES | NO | NO | YES | YES | YES | YES | YES |
Sleep | YES | YES | YES | YES | YES | YES | YES | YES |
Wake | YES | YES | NO | YES | YES | YES | YES | YES |
Shut down | YES | NO | NO | YES | YES | YES | YES | YES |
Remote control | YES | YES | YES | YES | YES | YES | YES | YES |
Send message | YES | YES | YES | YES | YES | YES | YES | YES |
