Getting Started
Upon first start of the i3TOUCH, the display’s Start-up Wizard will guide you through initial configuration steps of the display.
The Start-up Wizard can be skipped safely. All configuration settings remains possible afterwards, through the i3TOUCH’s settings application.
Select the Studio Environment.
Select the i3 pre-defined studio environment that you would like to use.
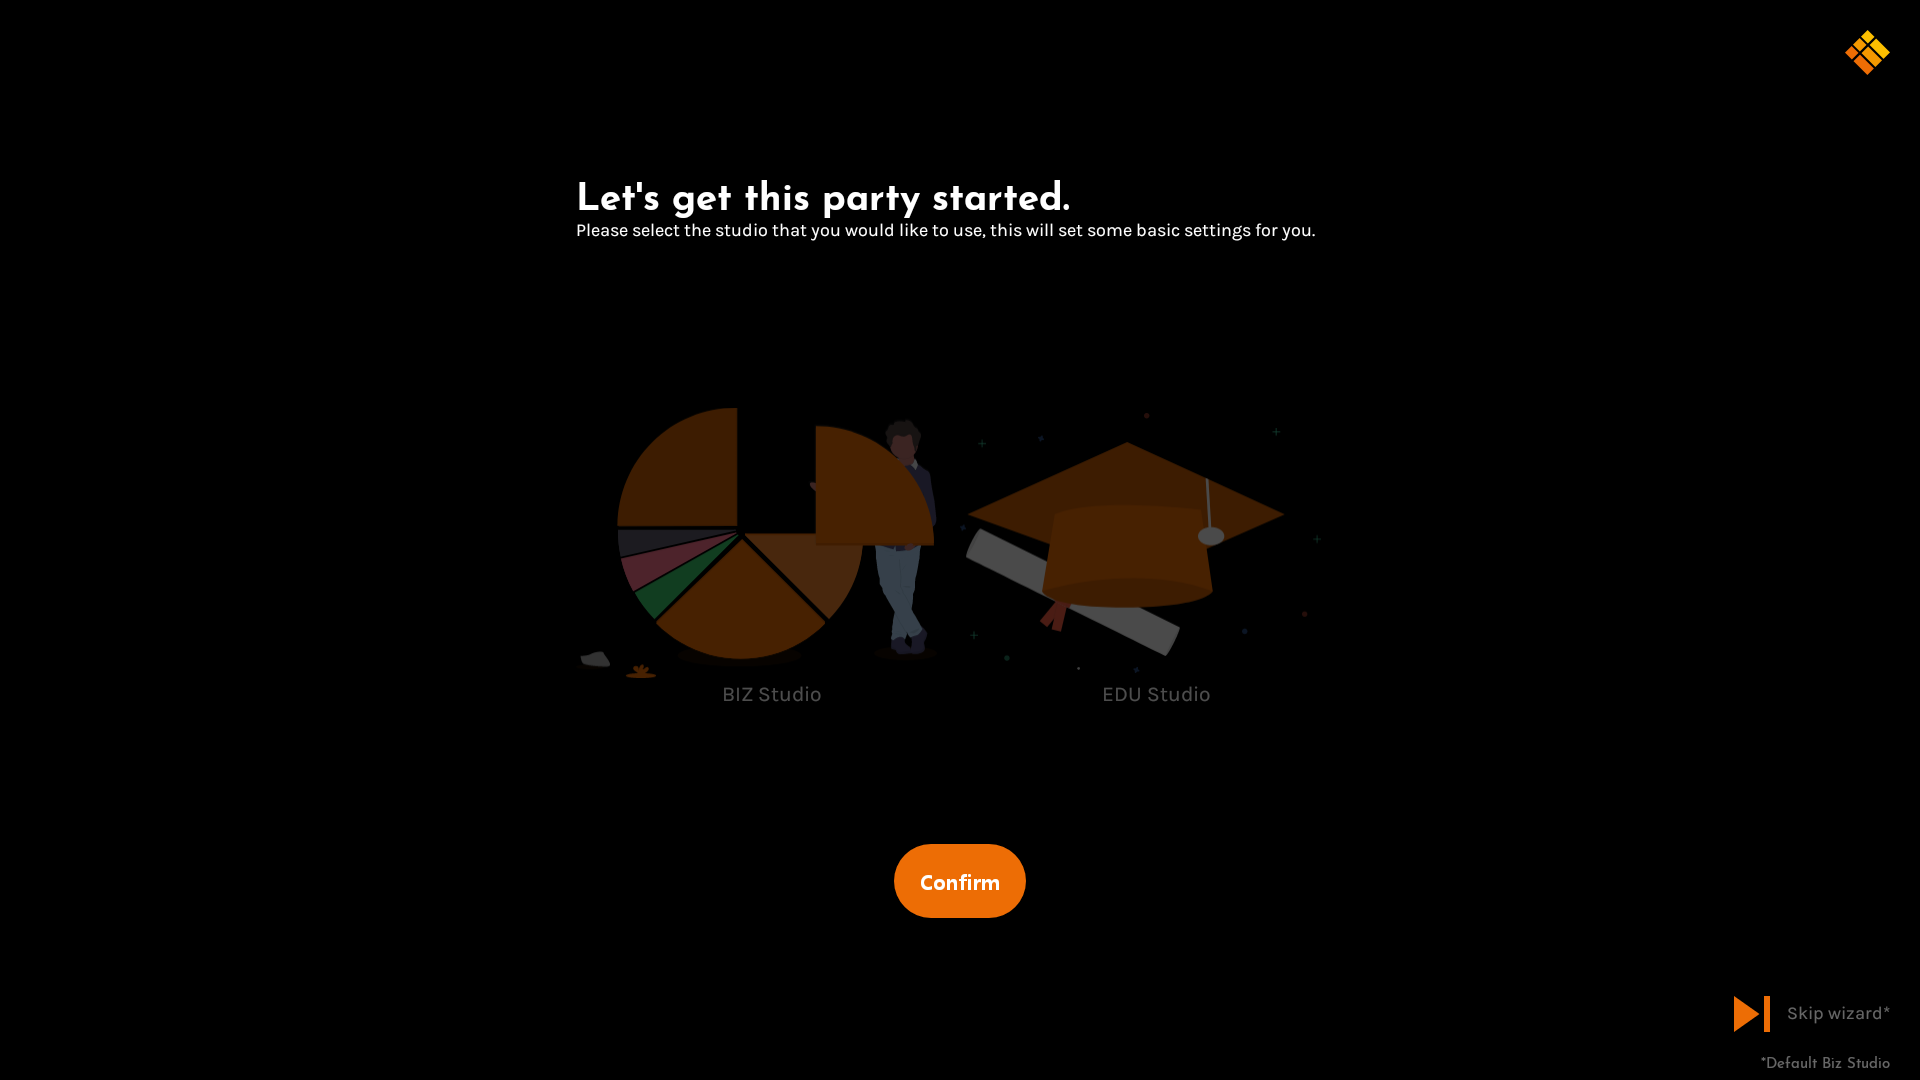
 | The EDU Studio aims for educational use environments, with a more interesting wallpaper and a quick-access button to i3LEARNHUB. |
 | The BIZ Studio is the ideal environment for corporate use, with a clean wallpaper and a customizable button on the home interface. |
Configure Shortcut Button
The home interface can display a customizable button, for you to link a webpage to (for example, your company website).

When chosen for EDU Studio, the configuration of the customizable button will be pre-defined for i3LEARNHUB. But, it can still be customized afterwards.
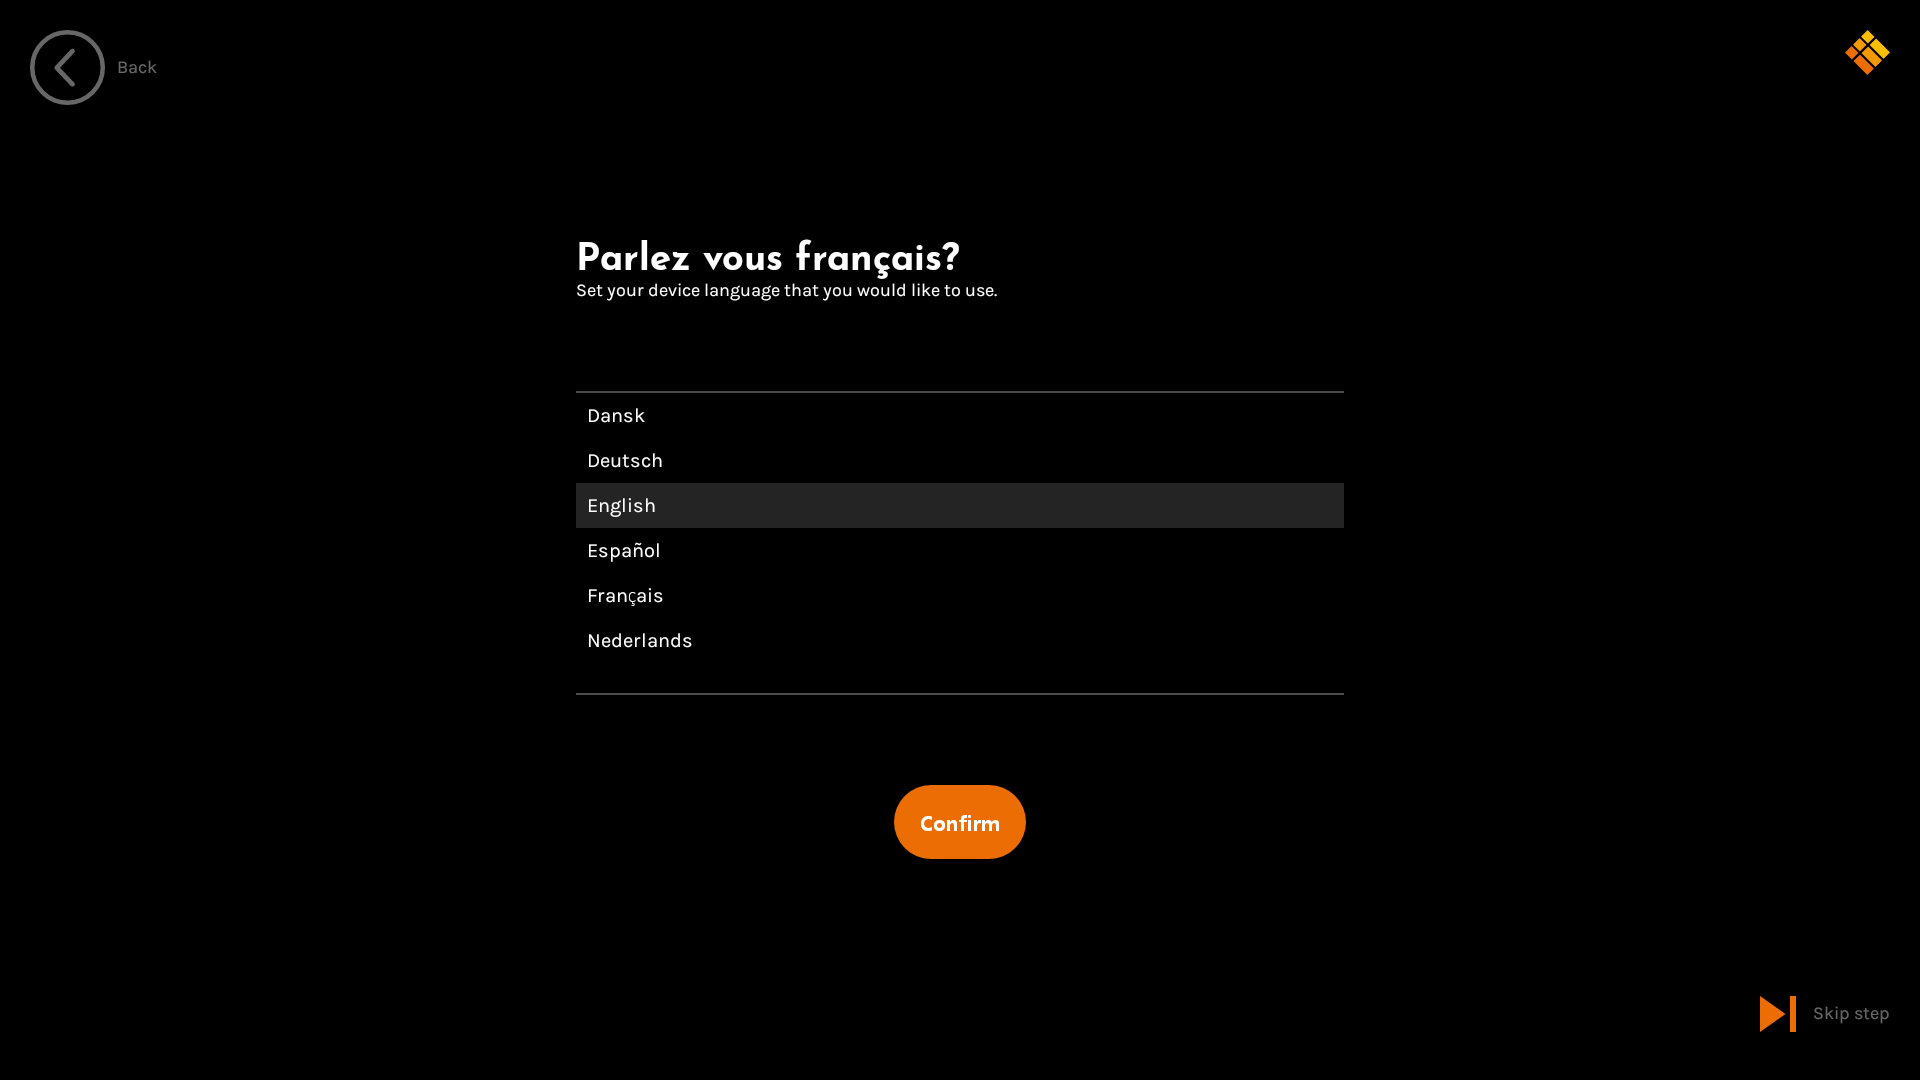
Language Settings
Define the interface language of your i3TOUCH.
Wi-Fi Setup
Connect the i3TOUCH to your Wi-Fi network.
The i3TOUCH ES does not have Wi-Fi integrated.
Wi-Fi connectivity is only available with the i3TOUCH ES Wi-Fi USB Dongle (sold separately).
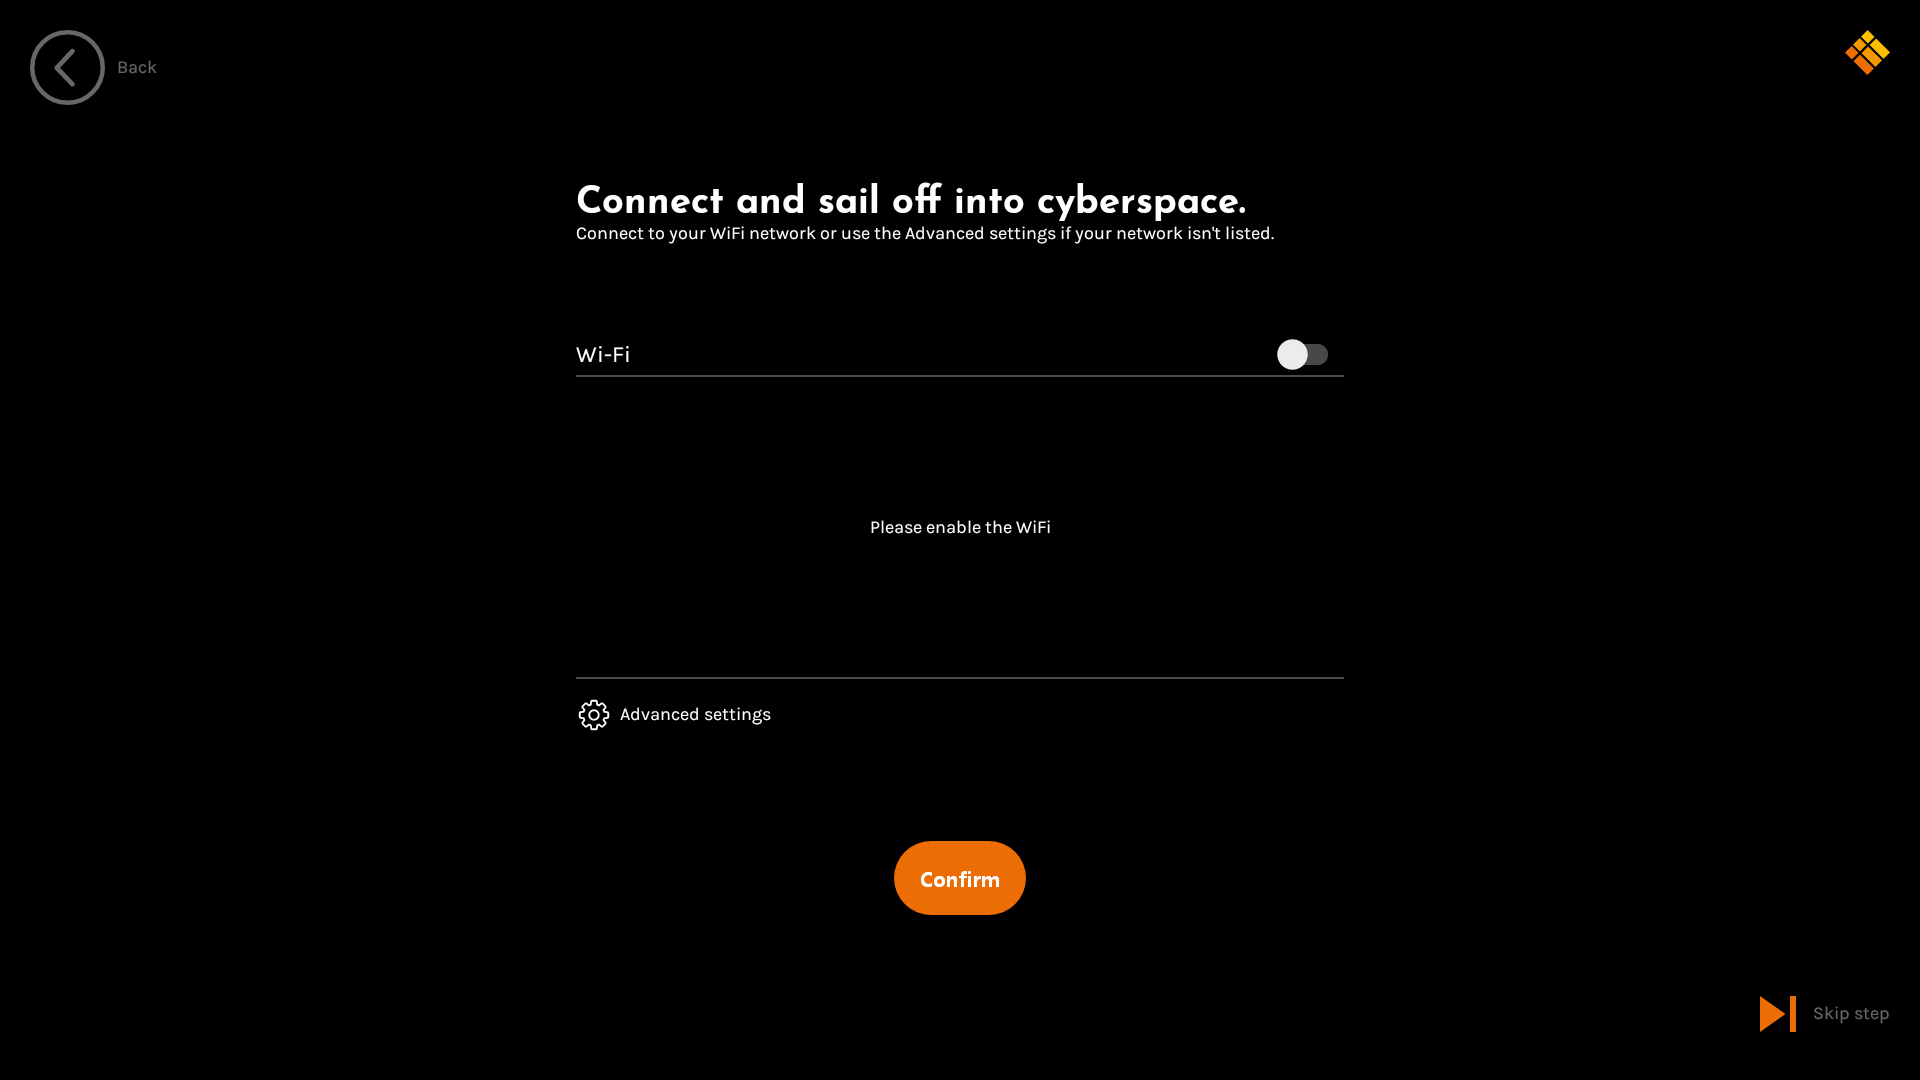
Insert the Wi-Fi Dongle optional accessory, and activate Wi-Fi via the on/off switch, then select your Wi-Fi Access Point from the list. Provide the Wi-Fi password if required.
Only the Wi-Fi configuration is presented in the Start-Up wizard. Ethernet can be configured through the settings application later.
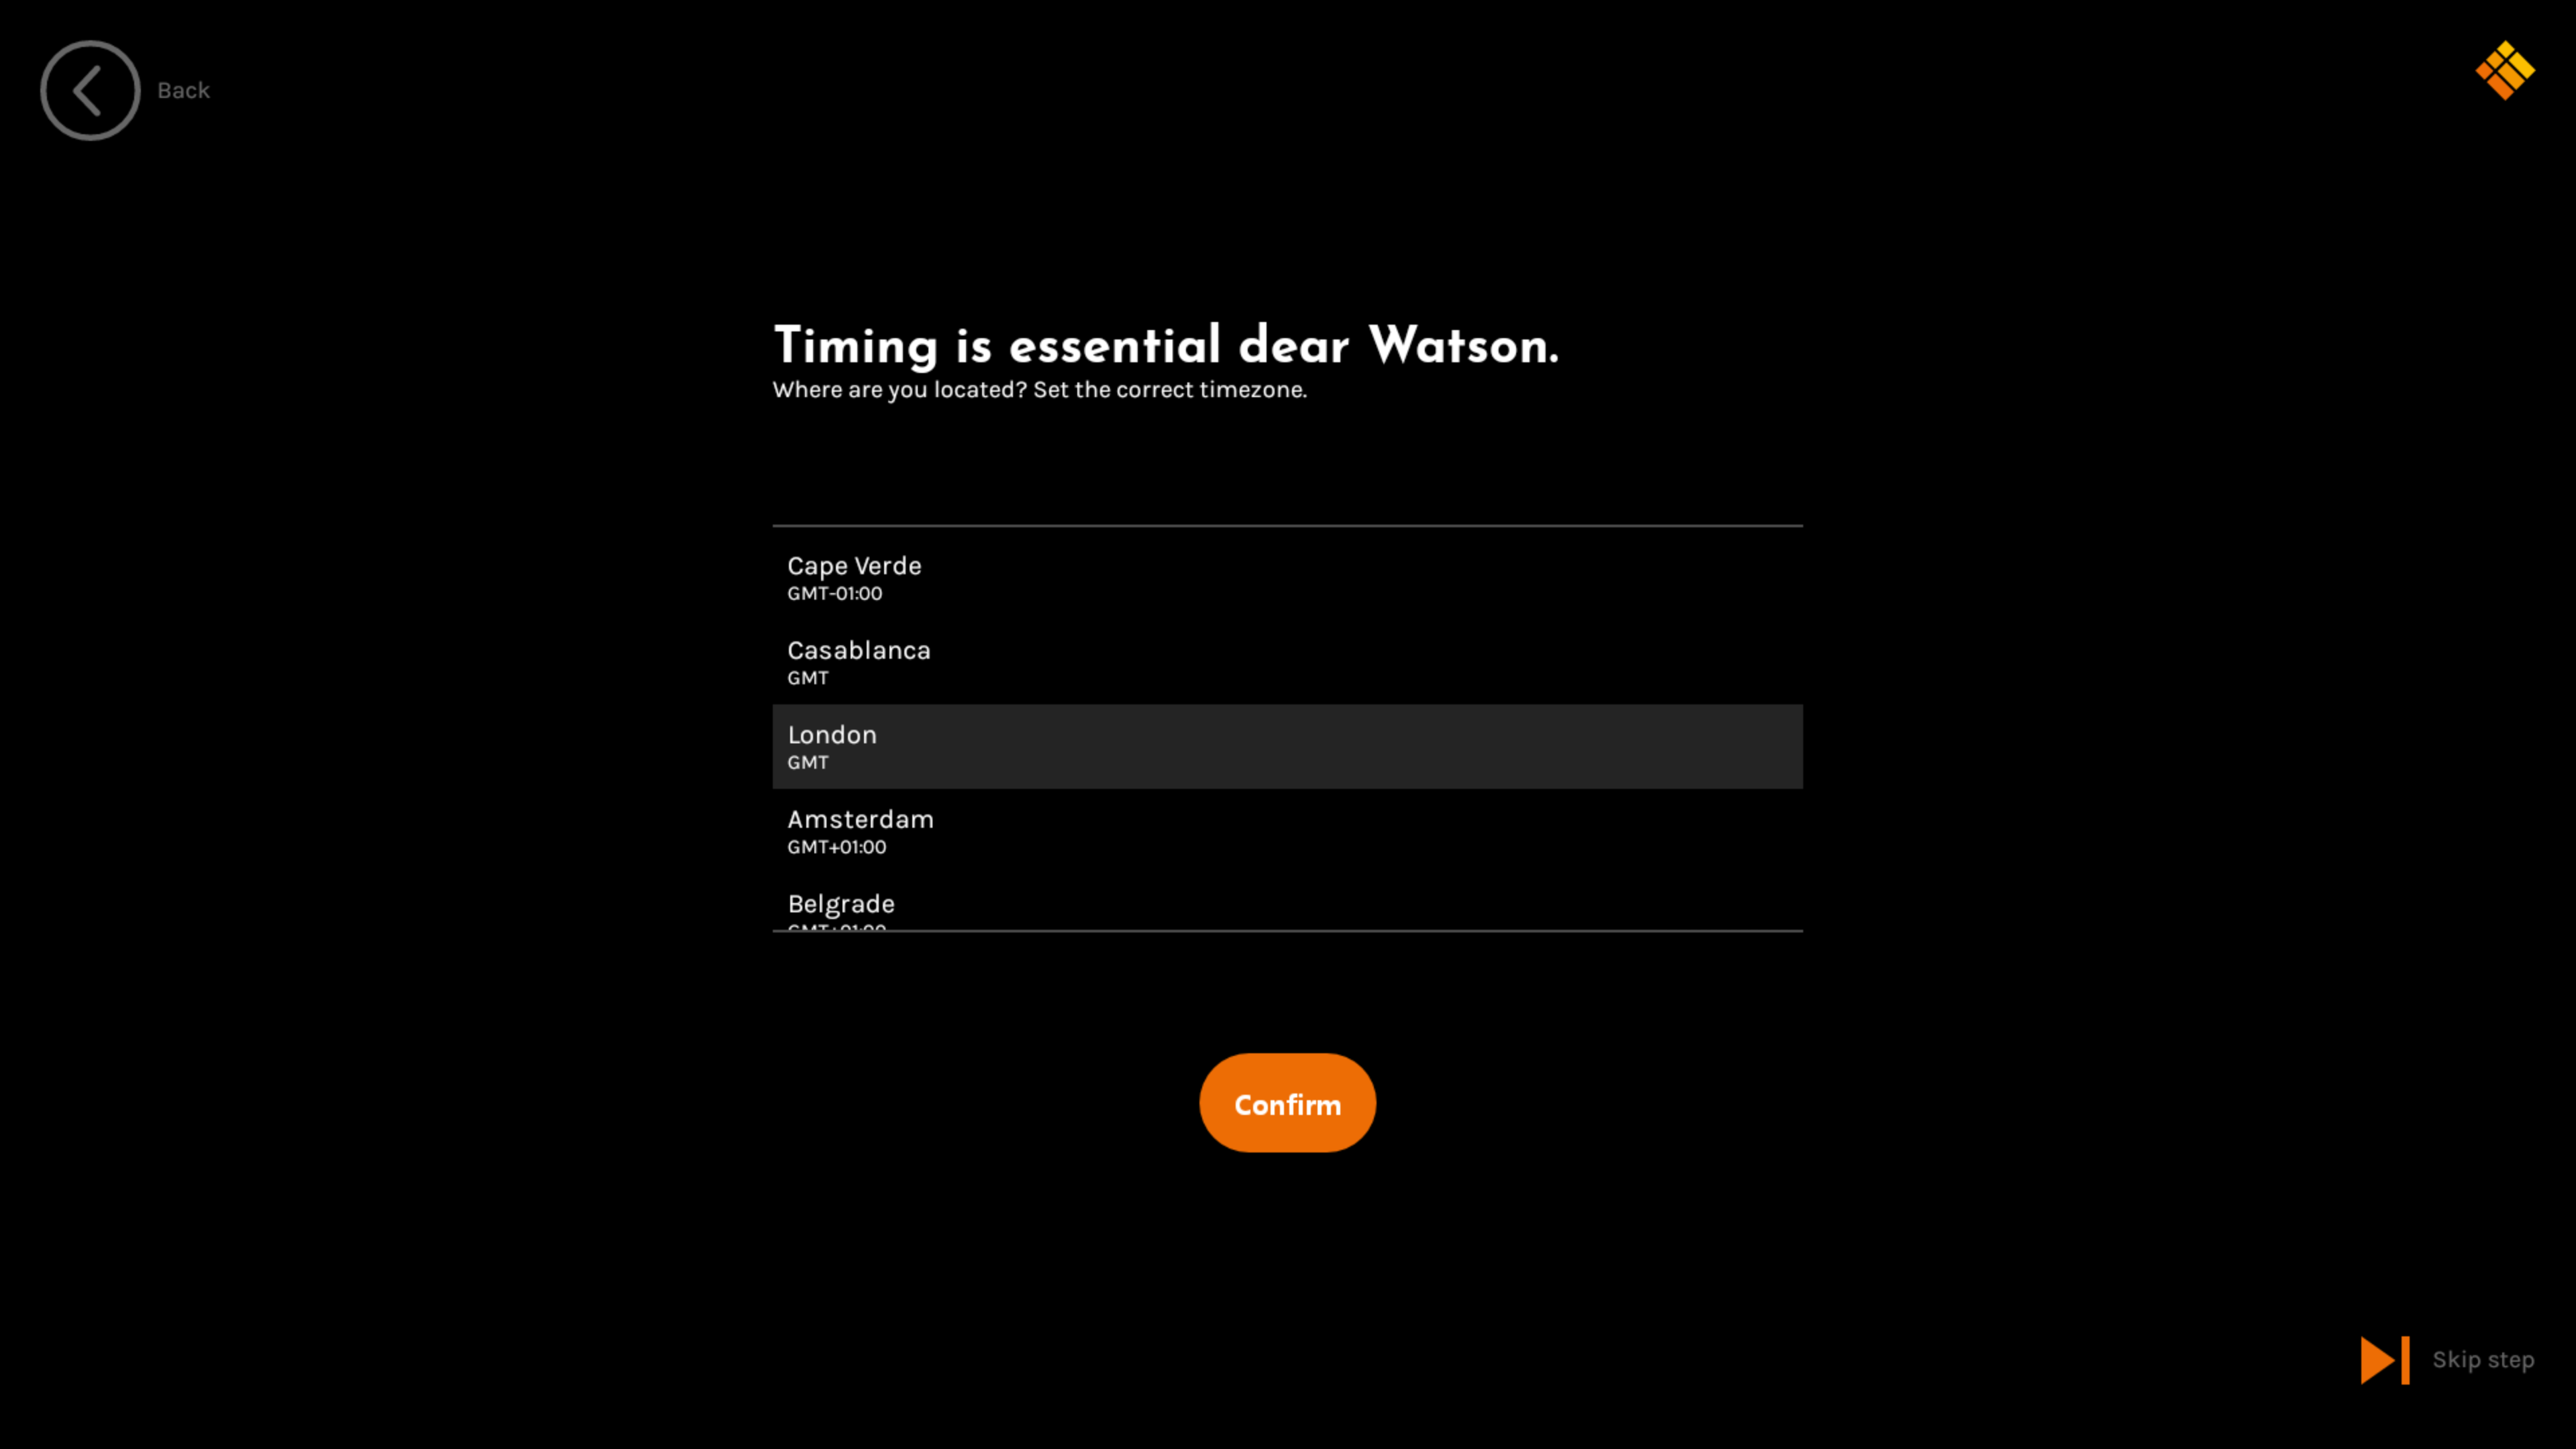
Set the Time Zone
Select your local time zone.
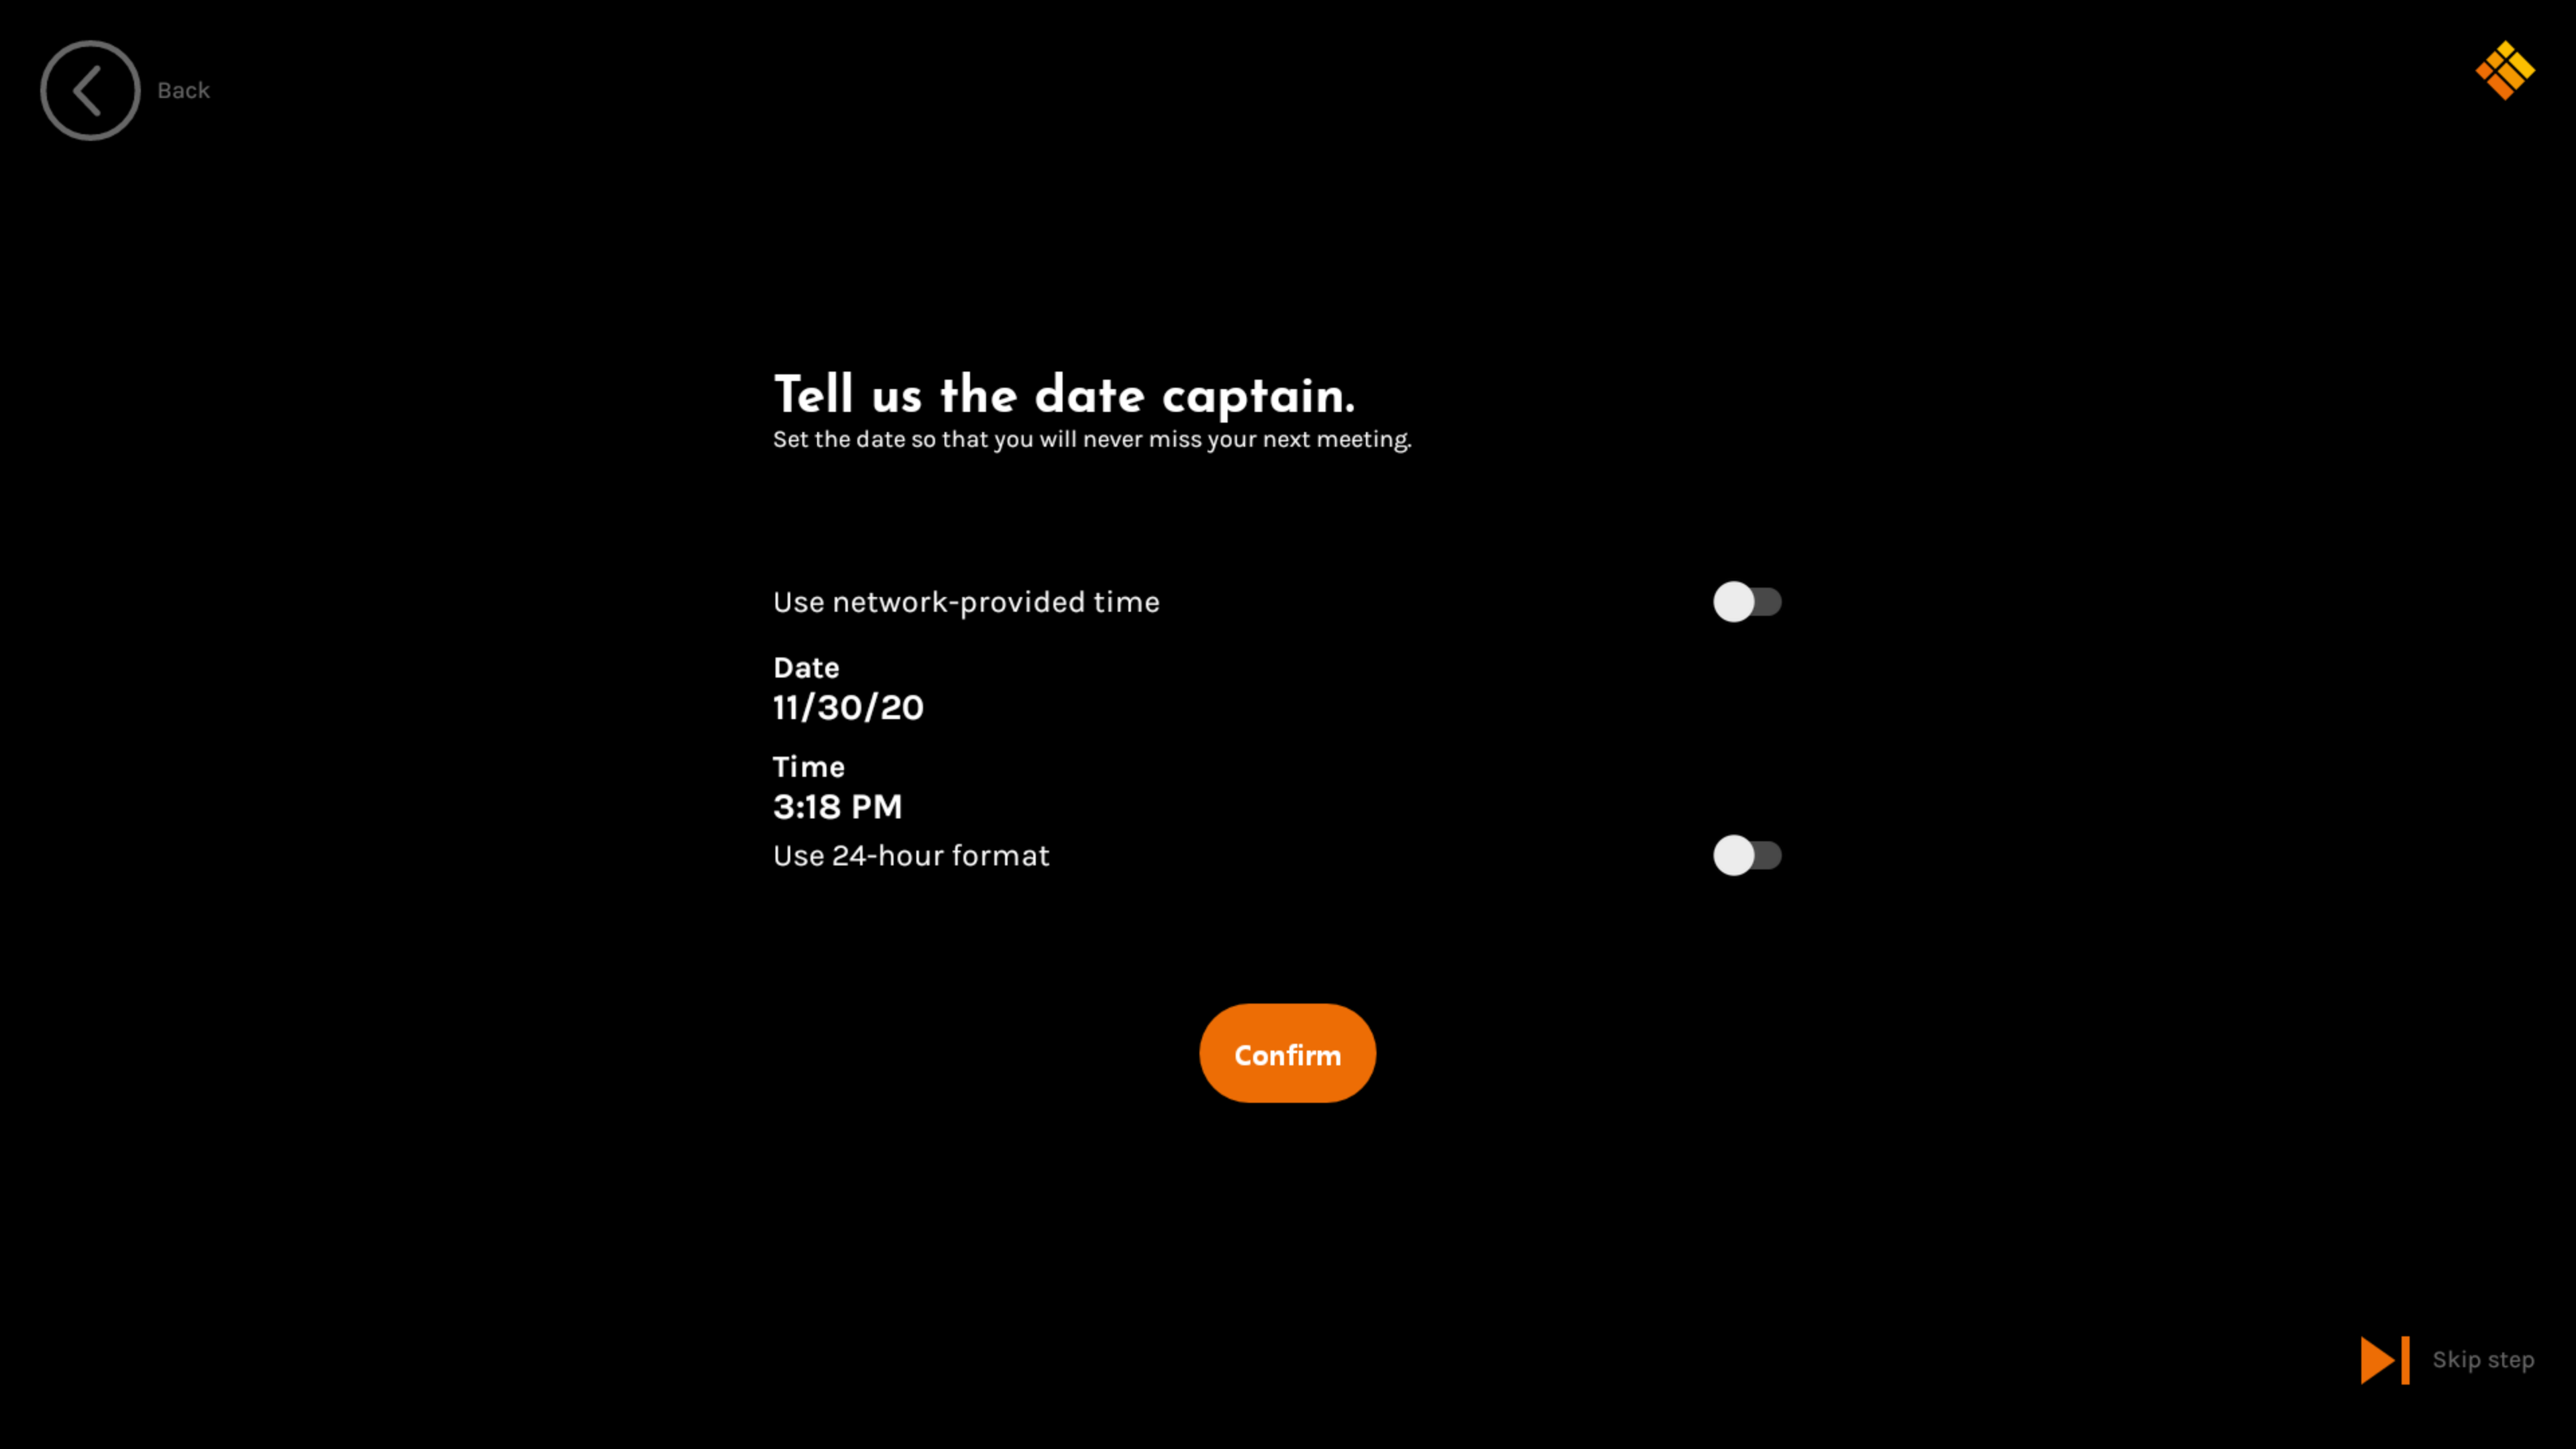
Date & Time Settings
Enable “Use network-provided time” if your device is connected to the internet, to automatically set, and keep, the time settings correct.
Or, manually define the date and time.
Select to use 24-hour or 12-hour format for the clock on the main interface.
Finish the Setup Wizard
When the setup is completed, press the orange button to exit to the home interface.