Settings
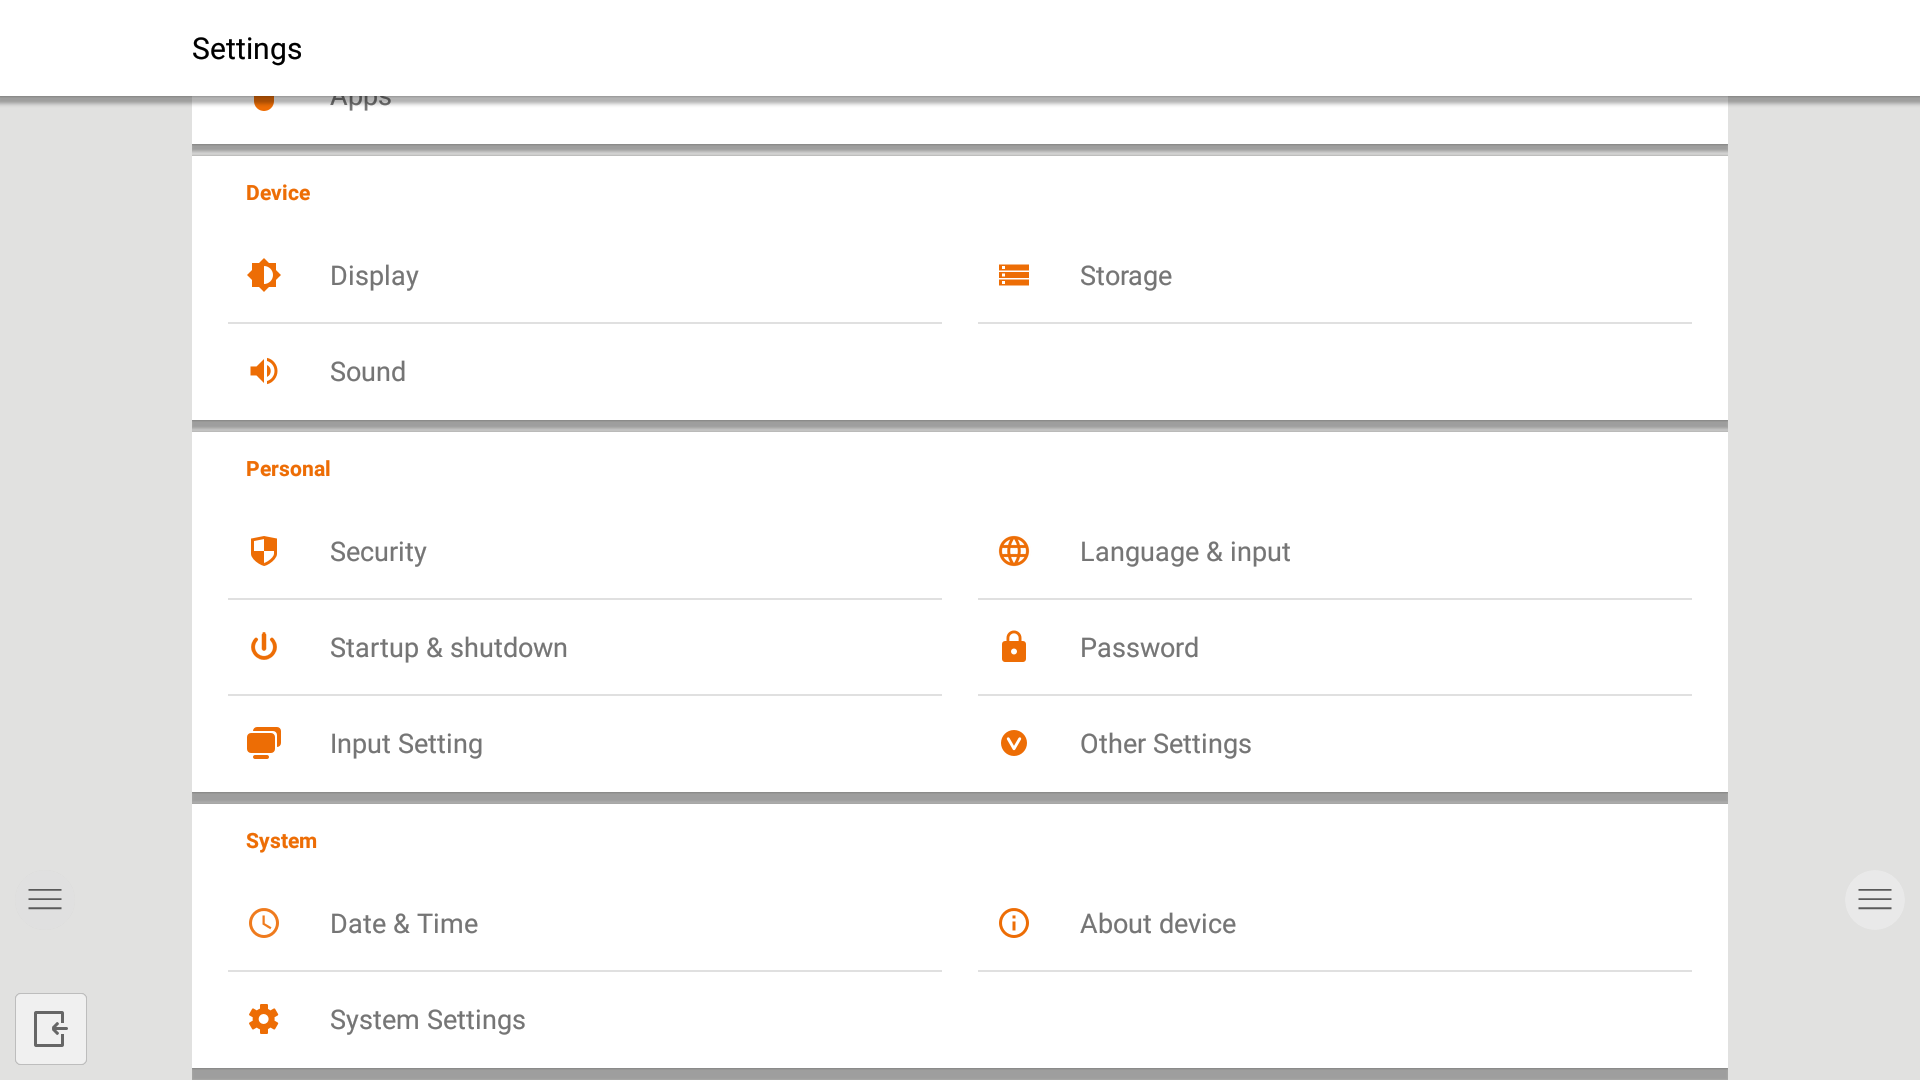
Settings
When opening the settings menu, you get an overview of all the settings you can adjust.

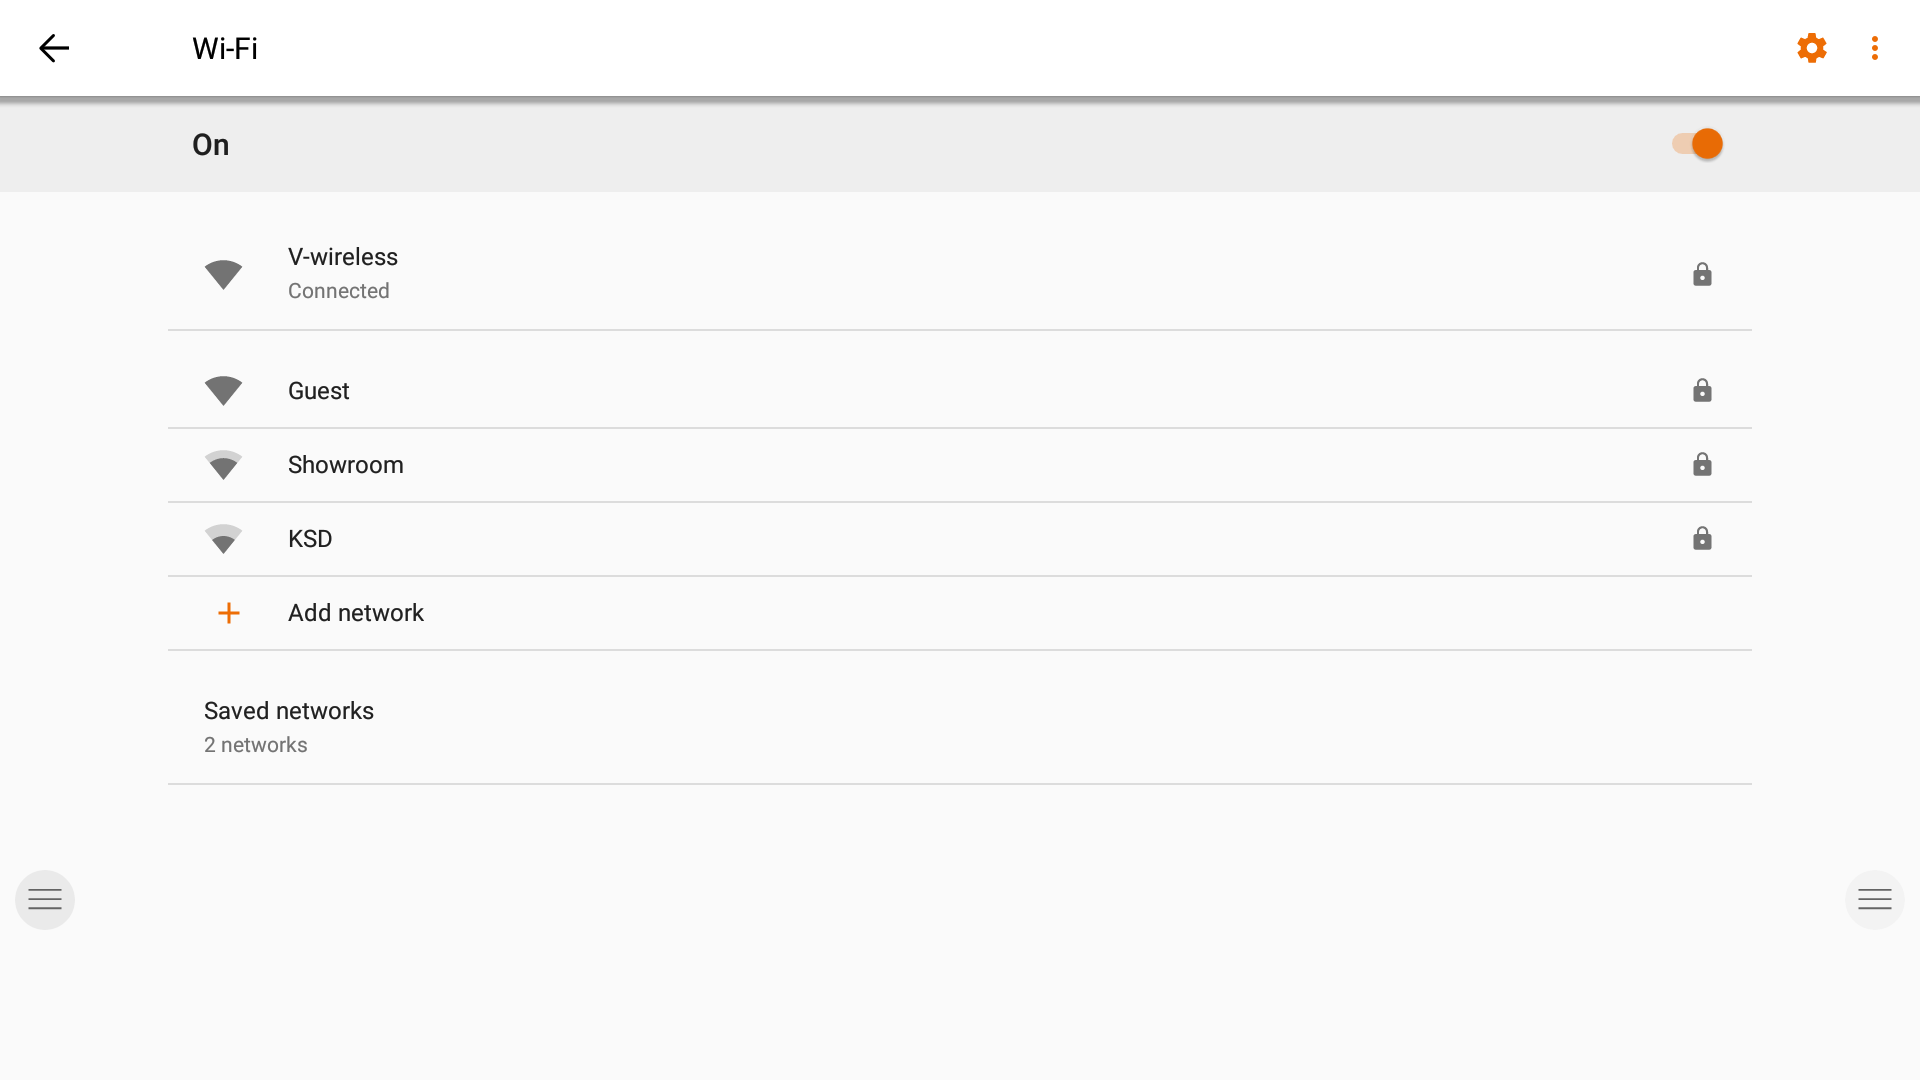
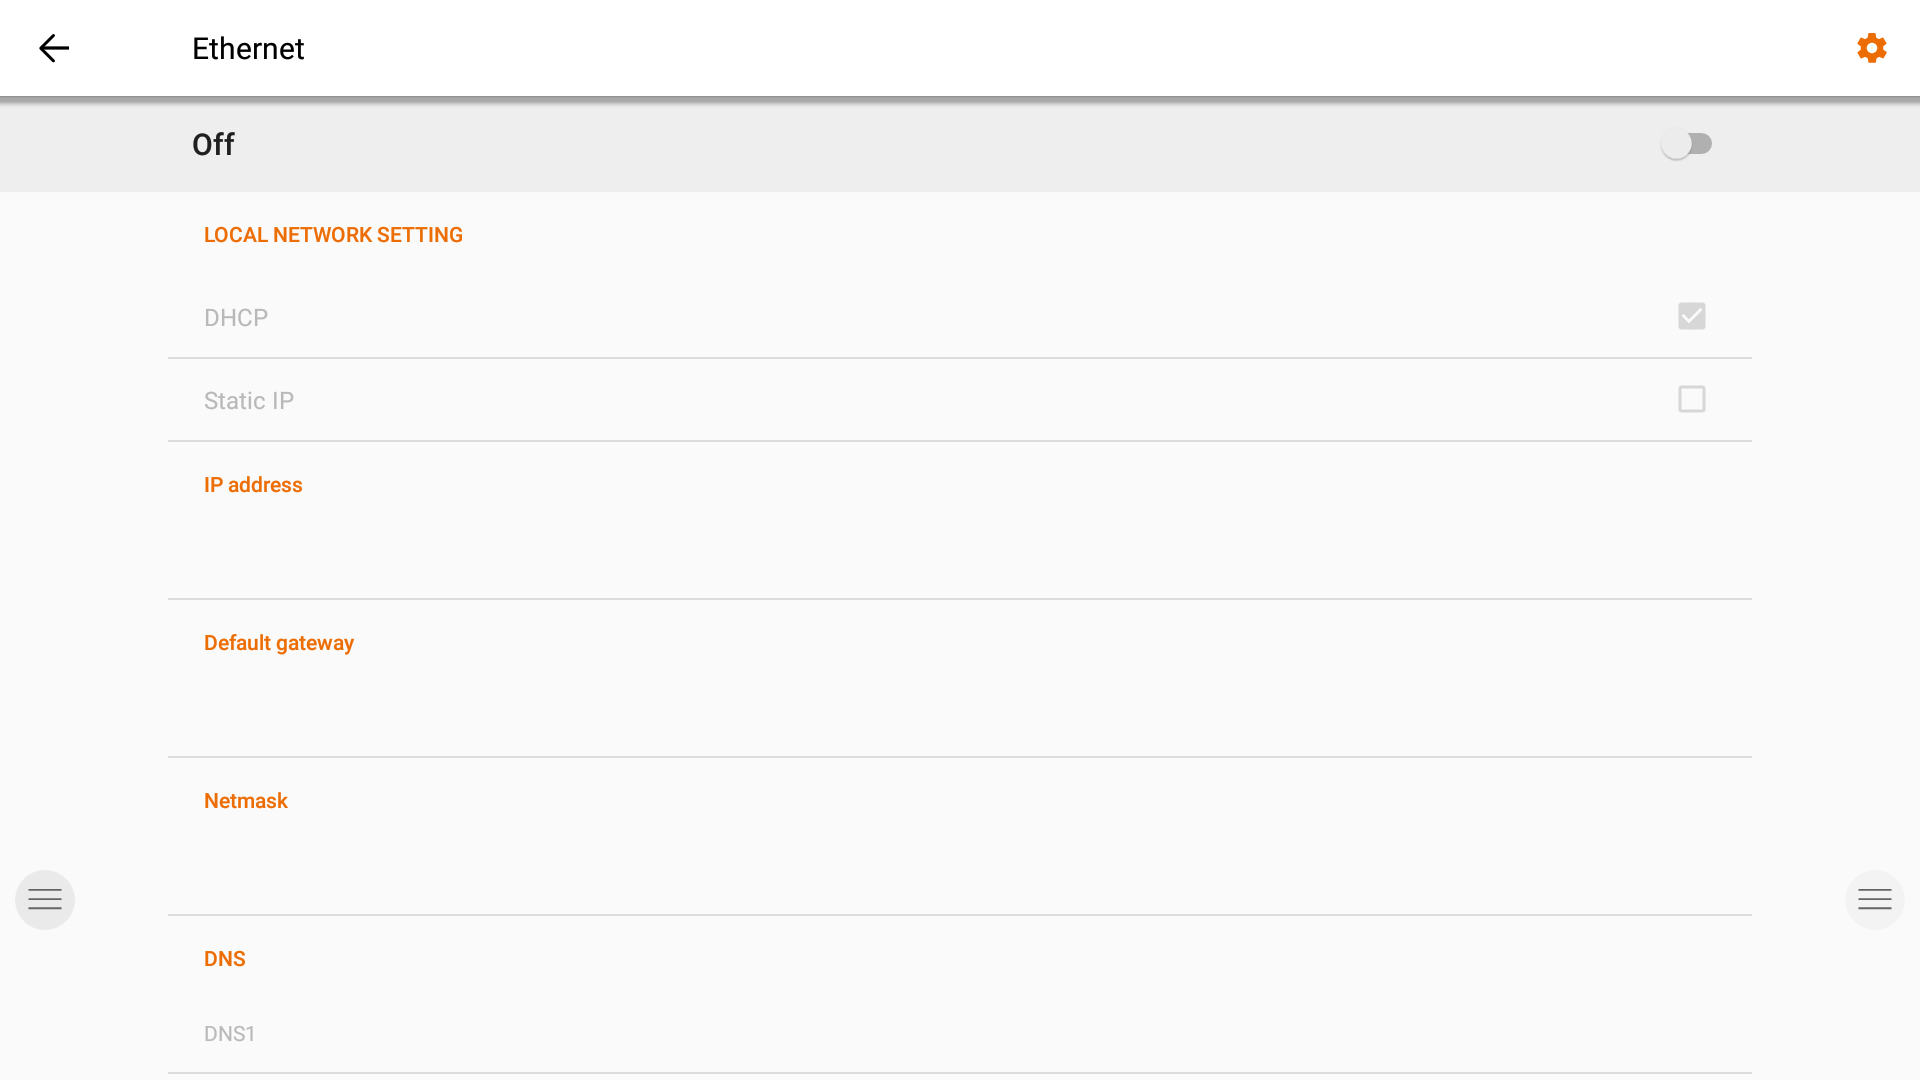
Connectivity settings.
Make a connection to your network and internet via Wi-Fi or Ethernet cable.
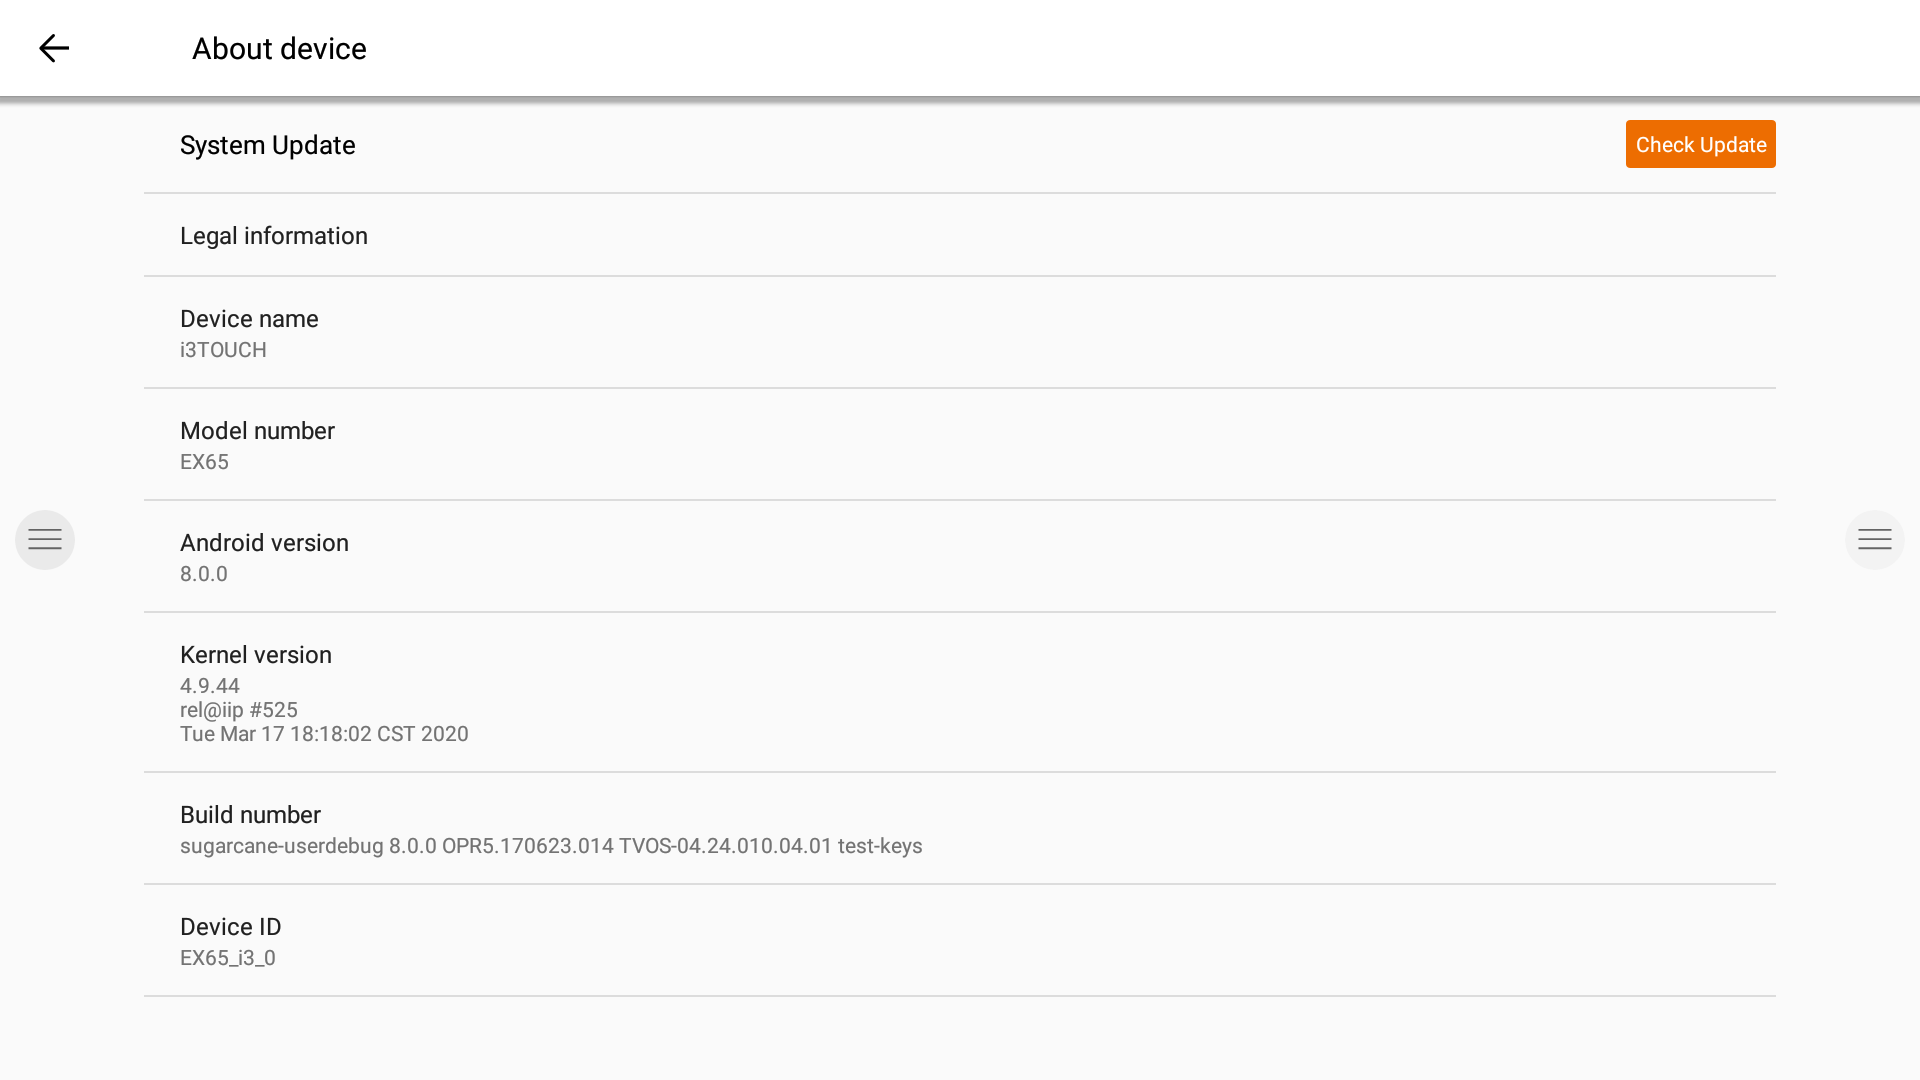
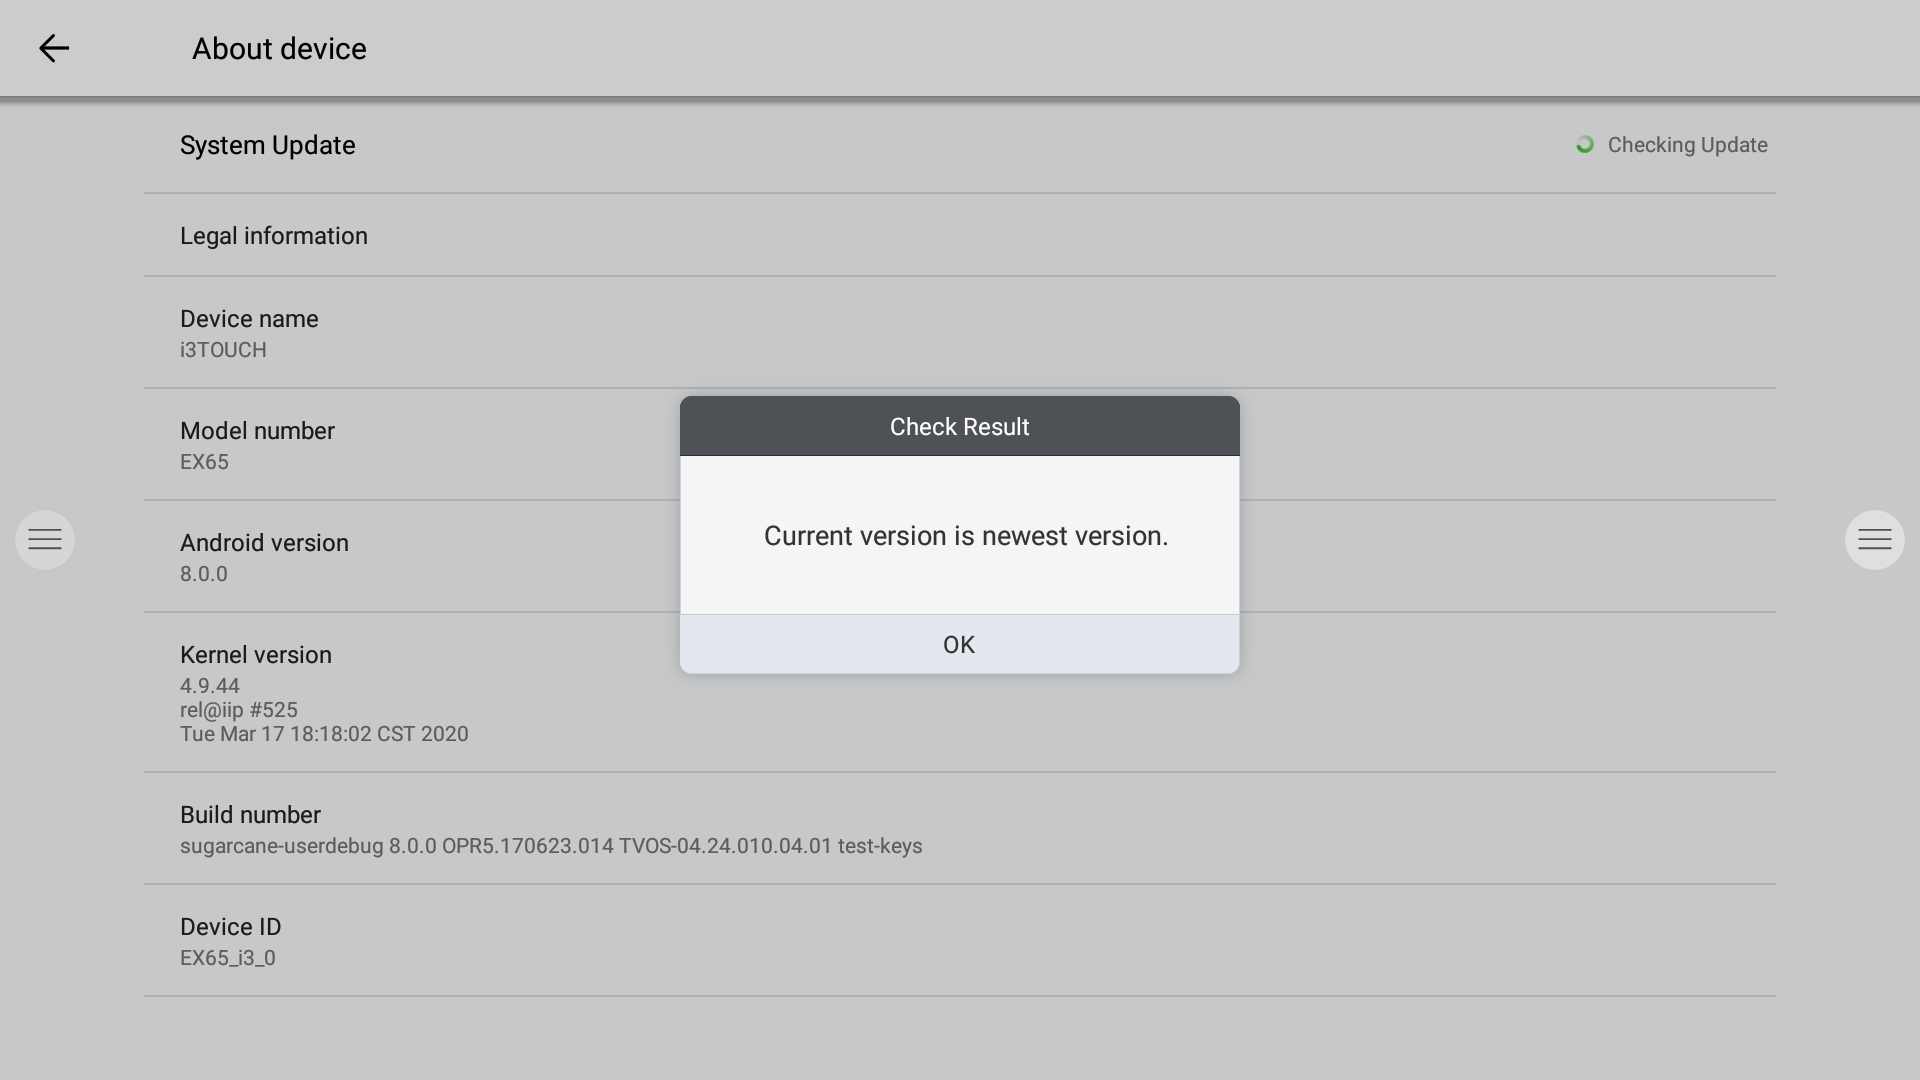
System firmware update.
After connecting to the internet, verify that your display is running the latest firmware.
In the settings application, press "About Device". Press the "Check Update" button to validate your firmware version online. If a newer version is available, this button will provide instruction to update your device.
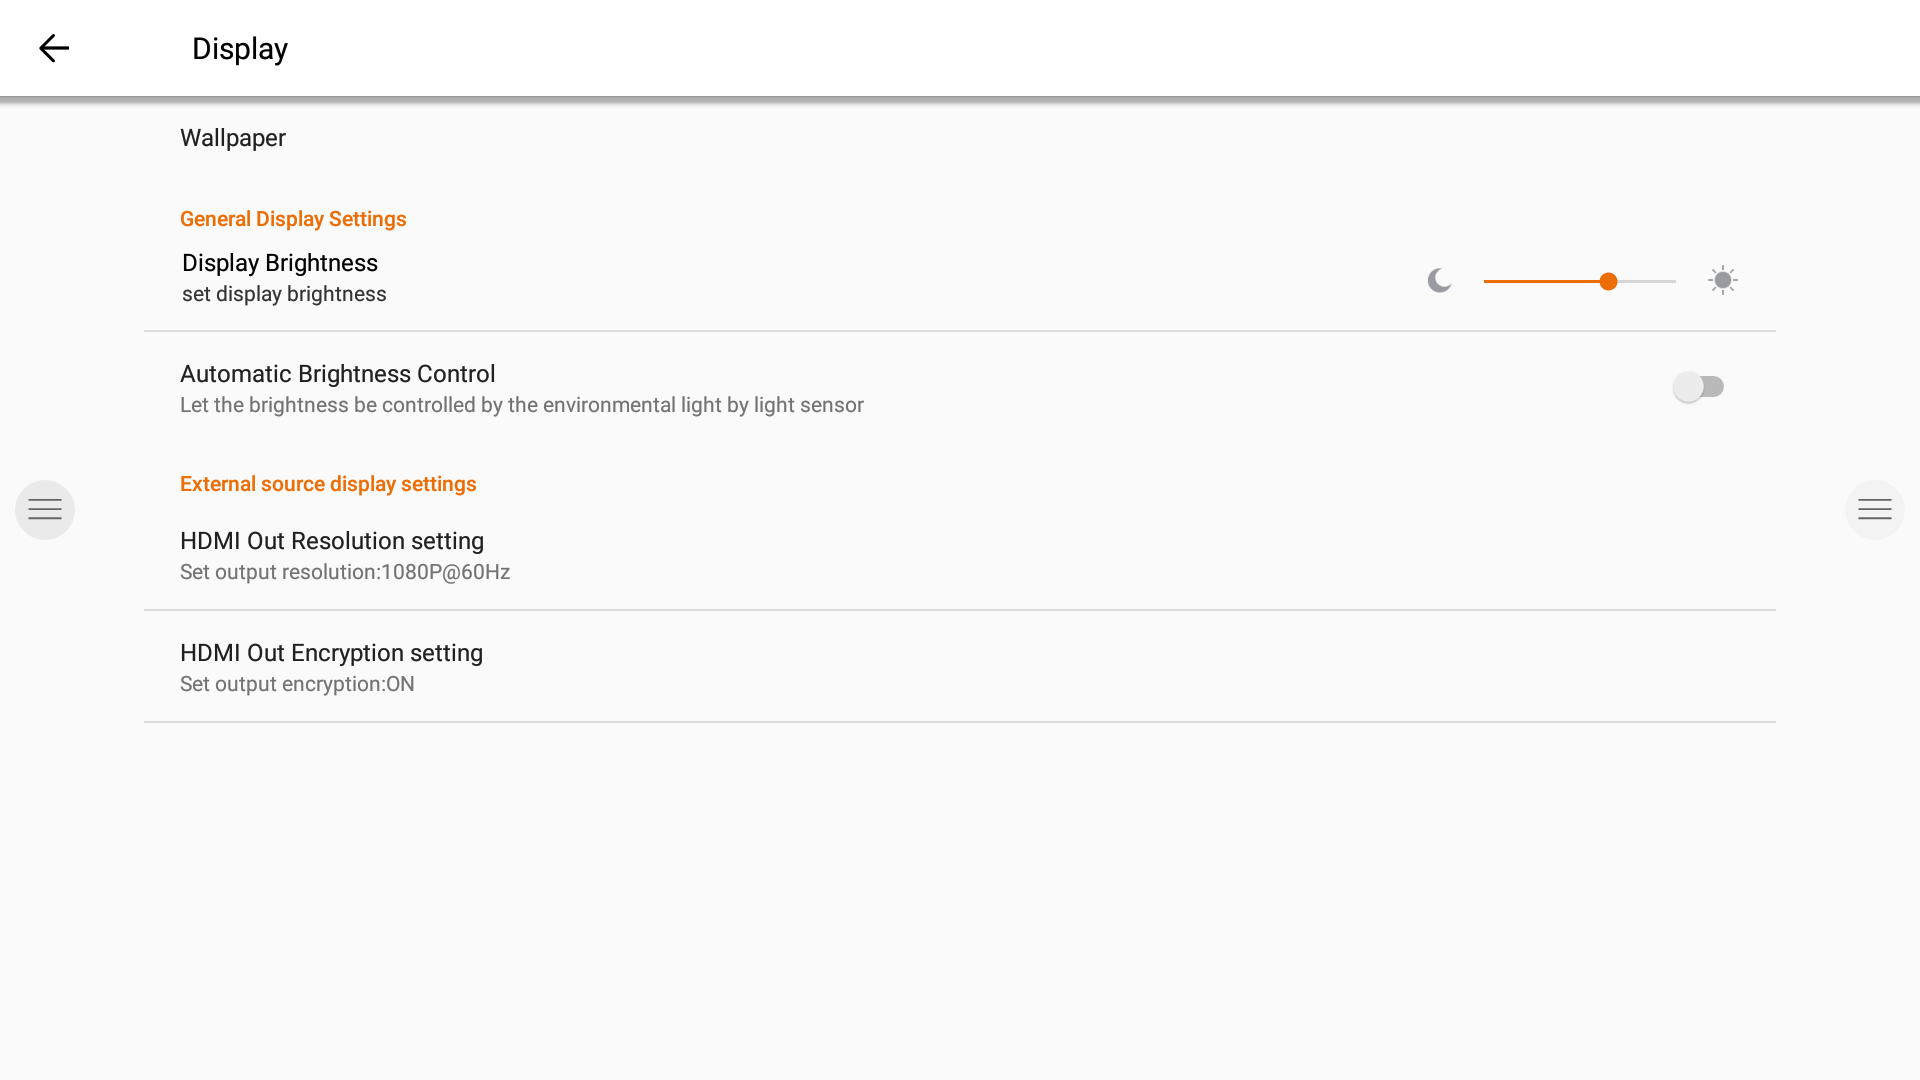
Display settings.
Control the brightness of the i3TOUCH display in the Display settings menu.
The i3TOUCH EX also features an environment light sensor to automatically adjust the brightness.
Turn "Automatic Brightness Control" on to activate this feature.
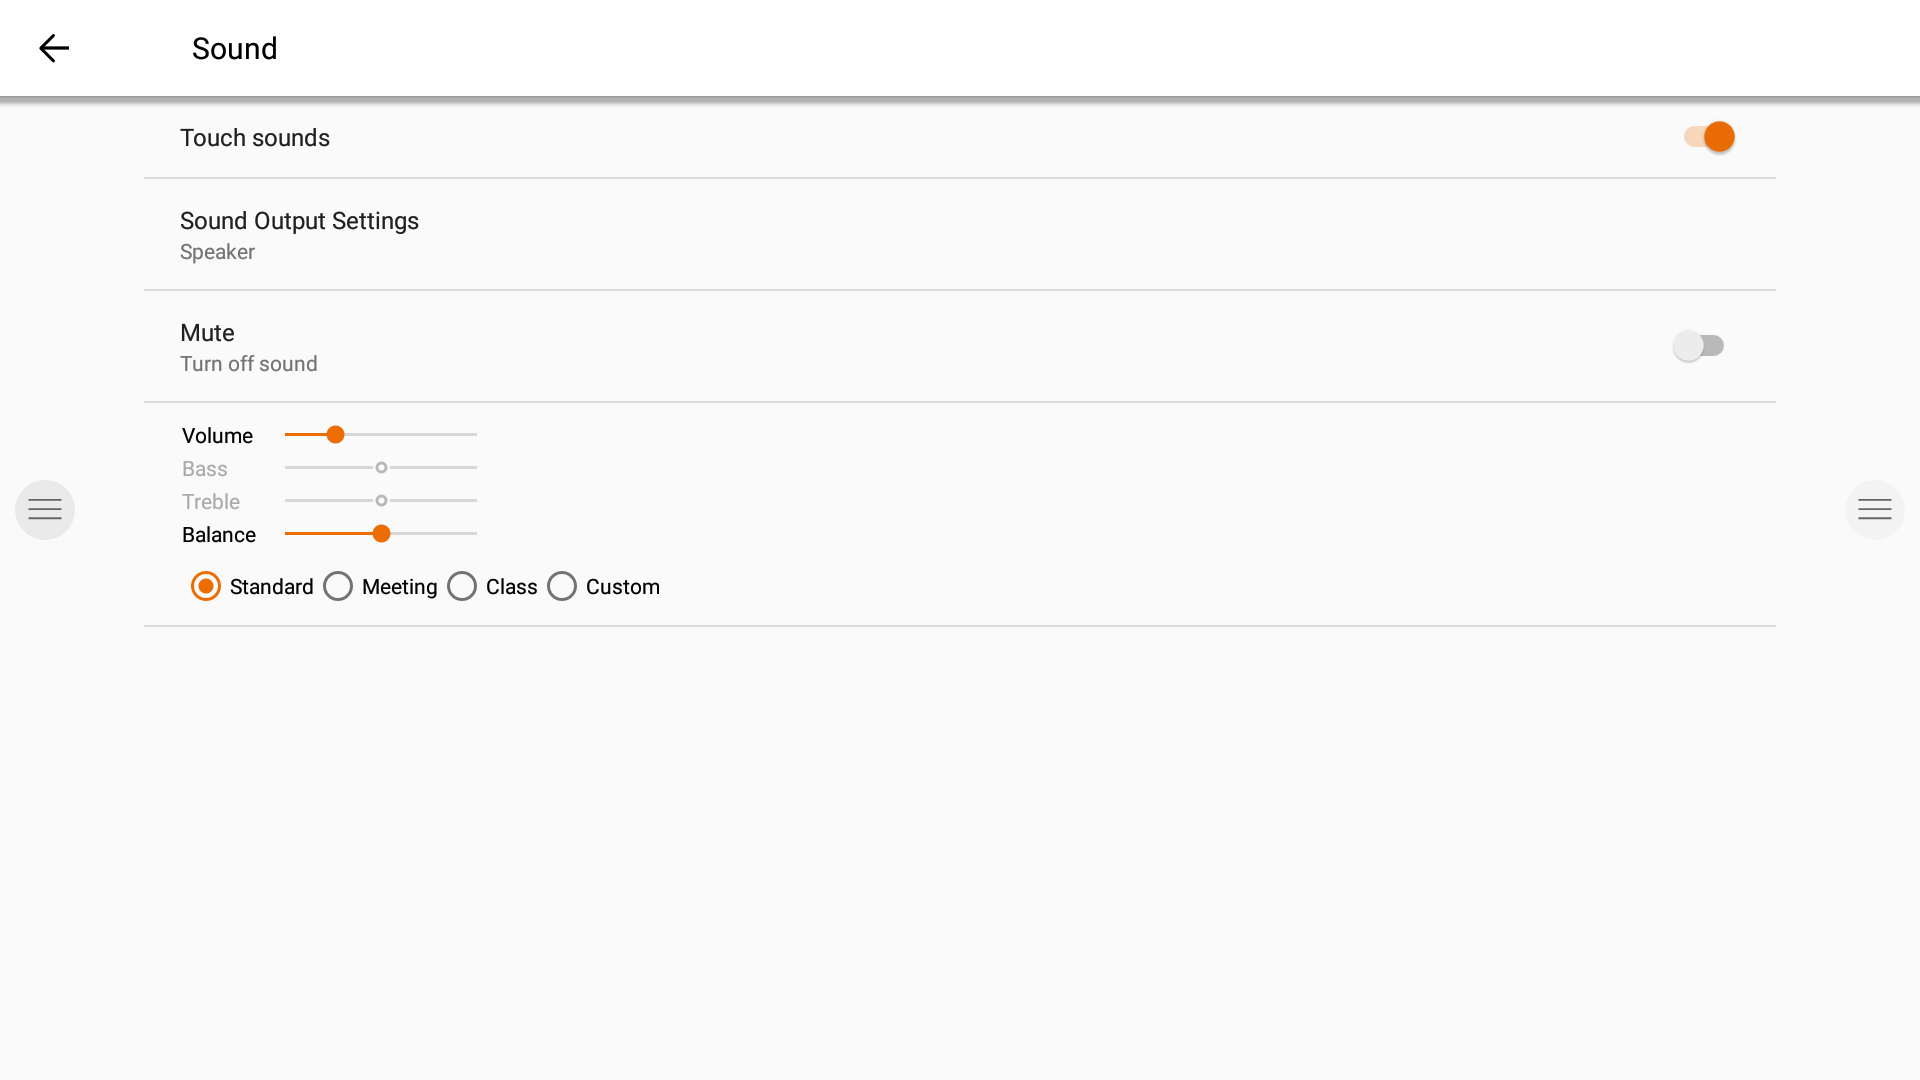
Audio settings.
Adjust the "Sound Output Settings" and pre-defined audio environment settings.
Startup and shutdown.
Adjust the display’s behavior during startup and shutdown.
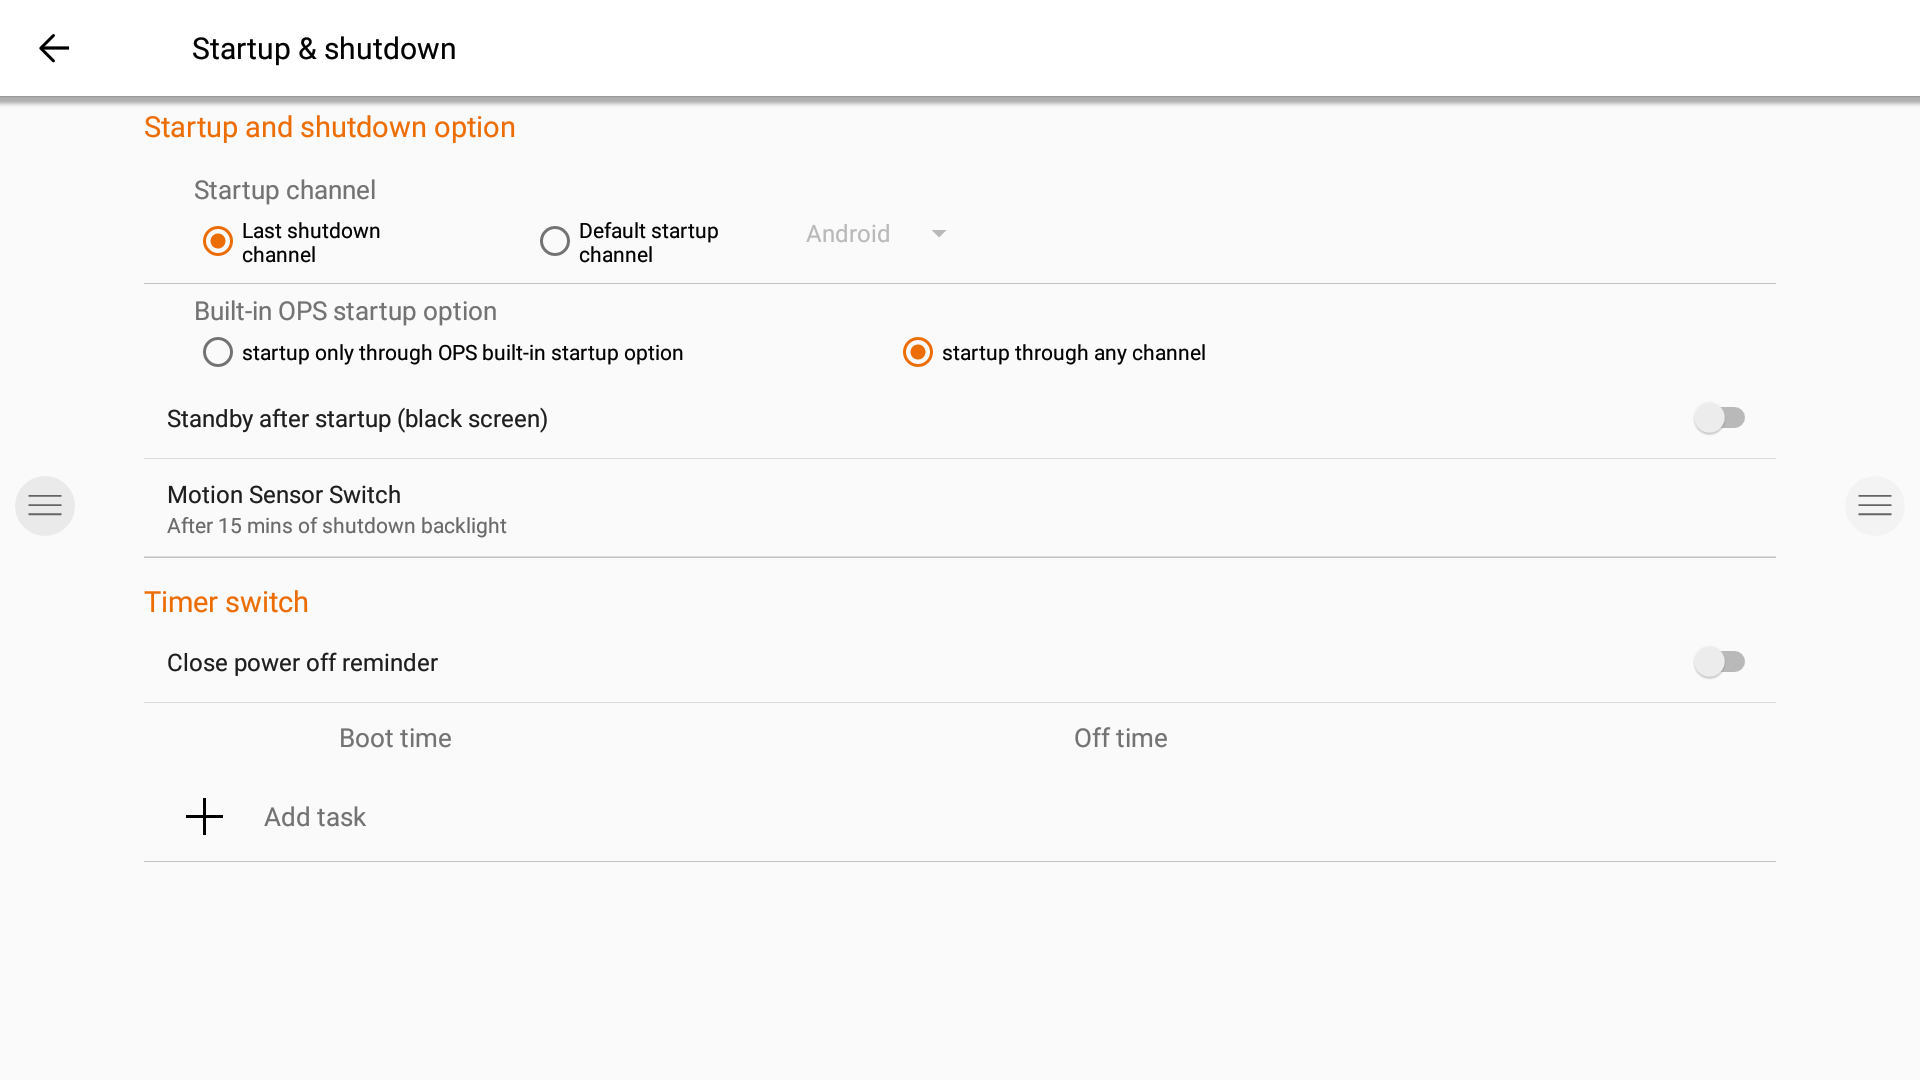
Define the active video channel after startup:
A. Last active video channel before shutdown.
B. Always startup on specific video channel (default: Android).
Define when the OPS Built-in computer should startup (if installed):
A. Only after switching to the video channel input.
B. Startup on any channel (startup together with display).
Enable / Disable the Motion Sensor.
If the motion sensor does not detect presence/movement in the room for 15 minutes, the display will automatically shut down.

Set an automatic time-based schedule for the device to start up and shut down. Up to 3 scheduling tasks can be defined. Example:
Automatically start up every weekday at 8:30 AM.
Automatically shut down every Monday, Tuesday, and Thursday at 5 PM.
Automatically shut down every Wednesday at 12:30 PM.
Automatically shut down every Friday at 4 PM.
Note: The display will provide a warning reminder before shutting down, to allow a user to manually cancel the task.
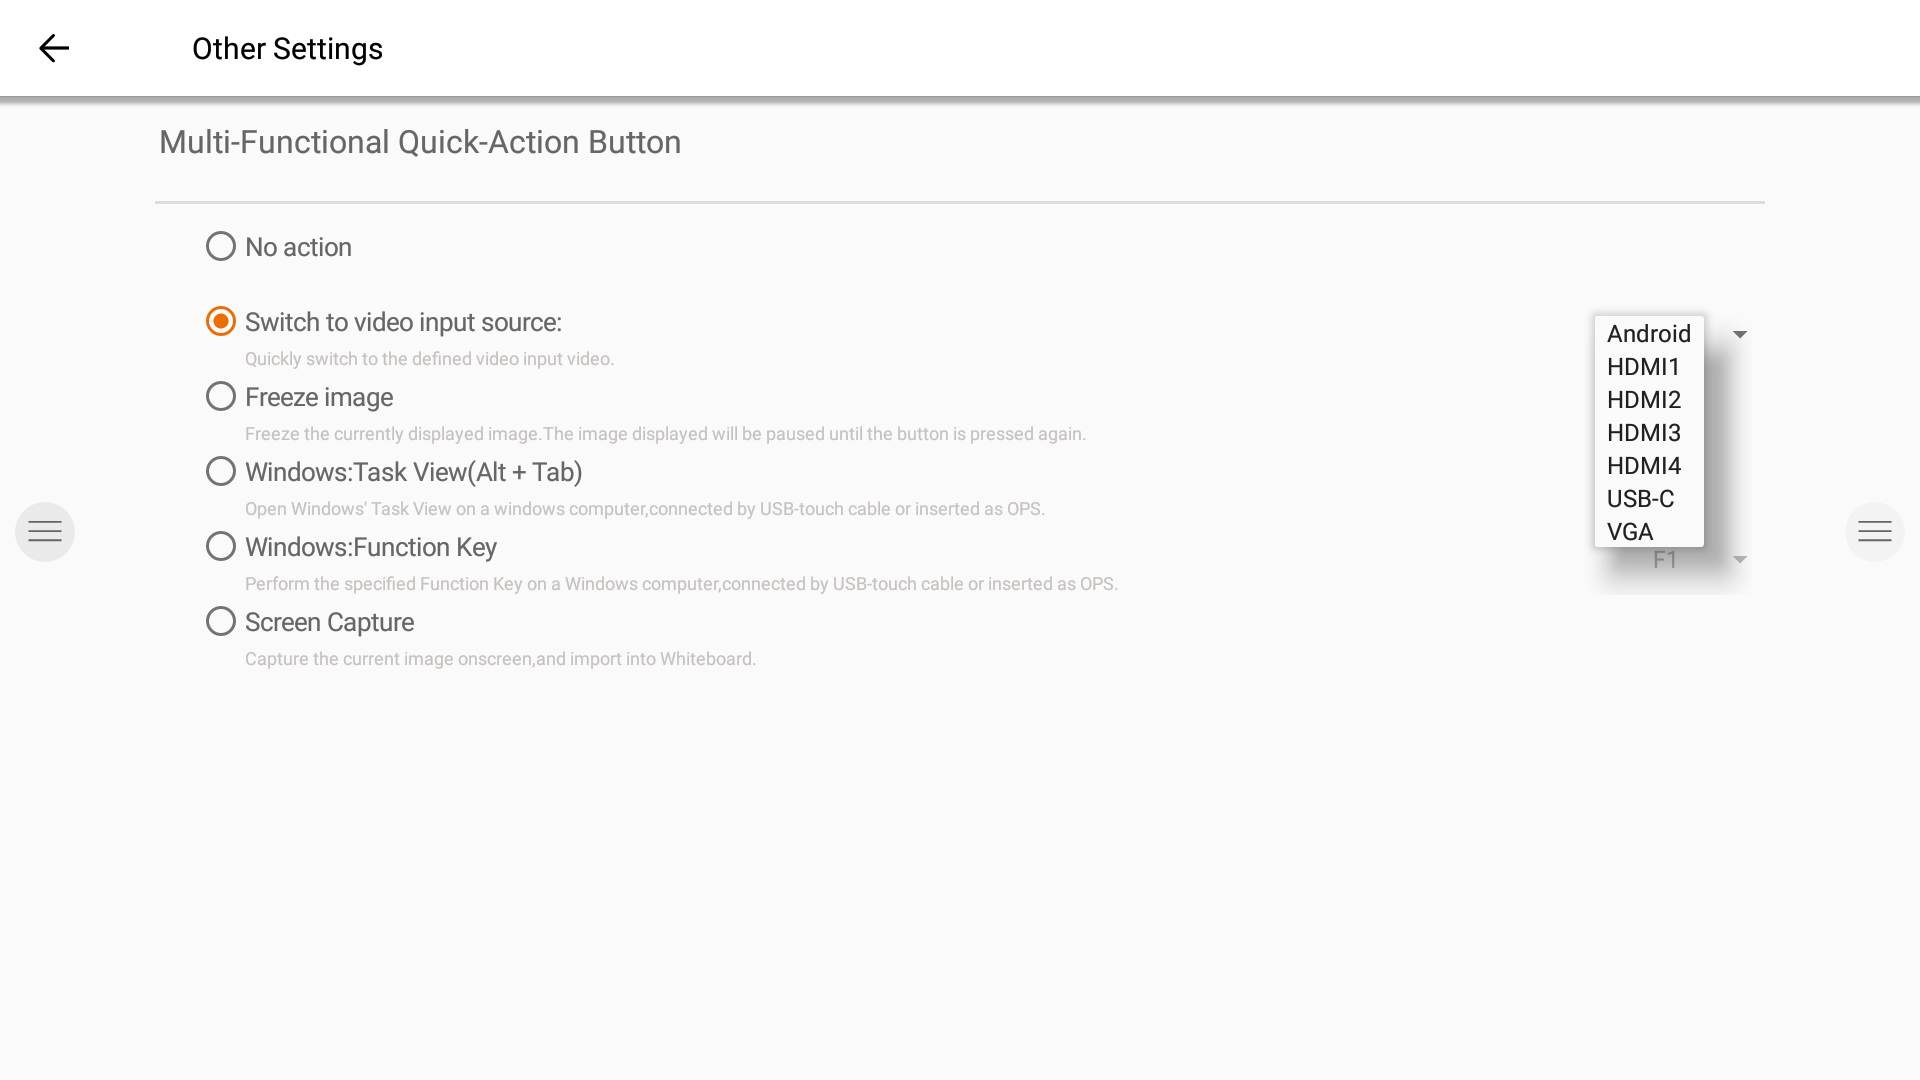
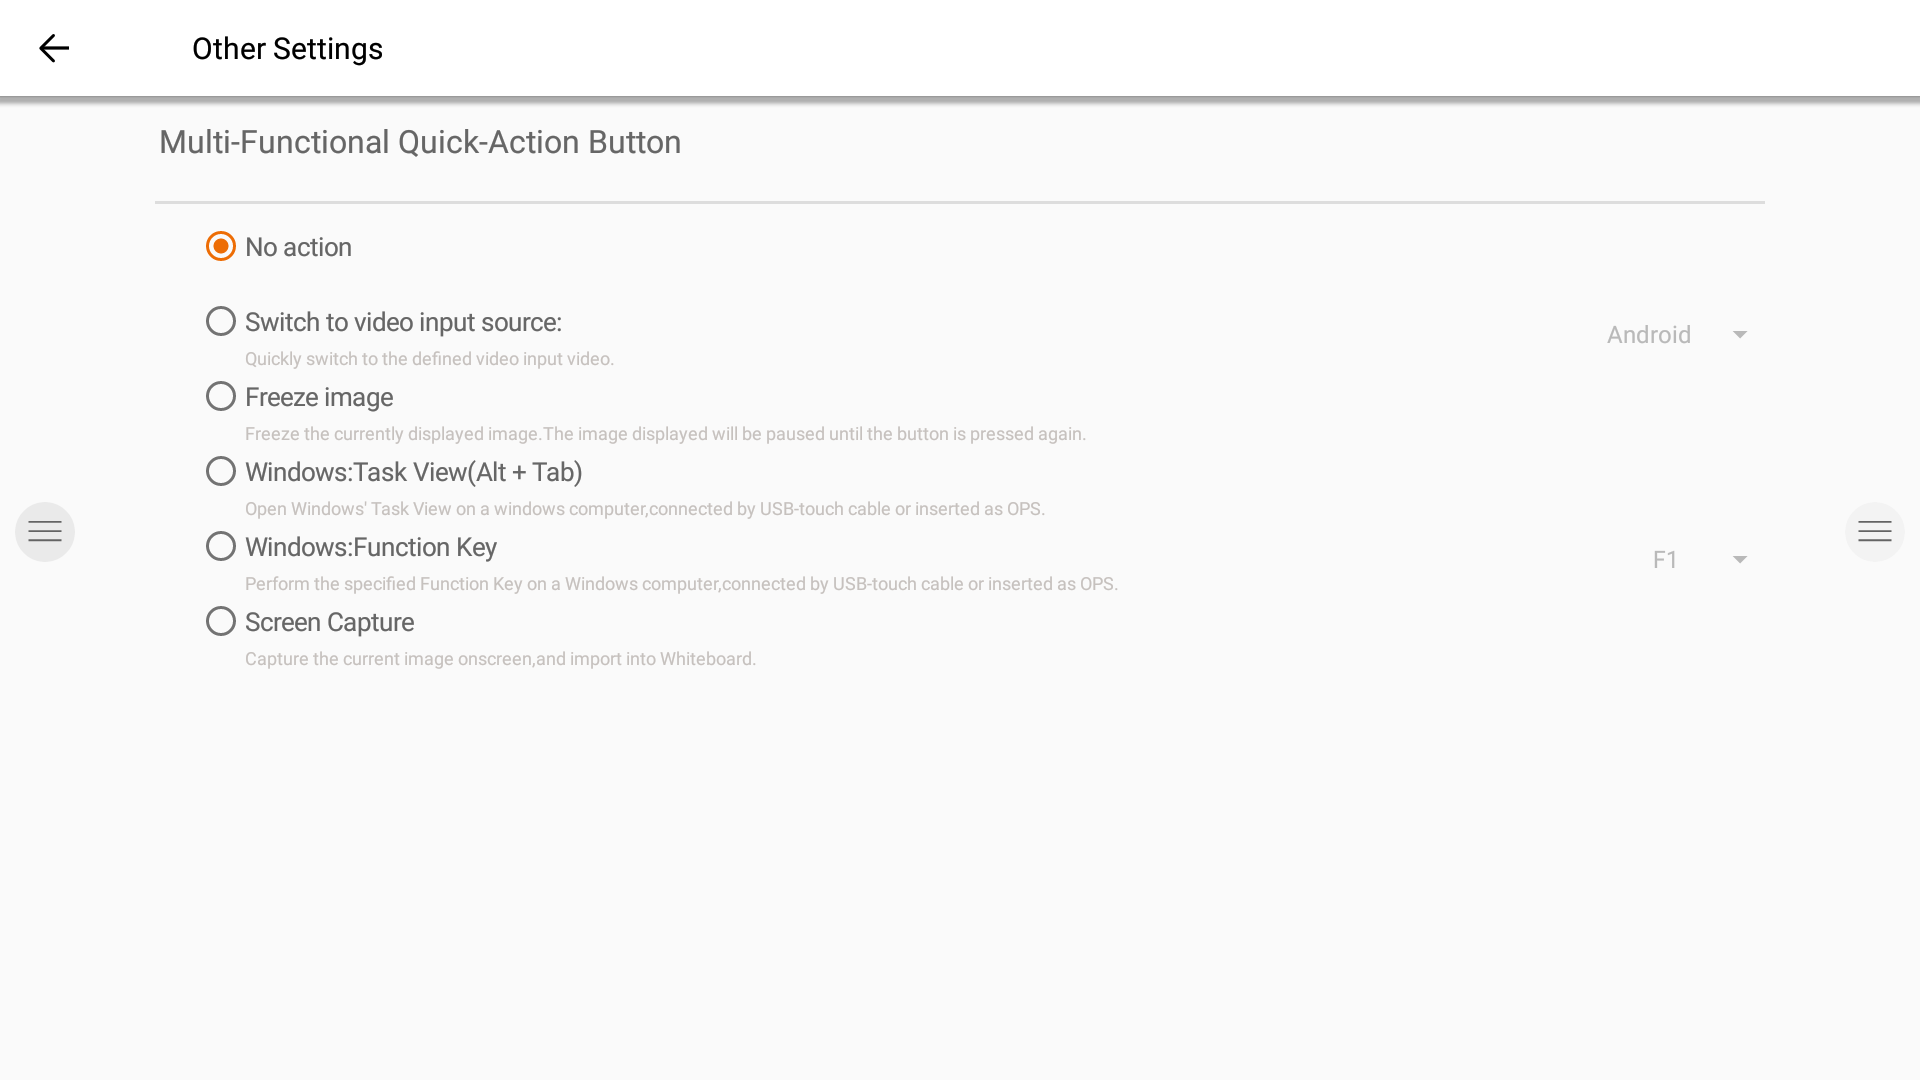
Multi-function button.
The multi-function button can be found on the rightside of the display. According to the settings you configure, this button will react accordingly.

Possible configuration settings are:
Off
The multi-function button doesn’t perform any action.Input source
Quickly switch to the predefined video input source.Freeze image
Freeze the current displayed image. The image will be paused until you press the button again.Windows: Task view
Trigger the task view on a Windows computer connected with USB-C or inserted as OPS.Windows: Function key
Perform the predefined function key on a Windows computer connected with USB-C or inserted as OPS.Screen capture
Capture the current image on screen and import into the whiteboard application.
The action of the multi-function button can be defined in the Settings menu.
Note: The Task View and Function Key requires: A computer connected via USB, or the internal OPS computer. This computer needs to be the active video signal.