Display Users
Display Users are registered User Profiles that can access one or more i3CONNECT displays within your fleet of devices. They don’t have access to i3CONNECT Cortex, but their access rights can be managed by administrators within i3CONNECT Cortex.
What are User Profiles?
With User Profiles, we give you and your users more security and control over how the i3CONNECT displays are used. Allow registered Display Users to log in to i3CONNECT Studio using their own login credentials, while adding more security to the Guest session, if activated.
Registered Display Users will be able to add their personal Cloud drives (Google Drive or Microsoft OneDrive) to i3Whiteboard in a secure and private way thanks to their connected User Profile. Only they will be able to access it because once they log out of the User Profile, it can not be accessed by other users.
How to enable User Profiles
Enable User Profiles for your i3CONNECT display in the Settings app in i3CONNECT Cortex. This means that your i3CONNECT display has to be registered to i3CONNECT Cortex. If you haven’t already done so, please consult Registering your i3CONNECT display for more information.
If your i3CONNECT display has already been registered, consult Managing access to your i3CONNECT display to learn how to enable User Profiles on your i3CONNECT display.
Adding Display Users
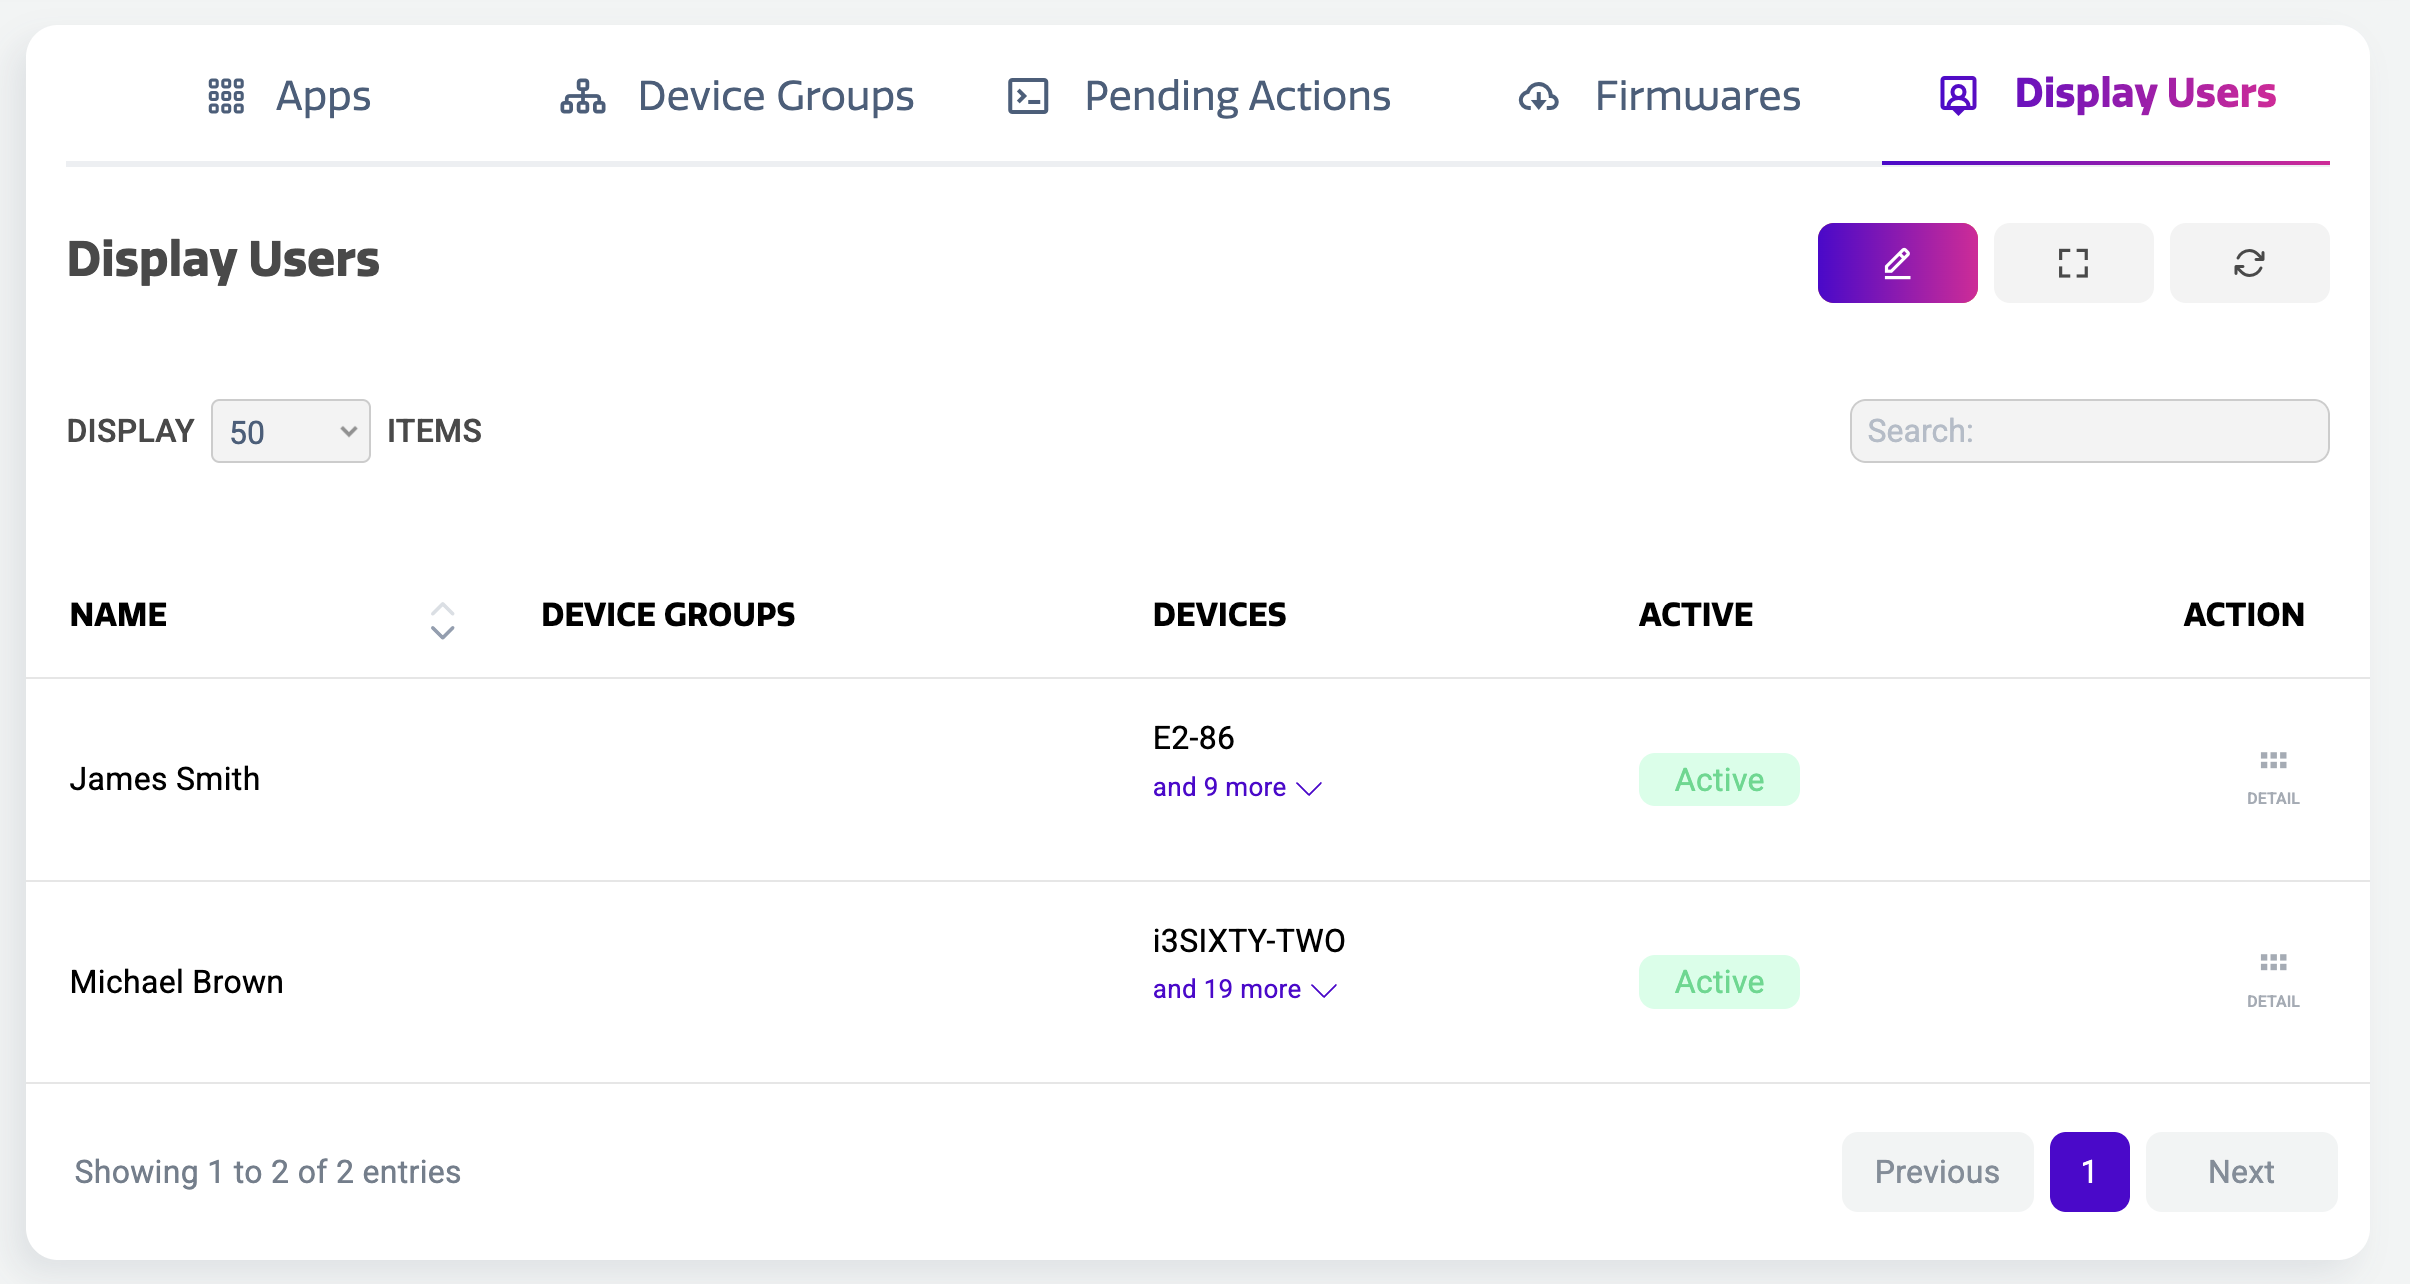
In the menu, under User management, select ‘Display Users’. If you had previously added users, or if there are several users with administrative functions, you will find them listed in the table on this page. If not, the table will be empty.
Manual creation
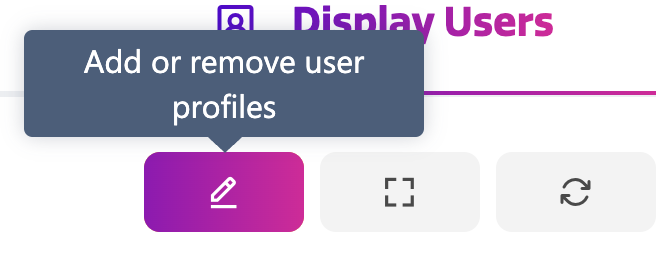
To add new Display Users, click the '+' sign at the top right of the table overview.
A dialog will pop up with three tabs, Details, Groups and Devices.
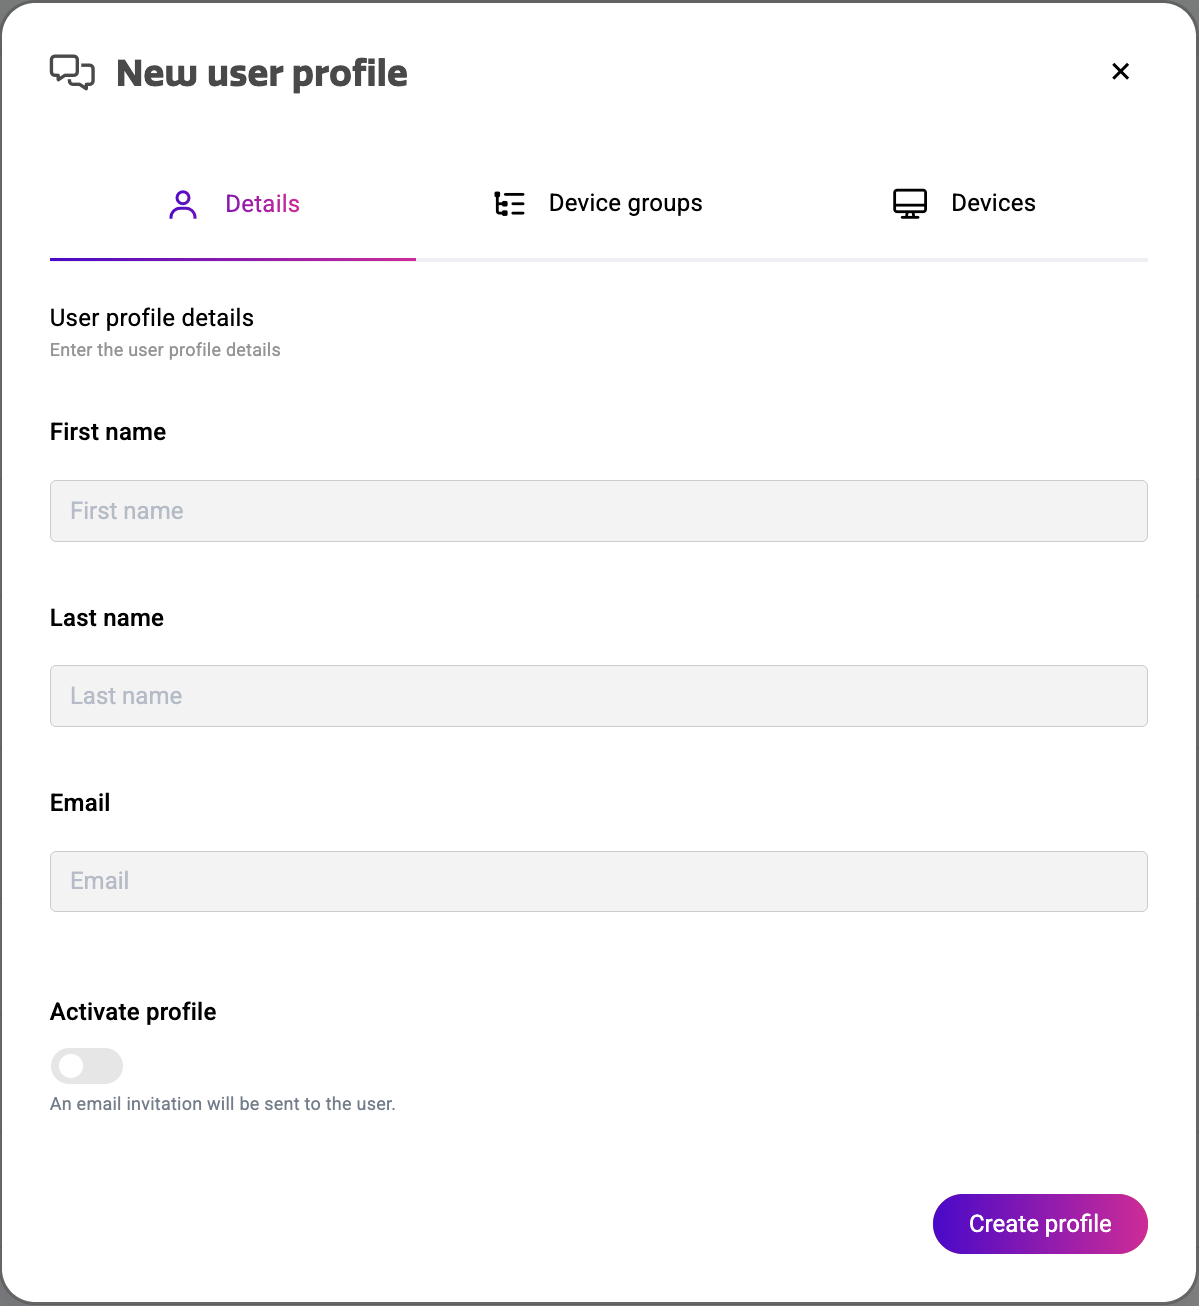
Details
Here you can add the personal details of the user that you want to create. You don’t need to worry about the profile activation yet. If you prefer, you can do this at the end. or select all your Display users and activate them at once.
Groups
Groups are groups of devices. These can be created under the menu ‘Groups’. If you created a Group of devices that had been activated for User Profiles, they will be visible here.
To your left, you’ll find the list of device groups that were activated for User profiles. Select the ones that you wish to assign to this Display User and click ‘Add’ to move them to the list at the right.
Devices
To your left, you’ll find the list of devices that were activated for User profiles. Select the ones that you wish to assign to this Display User and click ‘Add’ to move them to the list at the right.
CSV / Excel list import
Next to the ‘+' sign you’ll find the 'Import' button.
This functionality will allow you to import a list of user profiles in one go, instead of manually creating them one by one.
Import
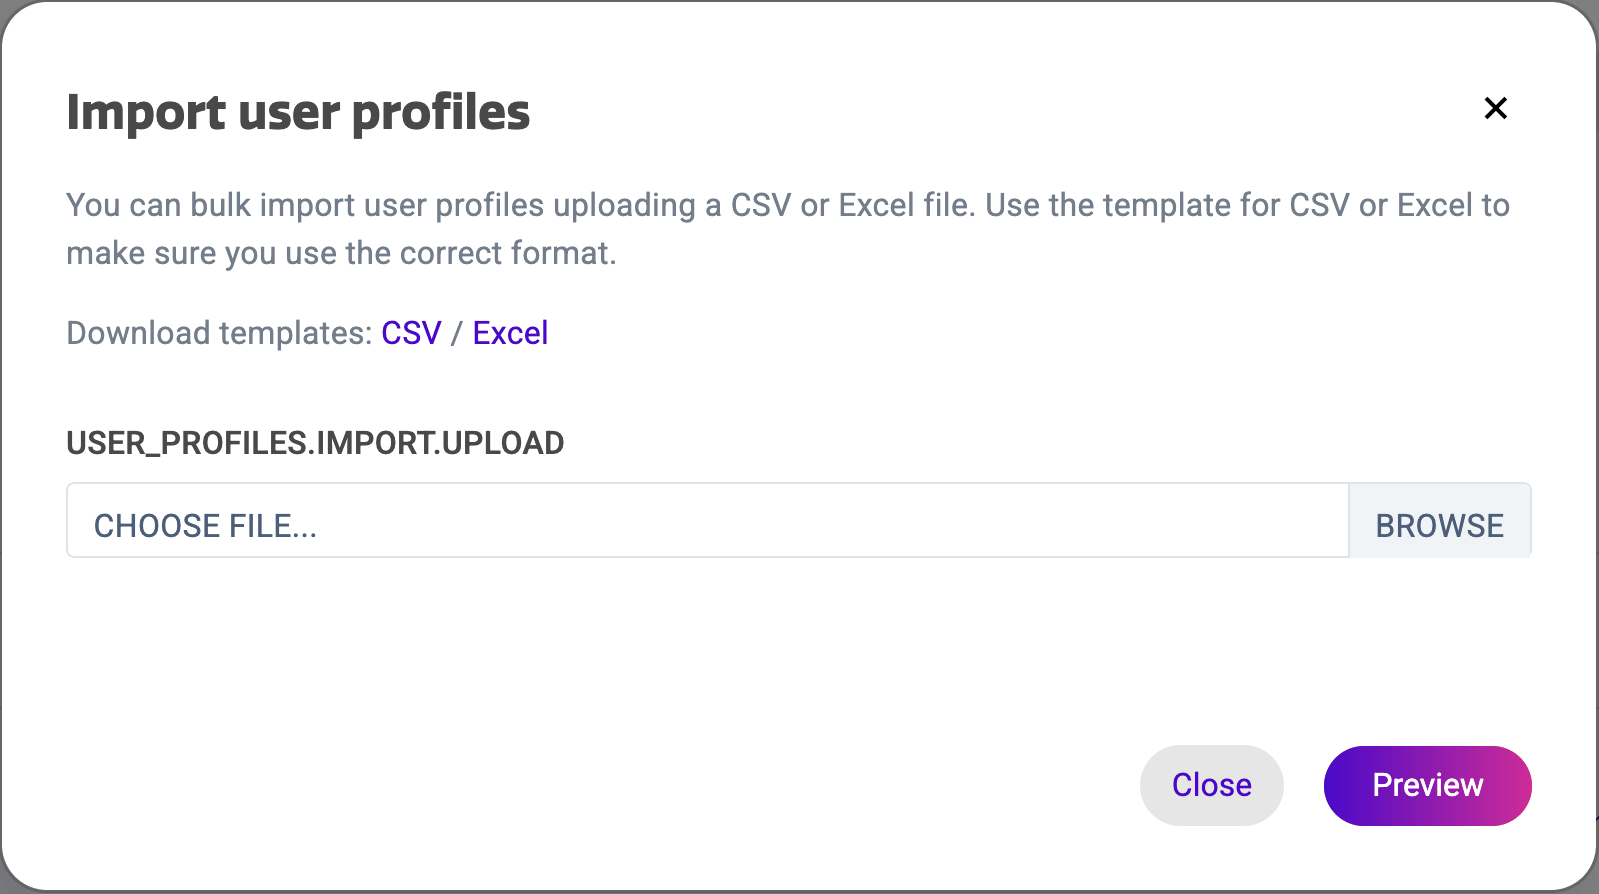
When you click on the ‘Import' button, you’ll be presented with an upload dialogue where you can upload your CSV/Excel file containing the list for which you’d like to create user profiles.
Please note that this file should be formatted correctly and should contain following info per entry:
-
email
-
First name
-
Last name
-
Activate or not?
-
Accepted values:
-
1 or 0
-
True or False
-
-
Template
In order for the import process to work, you’ll need to format your CSV/Excel file correctly.
To simplify this process, we’ve included CSV and Excel templates which you can use to format your data correctly and import it without any issues.
Preview
After selecting your CSV/Excel file, you can preview your import before confirming the import and user profile creation process.
This is also where you’ll be made aware of possible issues in the formatting of your CSV/Excel file.
If we find any issues, we’ll let you know what the problem is with your file, so you can make the necessary changes and restart the import process.
Confirmation
When you are happy with the file preview and no issues were found with the uploaded file, you can press the ‘Import’ button to create a user profile for all users listed in your file and shown in the import preview. These users will then receive an email to inform them about the creation of their user profile and are invited to complete the authentication process through Auth0.
After clicking the import button, you’ll be prompted about the creation of the number of user profiles contained in your CSV/Excel file.
Editing a Display user
To edit the details of a Display user, go to the Display Users menu, select the user that you want to edit and select ‘Details’. This will bring you to the Display User’s details page.
Here you can change or add personal details and choose to activate or deactivate them. Activating the User Profile will send them an e-mail if the e-mail address was entered.
Removing Display users
To remove one or multiple Display users, go to the ‘Display Users’ page from the main menu. In the table, locate the user(s) you want to delete. Under Actions, select the three dots “…”. A drop down appears allowing you to delete the user.
You can also delete multiple users at once. From the table menu, select the checkbox for each Display user you want to delete. At the top right of the table menu, select the three dots “…” and choose delete.
Assigning Display users to an i3CONNECT display
From the Display users detail page
Locate and select the Display user you want to assign to one or more i3CONNECT displays. This brings you to the Display user’s detail page.
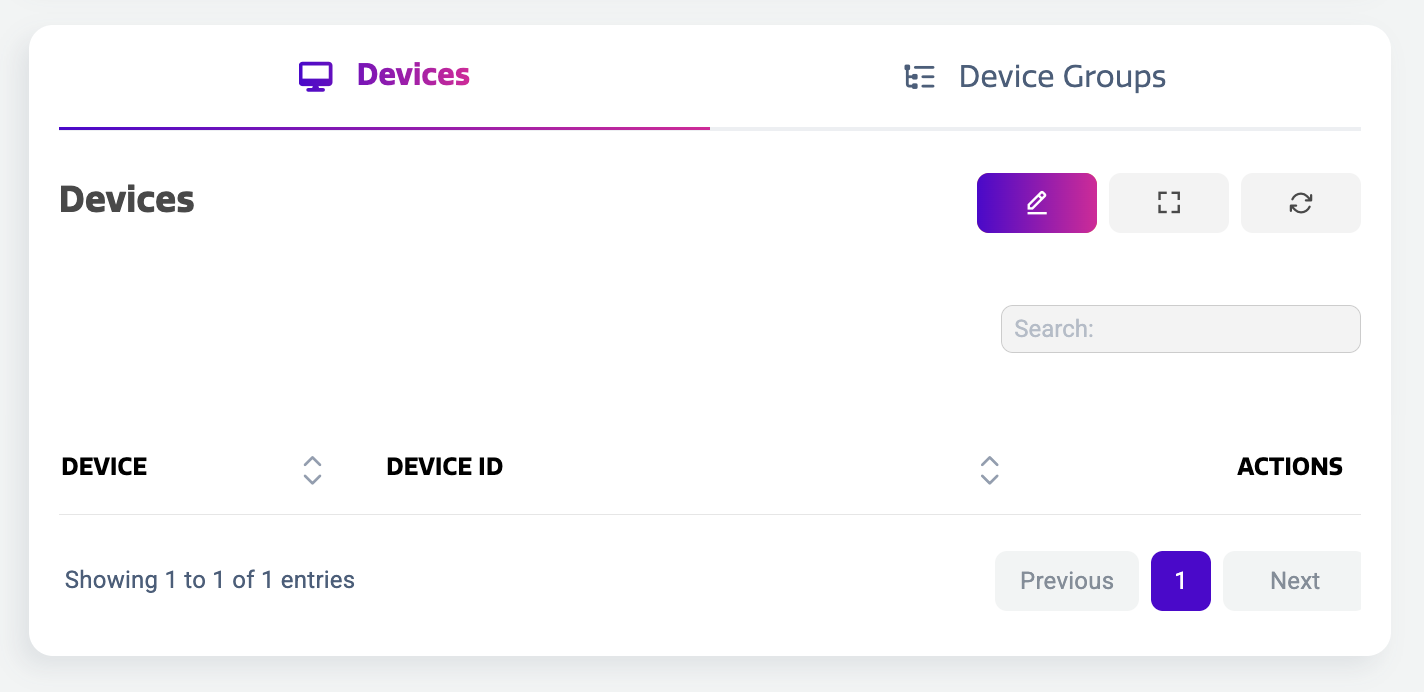
At the bottom, you’ll find the overview of devices and/ or device groups that the Display user can be assigned to.
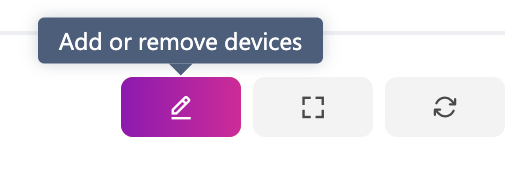
In the “Devices” tab, select “Add or remove devices” to manage the i3CONNECT displays that the Display user can be assigned to.
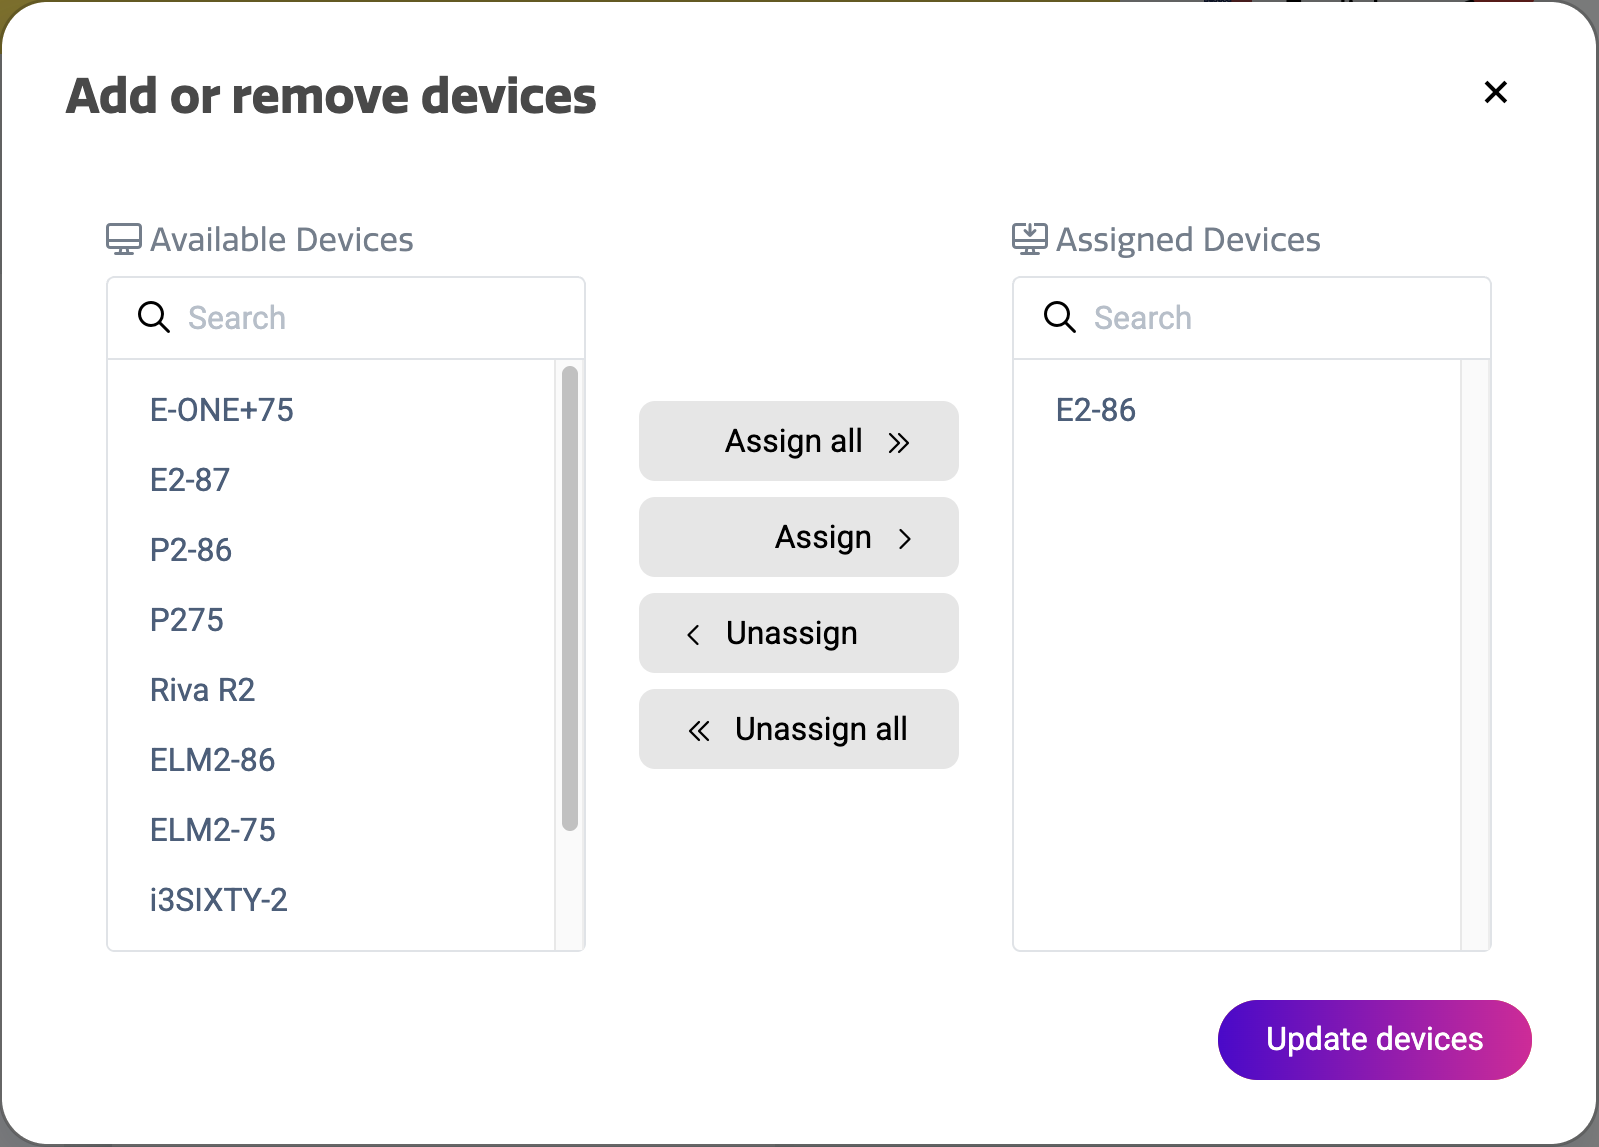
A dialog appears where you can assign all the devices that the Display user needs access to, from the left column to the right. Select “Assign all” if you want the user to be able to sign on to all the i3CONNECT displays. Select “Update devices” to assign the display user to these i3CONNECT displays.
The same can be done for Device groups. Go to the “Device groups” tab and select “Add or remove device groups”to manage the groups of i3CONNECT displays that the Display user can be assigned to.
From the device details page
Display users can be assigned to specific i3CONNECT displays, from the device details page, if the i3CONNECT display is configured to support User Profiles.
In that case, the table overview at the bottom of the device details page will show an extra tab called “Display Users”. In this table overview, you can review all the Display users that can sign on to this i3CONNECT display.
Select “Add or remove Display users” at the top right corner of that table overview. A dialog appears allowing you to assign Display users from the left column to the right.
Activating a Display user
A Display user can be activated when it is created, but it can also be activated at a later time. Activating the Display user will send them an e-mail if the e-mail address was entered. The userwill be sent a link where they can authenticate using either an e-mail address, Google or Microsoft. Authentication is handled by the Auth0 standard. For more information, see https://auth0.com/
When a Display user is created
In the Display user menu, select '+' to create a new Display user. A dialog will pop up. You can enter the personal details and add them to devices or device groups. Below select the toggle to activate the profile. The User will then receive an e-mail.
On the Display user detail page
In the Display user overview, select the user that you want to activate and select ‘Details’. This will bring you to the Details page.
Here you can activate the Display user in the Quick Parameters dashboard.
Activating (multiple) Display users from the Display user overview page
Select the checkboxes of the users that you want to activate. In the table menu click the “Activate Display user” icon. In the column called ‘Active’ they will be displayed as active.
User sign on with Auth0
The Display user that has been activated will receive an e-mail with a link to authenticate, provided by Auth0. They can sign on with their e-mail address, Google or Microsoft authentication. They will have to do this once, after which they can sign on to the i3CONNECT display to which they have access.
For more information on how your users can sign on to the i3CONNECT display, see User Profiles
Deactivating a Display User
You can deactivate a Display User, without the need to delete it. This can be done from the Detail page and from the table menu in the Display User overview.